Building your own wooden hot tub is a rewarding project that blends craftsmanship with practical engineering. This guide walks you through material selection, precise joinery, sealing, plumbing, insulation, and finishing—plus ongoing care so your tub lasts for years.

1) Planning & Design
Size & Capacity
- Pick a diameter and depth based on seating (e.g., 4–6 people).
- Factor in a bench layout and footwell for comfort.
- Ensure access for covers and any overhead shelters.
Shape & Layout
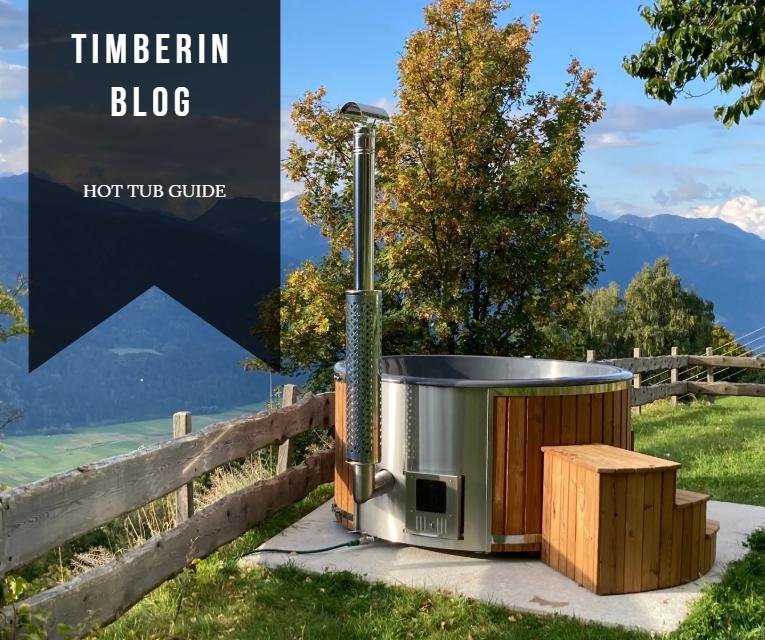
- Round barrel tubs are classic and structurally efficient.
- Oval/rectangular designs can fit tight spaces but require extra bracing.
- Plan heater location, plumbing runs, and service access panels.
Structure & Safety
- Use compression bands/hoops to hold staves under water pressure.
- Design a reinforced, level base for the full water load. For built-in ideas, see our sunken hot tub guide.
- Check local codes for electrical/heater and drainage requirements (more on power in do wood-fired tubs need electricity?).
Not sure which sanitizer to plan for?
2) Material Selection
Wood Species
- Western red cedar and redwood are top choices for water resistance and aroma.
- Larch, oak, or thermally modified woods can work with careful sealing.
- Prioritise vertical-grain, kiln-dried boards with minimal knots.
Boards, Hardware & Sealing
- Board thickness: ~25–38 mm (1″–1½″), machined for tight stave joints.
- Choose stainless/marine-grade fasteners and plumbing fittings.
- Use cedar rope caulking or food-grade silicone in joints; avoid rigid interior varnishes.
3) Construction Steps
Cutting & Machining
- Rip and plane staves to exact length; add bevels or tongue-and-groove for tight fits.
- Pre-drill ports for heater feed/return and drain before assembly.
Dry Assembly & Test Fit
- Band staves temporarily and check for gaps and alignment.
- Adjust milling until joints close snugly.
Gasketing & Final Assembly
- Apply rope caulking or silicone sparingly at joints.
- Install stainless hoops at multiple heights; tighten evenly.
Base & Support
- Set on a level concrete pad or treated timber bearers with drainage.
- Ensure airflow under the base to prevent moisture build-up.
Plumbing & Heater Integration
- Fit an external or internal heater; route flexible heat-rated hoses to allow wood movement.
- Add a circulation pump, filter, and valves for maintenance and winter protection.
4) Filling, Swelling & First Start-Up
- Fill slowly with lukewarm water so staves can swell and seal naturally.
- Watch for weeping at joints in the first 24–48 hours; tighten bands gradually if needed.
- Once watertight, circulate, heat, and test chemistry.
5) Finishing & Protection
Exterior Treatment
- Use a breathable exterior oil/saturant (no thick varnishes that trap moisture).
- Re-oil seasonally, especially in strong sun or wet climates.
Interior Care
- Leave interior wood raw or use finishes compatible with hot water and your sanitizer.
- Clean gently after drains; avoid harsh abrasives.
Insulation & Cover
- Add discreet insulation panels on non-visible sides to reduce heat loss.
- Use a tight-sealing insulated cover to protect water and save energy.
6) Maintenance & Longevity
- Check band tension seasonally (wood expands/contracts).
- Drain and deep clean every 3–6 months; service pump, heater and valves.
- Keep a simple maintenance log for water tests and service dates.
7) Common Challenges & Fixes
| Issue | Likely Cause | Fix |
|---|---|---|
| Persistent leaking | Dry wood, loose bands | Allow longer soak; tighten bands gradually; recaulk joints (leak tips: wooden hot tub leaking water) |
| Warped/cupped staves | Poor grain selection; uneven drying | Use vertical-grain boards; stabilise humidity; replace worst pieces |
| Hardware corrosion | Non-marine fasteners | Upgrade to stainless/marine-grade hardware |
| Finish peeling outside | Non-breathable coating | Strip and switch to breathable exterior oil |
| Stress on plumbing | Rigid piping + wood movement | Use flexible hoses, add slack/loops, vibration isolation |
Key Takeaways
- Choose premium, water-resistant wood and machine staves precisely.
- Rely on compression bands, swelling and breathable finishes—not rigid varnish.
- Plan flexible plumbing and proper filtration/heating from day one.
- Protect, maintain and winterize to maximise lifespan and comfort.
Conclusion
With thoughtful design, quality materials, and careful assembly, a DIY wooden hot tub can be both beautiful and durable. Follow the steps above, use flexible, breathable solutions, and stay consistent with maintenance. Your handcrafted spa will reward you for years to come.
FAQ – Building Your Own Wooden Hot Tub
Is it realistic to build a wooden hot tub myself?
Yes, if you have solid woodworking skills, accurate tools, and time for careful planning. Precision machining of staves, correct band tension, and safe heater/plumbing integration are essential. Many DIYers choose to buy a ready-made heater and fittings, then focus their effort on the timber shell.
Which wood is best for a DIY wooden hot tub?
Premium species such as western red cedar and redwood are ideal thanks to their decay resistance and pleasant aroma. Larch, oak, or thermally modified timbers can also work well if you use good sealing practices and breathable exterior finishes.
How thick should the staves be?
Most DIY wooden hot tubs use staves around 25–38 mm (1–1½″) thick. Boards must be machined consistently (bevels or tongue-and-groove) to form tight joints that swell and seal under water pressure.
Do I need metal bands around the tub?
Yes. Compression bands/hoops are what hold the wall staves together against the outward pressure of the water. They should be stainless or marine-grade, positioned at several heights, and tensioned evenly.
Is leaking normal when I first fill a wooden hot tub?
Minor “weeping” at joints is normal during the first 24–48 hours as the wood absorbs water and swells. As long as leaks are not severe, allow time for swelling, then tighten bands gradually if needed.
What kind of base do I need under a DIY wooden hot tub?
Use a level, load-bearing and well-drained base such as a concrete pad or treated timber bearers with airflow underneath. A stable base prevents distortion, improves drainage, and keeps the wooden bottom from sitting in constant moisture.
Can I use any sealant or varnish inside the tub?
No. Avoid thick, rigid varnishes or non-flexible coatings inside the shell—they can crack and trap moisture. Rely on good joinery, swelling wood, rope caulking or food-grade silicone, and compatible water-treatment products.
Do I need an electrician or plumber for the heater and filtration?
For electric heaters, pumps, and controls, a qualified electrician should handle wiring and protection (RCD/RCBO, cable sizing). Plumbing lines for heaters and filters must be pressure-rated and designed to allow wood movement—flexible hoses are strongly recommended.
How often should I maintain a DIY wooden hot tub?
Plan to check band tension seasonally, deep-clean and change water every 3–6 months (depending on use and sanitizer), re-oil the exterior once or twice a year, and winterise properly if the tub will sit unused in freezing conditions.