

A thick patch of insulation cannot compensate for a cover that no longer fits. Hot-tub heat loss follows several paths, and each needs a different check: the water surface, the vessel, the base and the connected equipment. Start with the actual construction rather than the word “insulated” on a quotation.
Begin where warm water meets the air
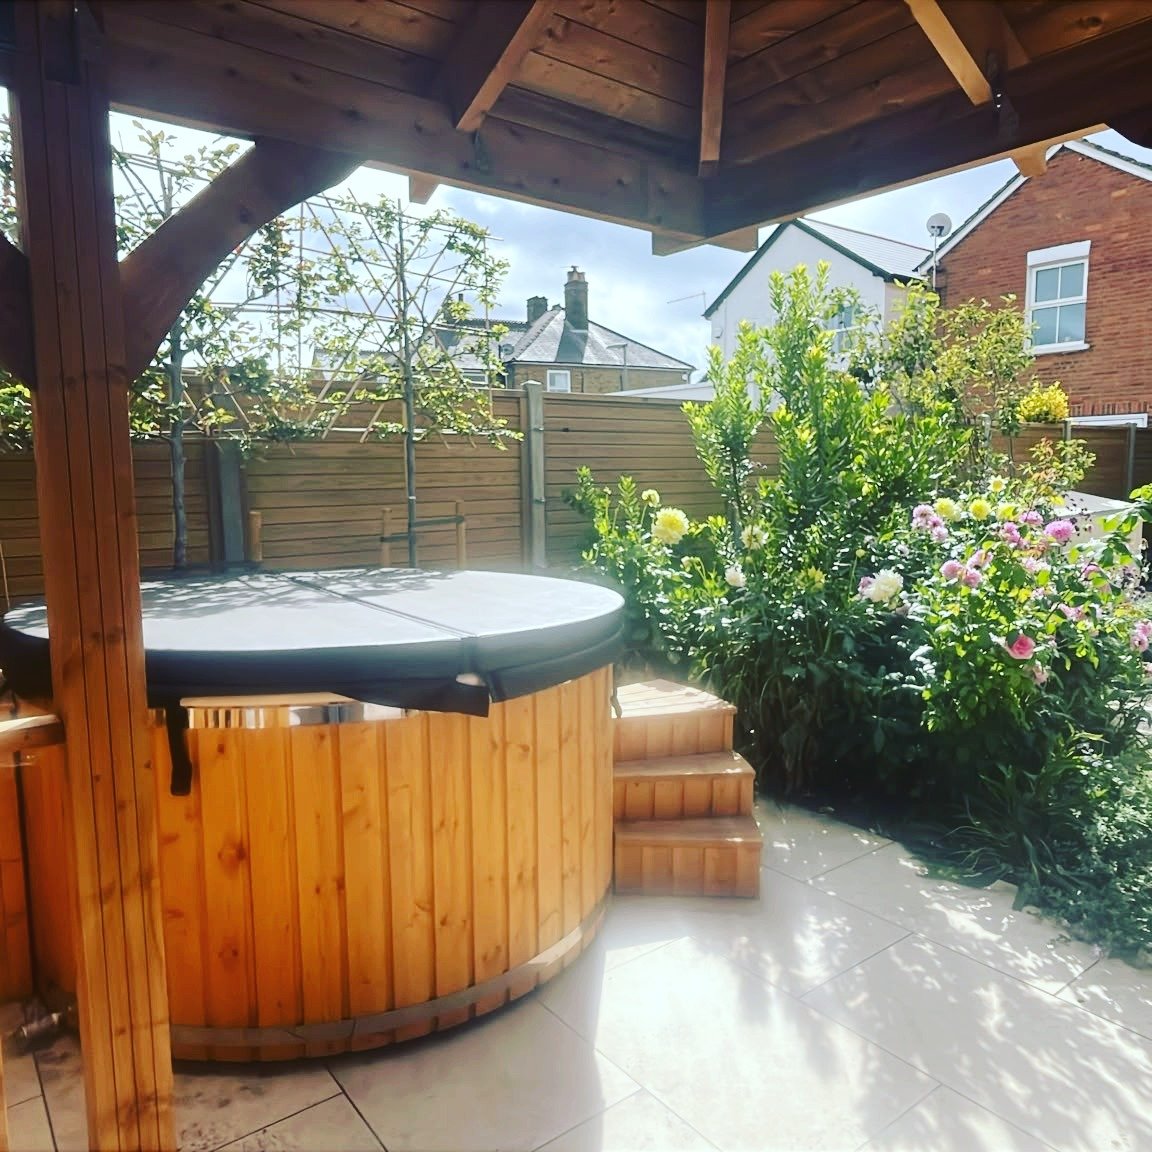
With the tub open, heat leaves the surface through evaporation and other heat transfer. A suitable cover reduces those losses between sessions, but only if it fits the configured rim and is used as instructed. Gaps around raised fittings, damaged hinges or a misshapen section can leave an escape route even when the cover looks closed from above.
Inspect the perimeter, seams and handling weight. Clear surface water before deciding that the core is waterlogged; do not cut it open to investigate. The cover inspection guide helps distinguish a handling or fit problem from a replacement decision. Keep a folded cover clear of the stove and flue.
Trace the remaining heat paths
| Part | Information to request | Access to preserve |
|---|---|---|
| Shell | Which surfaces are insulated, with what construction and moisture protection | Inspection of the liner, penetrations and signs of leakage |
| Base | The actual floor build-up and support arrangement | Drainage and the support points required by the tub drawing |
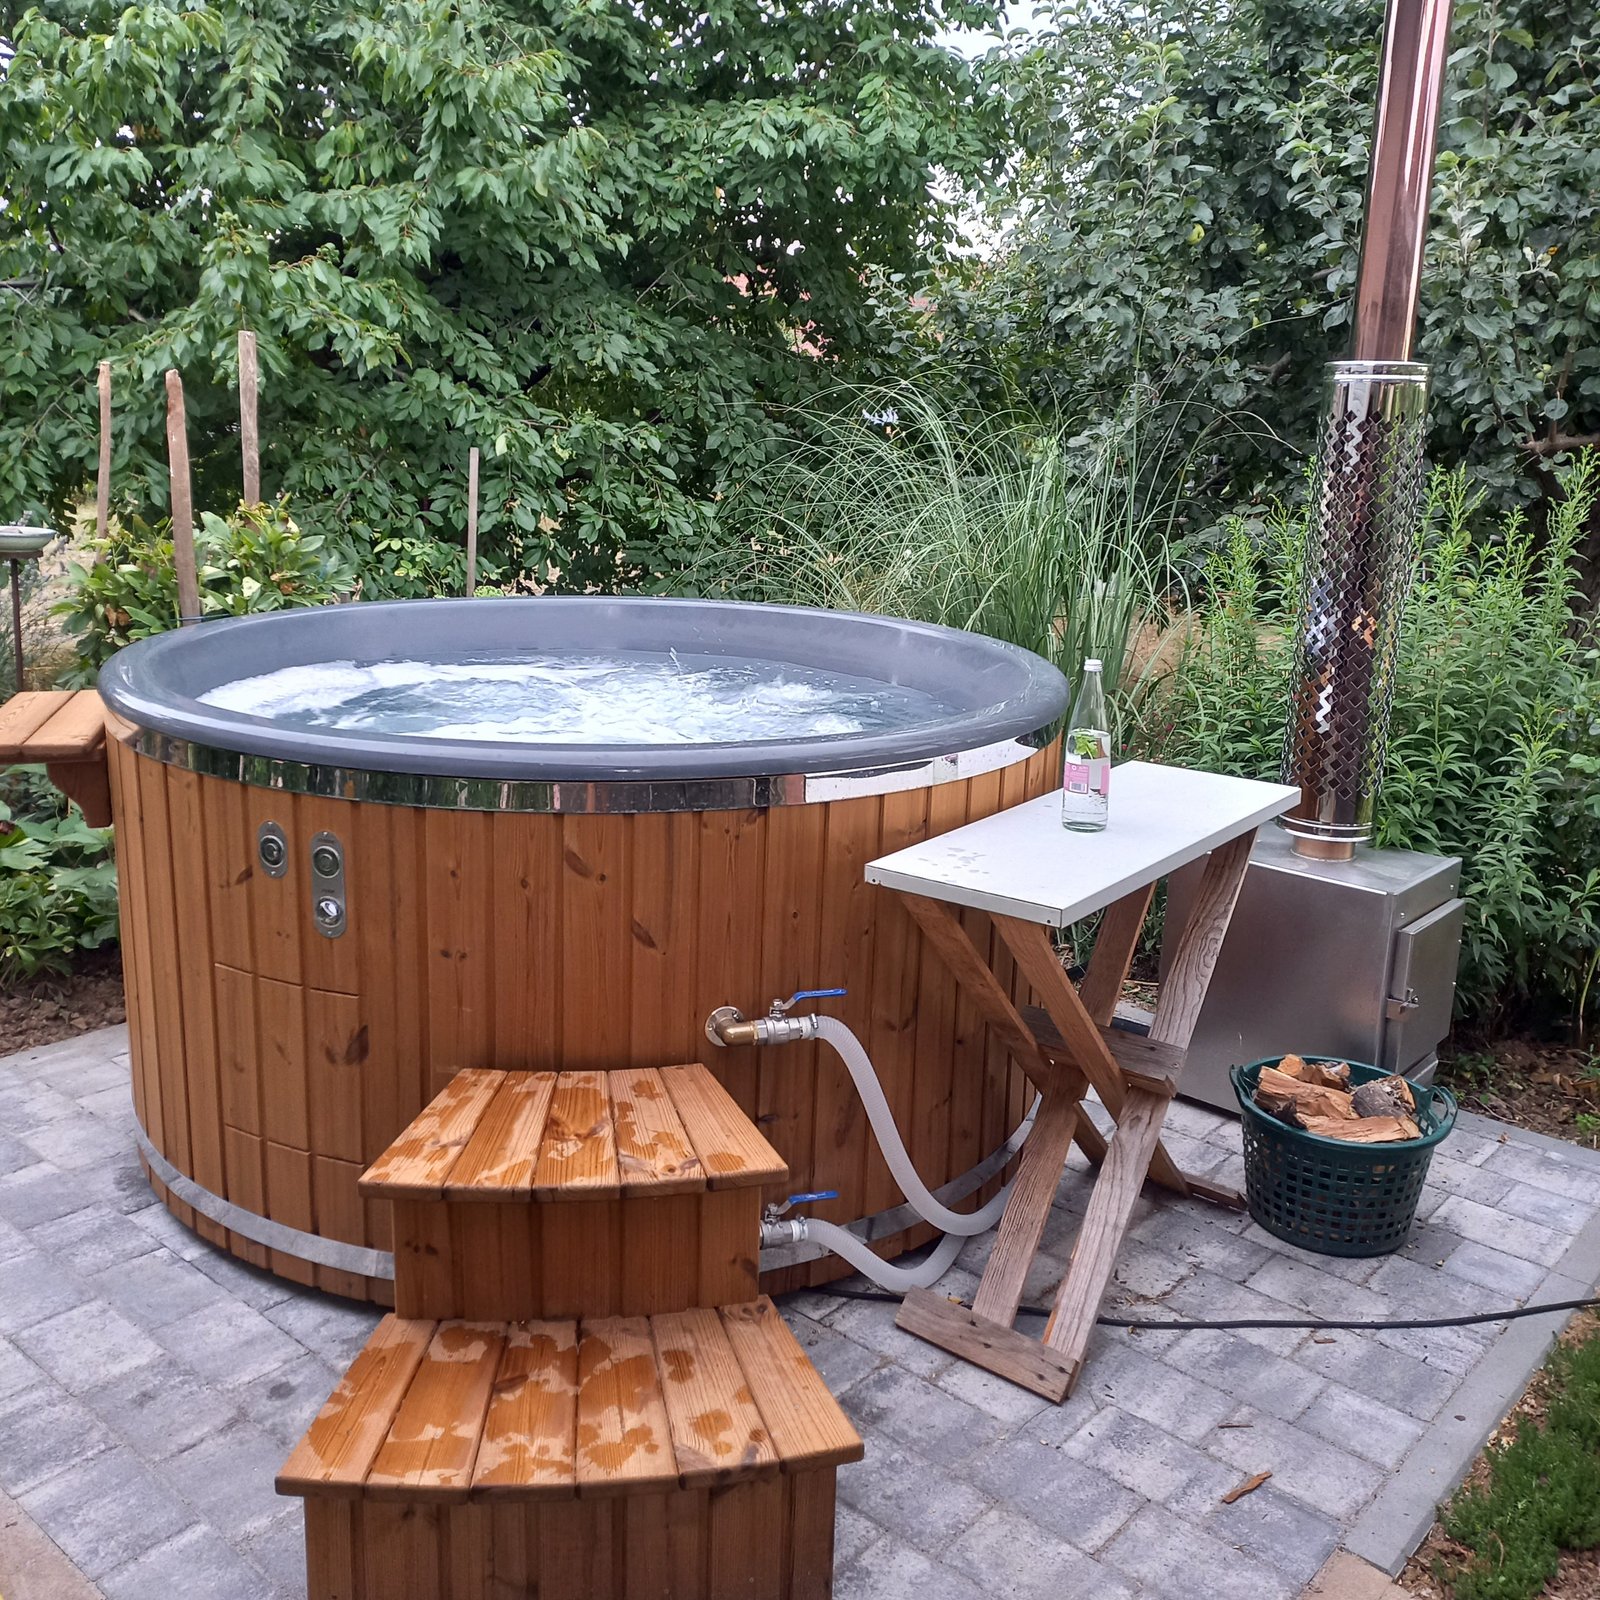
| Pipework | Which exposed runs are protected and how water can be drained | Unions, valves and the approved heater connections |
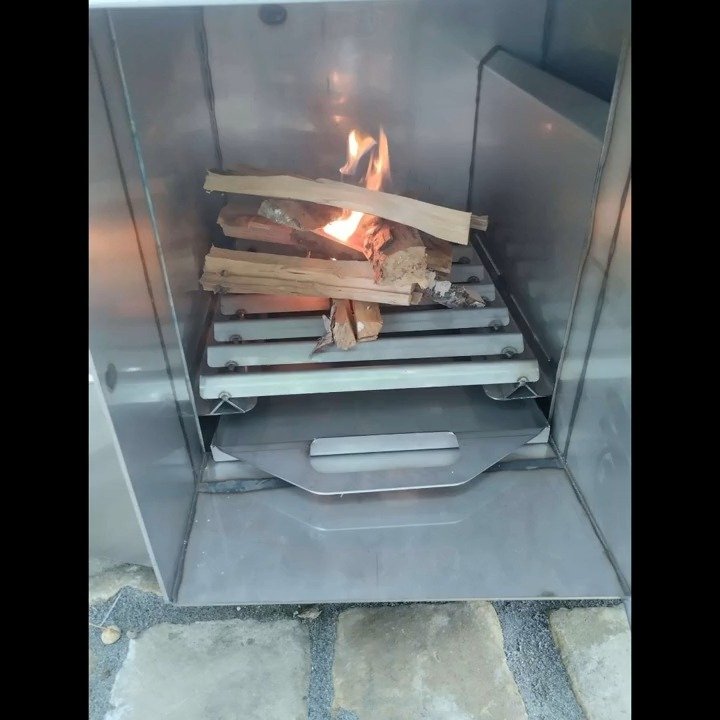
| Equipment bay | Protection appropriate to the installed pump, filter and controls | Cooling, ventilation, safe electrical access and component removal |
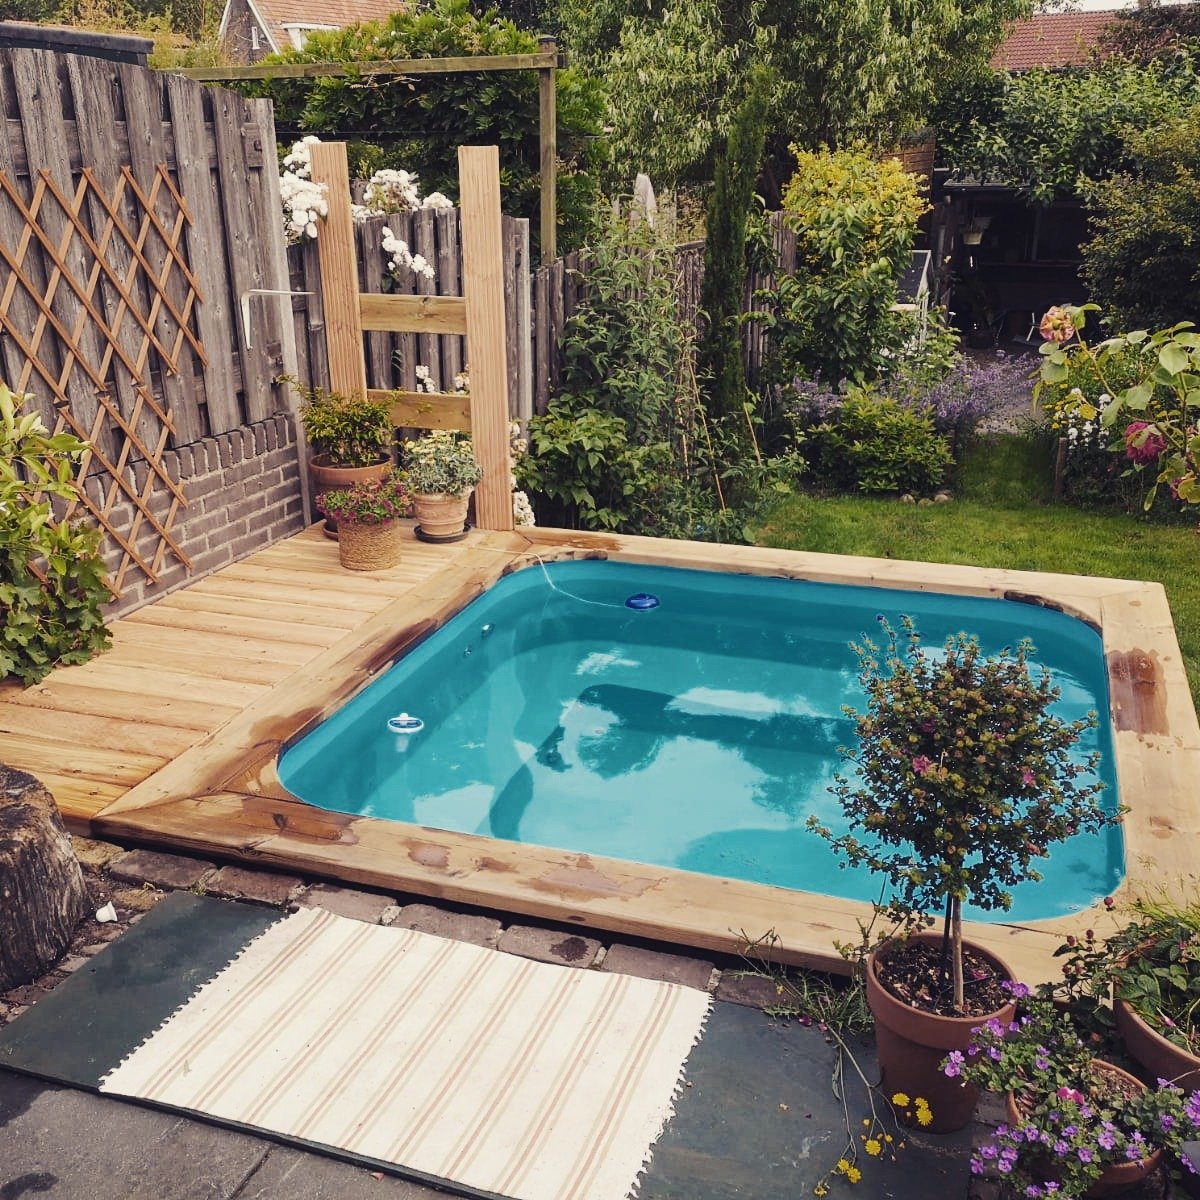
The exposed-shell photograph shows one construction stage. It cannot establish the insulation’s thickness, coverage, material specification or measured performance. Request those details for the ordered model.
Separate solid timber from a lined shell
In a traditional vessel, the timber staves and base retain the water. A lined tub may have a separate moulded or fabricated shell, insulation and decorative cladding. Treating them as the same wall assembly leads to poor advice about sealing, retrofitting and maintenance.
Ask for a section through the supplied wall and base. Confirm how leaks will be noticed, how wet areas can dry and how equipment can be removed. Do not fill a cavity with additional material simply because it looks empty: the space may provide drainage, access or ventilation.
Compare specifications on equal terms
For each proposed configuration, note water volume, cover type, insulated surfaces, external pipe lengths and equipment layout. A quoted heat-up or holding figure needs the starting temperature, outdoor conditions, heater state and cover use. Without those conditions, two numbers are not a fair comparison.
Ask whether a claimed result is measured or calculated and which configuration it describes. Nominal stove output is not a heat-retention measurement. For the energy needed to warm a given volume, use the heating-time and energy calculation.
Investigate a change before adding insulation
If a familiar tub begins cooling more quickly, first record the normal water level, starting and finishing temperatures, elapsed time, wind, cover position and heater or pump state. Different use or weather can explain a change without a construction fault.
Inspect only designed access areas, with equipment in the safe state set out in its instructions. Fresh water tracks, persistent wet insulation, damaged cables or changed circulation require attention before cosmetic work. Do not wrap motors, controllers or a flue, obstruct a ventilation opening, or conceal a connection that needs inspection.
Insulation slows heat loss; it does not guarantee frost protection after heating stops. Choose the complete operating or shutdown routine in the winter hot-tub guide. Sauna walls have a different heat-and-moisture design, covered by the sauna installation guide.