
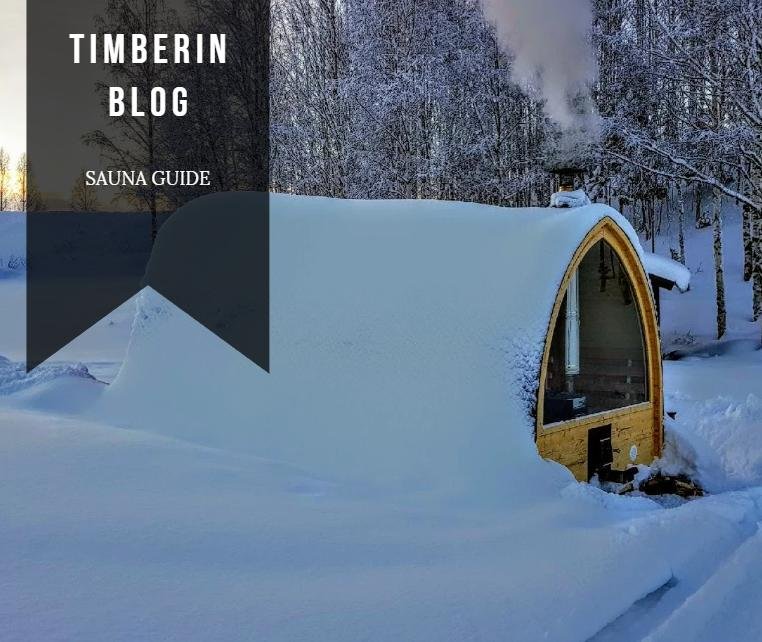
Outdoor saunas deliver spa-level relaxation at home—but weather exposure, moisture, and temperature swings can cause avoidable problems. This guide covers the most common outdoor sauna issues, why they happen, and the fixes that keep your sauna comfortable, efficient, and long-lasting.
1) Moisture & Rot in Timber
Problem
Persistent damp causes decay, warping, mildew, and structural weakening—especially near floors, corners, and lower cladding.
Causes
- Insufficient ventilation or trapped moisture
- Inadequate exterior sealing or waterproof details
- Poor site drainage or splash-back from paving
Solutions
- Use rot-resistant or modified woods for lower sections (cedar, larch, thermally modified). See our wood selection guide.
- Add floor drains or elevate floor slats to move water away.
- Finish exterior with breathable oils/saturants (avoid thick varnishes that trap moisture).
- Use roof overhangs, drips and flashing; inspect and replace damaged boards early.
2) Temperature Inconsistencies & Cold Spots
Problem
Some areas never reach target heat or cool rapidly after shutdown.
Causes
- Insulation gaps in walls/ceiling/floor
- Air leaks around joints, doors and service penetrations
- Undersized heater or poor air circulation
Solutions
- Insulate walls/ceiling/floor; add foil vapor/thermal layers behind cladding.
- Seal joints and penetrations with high-temp gaskets/rope seals.
- Size the heater to the sauna’s volume and insulation level; balance intake/exhaust vents (see our outdoor sauna buying guide).
3) Door & Window Sealing Failures
Problem
Gaps and misalignment leak heat and invite drafts.
Causes
- Humidity-driven wood movement
- Warped frames or sub-par joinery
- Aging, flattened, or heat-damaged gaskets
Solutions
- Use vertical-grain or engineered stock for frames; select adjustable hinges & latches.
- Fit heat-resistant, flexible gaskets to doors/windows; re-tighten hardware seasonally.
- Add drip edges and flashing to keep rain off vulnerable joints.
4) Electrical & Heater Issues
Problem
Heater trips or fails, wiring faults, or uneven heating.
Causes
- Moisture ingress into controls or connections
- Incorrect wiring, undersized cabling, or wrong breaker type
- Overload due to poor insulation/venting; undersized heater
Solutions
- Use outdoor-rated enclosures and conduits; install RCD/RCBO protection.
- Specify sauna-rated wiring & controls; follow manufacturer load and cable specs.
- Ensure ventilated plant/controls space; right-size the heater.
5) Condensation, Mold & Mildew
Problem
Musty smells, black spots, and damp corners.
Causes
- Insufficient air exchange after sessions
- Frequent wetting without dry-out cycles
Solutions
- Provide balanced intake/exhaust vents; crack the door/vent after use to purge moisture.
- Use moisture-tolerant finishes; clean/dry interior surfaces regularly.
6) Exterior Weathering & UV Exposure
Problem
Fading, checking, peeling finishes from sun, rain, and freeze/thaw cycles.
Solutions
- Choose UV-stable species and UV-protective breathable finishes.
- Leave expansion gaps; re-treat seasonally.
- Use eaves/shading to reduce direct exposure.
7) Base Settlement & Drainage Problems
Problem
Floor movement, tilted benches, or standing water around the base.
Solutions
- Start with a compacted granular sub-base and a level slab or pier/beam foundation.
- Grade surfaces to drain away from the sauna; protect edges from erosion.
Quick Reference: Problems & Fixes
| Problem | Likely Cause | Best Fix |
|---|---|---|
| Rot & moisture damage | Poor ventilation/sealing/drainage | Breathable finishes, drains, rot-resistant wood |
| Cold spots & heat loss | Insulation gaps, air leaks | Add insulation, seal joints, right-size heater |
| Leaky doors/windows | Warping, bad gaskets | Adjustable hardware, flexible seals |
| Heater/electrical faults | Moisture, wrong specs | IP enclosures, RCDs, sauna-rated wiring |
| Condensation & mold | Poor venting | Air exchange, dry-out cycles, clean surfaces |
| Exterior weathering | UV & freeze/thaw | UV-protective breathable oils, seasonal care |
| Base settlement | Unstable sub-base | Compaction, drainage, piers or slab |
Conclusion
Most outdoor sauna problems are preventable with smart design and steady maintenance. Prioritise drainage, breathable finishes, insulation, sealing, and safe electrics. Inspect each season, refresh finishes, and keep air moving after sessions—your sauna will stay efficient, comfortable, and beautiful for years.
FAQ – Common Outdoor Sauna Problems & Solutions
How do I prevent rot in an outdoor sauna?
Use rot-resistant or thermally modified timber, apply breathable exterior oils, ensure good site drainage, and ventilate after every session to purge trapped moisture.
Why does my sauna have cold spots or uneven heat?
Cold spots are usually caused by missing insulation, air leaks around doors and joints, or an undersized heater. Sealing gaps and improving insulation solves most issues.
How can I stop condensation and mildew inside the sauna?
Install balanced intake and exhaust ventilation, crack the door after use for drying, and regularly wipe down damp surfaces to prevent fungal growth.
What causes outdoor sauna heater or electrical failures?
The most common causes are moisture ingress, incorrect wiring, undersized cabling, and lack of RCD protection. All electrical components must be outdoor rated and properly ventilated.
How often should I oil or treat the exterior of my sauna?
In exposed conditions, re-treat the exterior timber seasonally or at least twice per year using UV-protective breathable oils.
Why does my sauna base shift or settle?
Base movement is usually caused by an unstable or poorly compacted sub-base and inadequate perimeter drainage. A reinforced slab or compacted pier system prevents this.
Why do sauna doors and windows start leaking air?
Heat and humidity cause timber movement over time, damaging gaskets and misaligning frames. Adjustable hardware and heat-resistant flexible seals solve the issue.
Can outdoor sauna problems be avoided with proper installation?
Yes. Most issues are preventable through correct base preparation, waterproofing, insulation, drainage design, sealing, and safe electrical installation.