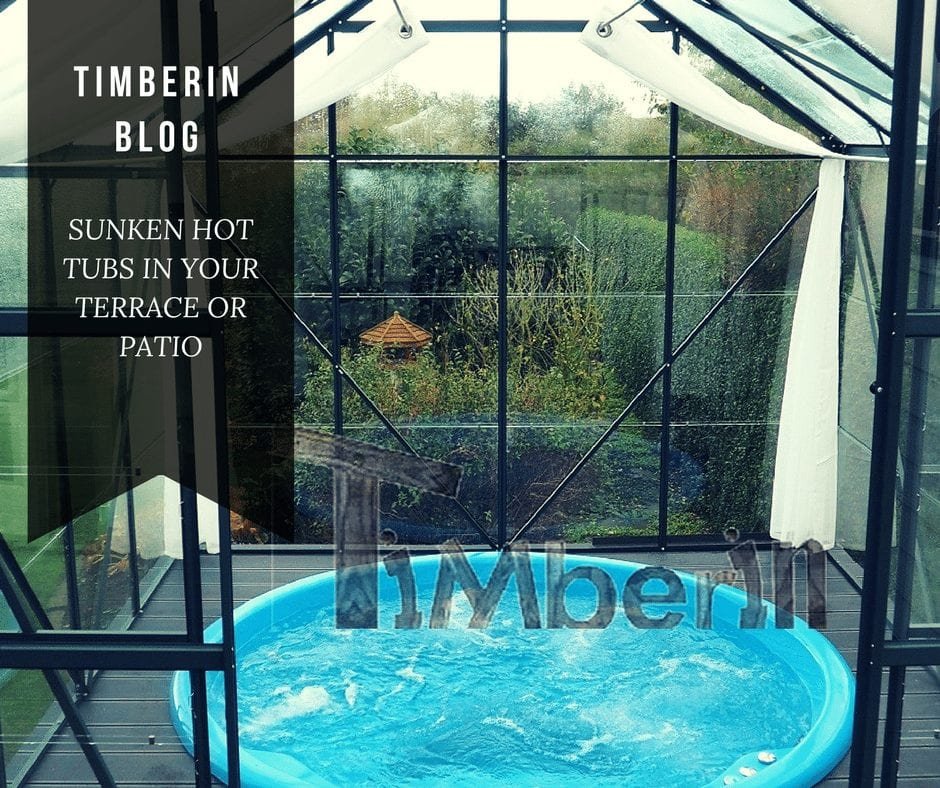
A sunken hot tub (also called in-ground or built-in) delivers a sleek, resort-style look with easier step-in access. It also demands careful planning—excavation, waterproofing, drainage, insulation, and service access. Use this guide to design and install a sunken spa that looks stunning and performs for years. For layout ideas and siting, see our sunken hot tub guide.
1) Why Choose a Sunken Hot Tub? Pros & Trade-Offs
Pros
- Seamless look: Flush with paving or decking for a minimal, high-end aesthetic.
- Easy access: Lower rim height simplifies entry/exit.
- Wind shielding: Surrounding deck helps reduce heat loss and splash.
- Space-smart: Works well on sloped sites using vertical space.
Trade-Offs
- More complex excavation, waterproofing, insulation and drainage.
- Requires planned service access for pump/heater/valves.
- Higher consequences for mistakes (leaks, hydrostatic pressure, heat loss).
2) Site Survey & Foundation Planning
- Soil & groundwater: Assess soil type and water table; include perimeter drains and free-draining backfill to relieve pressure.
- Base/slab: Use a reinforced concrete slab (raft) sized for water + tub + bathers. Laser-level to avoid stress points.
- Pit clearance: Leave space for insulation, membranes, plumbing runs, and access panels.
Choosing exterior materials? Compare best wood for outdoor hot tubs & saunas.
3) Shell, Waterproofing & Insulation
- Shell options: Acrylic/fibreglass shells set in a pit; or a wooden barrel adapted for partial in-ground installs.
- Waterproofing: Tank the pit (cementitious or membrane), seal penetrations with flexible gaskets/sealants, and protect edges with copings.
- Insulation strategy: Add rigid boards under the tub and along pit walls; consider a thermal break below the slab in cold regions.
4) Plumbing, Filtration & Overflow
- Plan pipe routes before backfill; use flexible couplers to handle minor movement.
- Include skimmer/overflow control and an accessible drain for the pit/tub.
- Set pump, heater and filter in a service chamber with ventilation and safe clearances.
5) Deck, Copings & Safety
- Finish the rim with flush copings and hidden trim for a seamless look.
- Use slip-resistant surfaces and add handholds where helpful.
- Integrate drainage channels around the surround to divert rain and splash away from the tub edge.
6) Commissioning: Fill, Test & Monitor
- Pressure-test lines and inspect seals before filling.
- Fill slowly; purge air, run circulation, check for leaks and balance chemistry.
- Monitor the first week for settlement, movement, or moisture ingress.
7) Common Pitfalls & Preventative Fixes
| Issue | Likely Cause | Prevention/Fix |
|---|---|---|
| Water behind shell | Weak waterproofing / no perimeter drain | Tank the pit; install perimeter drain & drainage backfill |
| Heat loss to ground | No base/wall insulation | Rigid insulation under tub and along pit walls; thermal break |
| Cracked slab or coping | Poor sub-base compaction / settlement | Compact sub-base; use reinforcement and expansion joints |
| Difficult servicing | No access to plant area | Plan removable panels/service chamber from day one |
Conclusion
A sunken hot tub can be a show-stopping feature—if you get the fundamentals right: foundation, waterproofing, insulation, drainage, and service access. Combine those with disciplined water care and seasonal maintenance, and your in-ground spa will look incredible and run efficiently for years.
FAQ – Sunken & In-Ground Hot Tubs
What is a sunken hot tub?
A sunken hot tub (also called in-ground or built-in) is installed partially or fully below deck or ground level so that the rim sits flush with the surrounding surface for a seamless, resort-style appearance.
Do sunken hot tubs need special foundations?
Yes. A reinforced concrete slab is required to support the full weight of the tub, water, and bathers. The base must be perfectly level and designed with drainage and groundwater pressure in mind.
Is waterproofing really necessary for built-in hot tubs?
Absolutely. The installation pit must be fully waterproofed using tanking systems or membranes. All pipe penetrations must be sealed to prevent water buildup behind the shell.
How do I prevent heat loss to the ground?
Install rigid thermal insulation under the tub and along the pit walls. In colder climates, a thermal break beneath the concrete slab significantly improves heat retention and running efficiency.
Do I still need service access for a sunken hot tub?
Yes. Pumps, heaters, and valves must always remain accessible via a service chamber or removable access panels for maintenance and repairs.
Can a wooden hot tub be installed in-ground?
Yes, but only partially and with careful protection. Wooden tubs require excellent drainage, airflow and waterproof separation from surrounding soil to avoid moisture damage.
What drainage is required around a sunken hot tub?
Perimeter drains and free-draining backfill are essential to relieve hydrostatic pressure and prevent water accumulation behind the shell and around the slab.
Is a sunken hot tub safe?
Yes, when designed correctly. Slip-resistant decking, proper edge copings, handholds, and controlled drainage significantly improve user safety.
Is installing a sunken hot tub more expensive?
Yes. Excavation, structural concrete work, insulation, waterproofing, and access chambers increase installation cost compared to freestanding hot tubs.

