
A well-prepared base keeps an outdoor sauna stable, protects its supports from standing water and maintains the intended geometry of the door, roof and flue. The first information to obtain is not a generic excavation depth: it is the dimensioned drawing for the model, its length and its cradles or foundation beams.
Start with the exact model and its position
Choose the position taking account of the ground, rainwater drainage, door, heater, flue and delivery route. The prepared area is often close to the sauna’s footprint, but varies with cabin style, supports and overhangs. Always ask for the dimensions of the sauna actually ordered before excavating or pouring concrete.
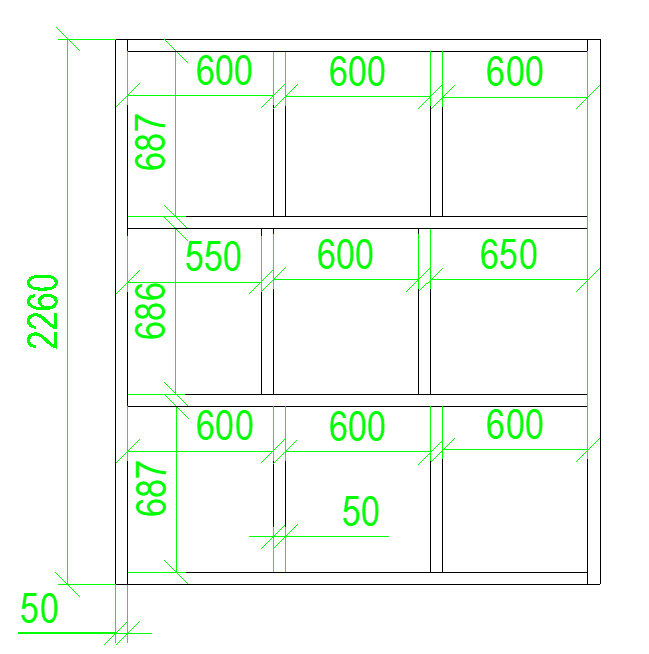
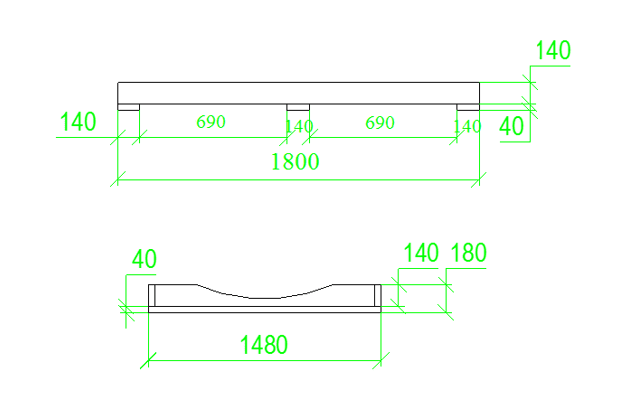
These two drawings from the Danish TimberIN article illustrate why two cabins of the same length do not necessarily share the same supports. They are historical examples, not construction documents for a current product.
If you choose the Barrel™ Classic, request the drawing for the length and layout ordered. The historical plans above do not replace it. Give the final drawing to the base designer with the load information and site constraints.
Create a stable, level and draining support
The 2019 TimberIN guide described a common case on a lawn: removing around 5 to 10 cm of topsoil, compacting and levelling, then adding an upper layer of free-draining gravel. This depth is an example from the earlier configuration, not a universal specification. Bearing capacity, frost, natural slope and soil structure may require different preparation, to be defined locally.
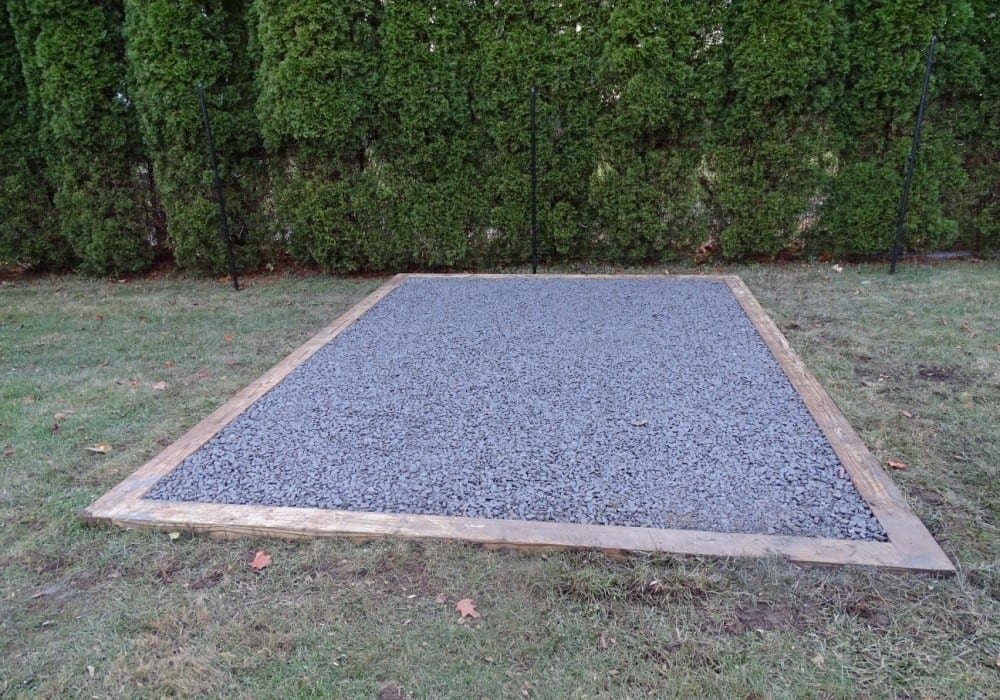
The surface beneath the cradles must meet the manufacturer’s levels and tolerances. The fall for rainwater drainage is arranged around the support area, without arbitrarily tilting the cabin. Avoid hollows that keep the timber damp: standing water encourages deformation and deterioration of load-bearing elements.
Choose a solution suited to the ground and loads
| Solution | Possible context | Points to have confirmed |
|---|---|---|
| Concrete slab | Disturbed ground, a heavy cabin or a need for a durable reference surface. | Excavation, bearing capacity, thickness, reinforcement, frost and perimeter drainage. |
| Paving on a compacted layer | Stable ground and clearly located supports. | Excavation, compaction, edge restraint and levels at support points. |
| Pads or point foundations | A project designed for foundation beams or a load-bearing floor. | Number, centres, bearing capacity, bracing and ventilation beneath the sauna. |
| Existing deck | Integration into a structure already built. | Load, moisture, fixing, access beneath the structure and compatibility with the heater. |
A gravel layer alone is not an answer for every site. It works only when laid on a prepared structure with sufficient bearing capacity. If the soil is clay, made-up ground, sloping or subject to frost, request a design suited to the site.
Plan for water, the heater and services
Observe the direction of runoff from the roof and entrance. A draining perimeter strip can reduce splashes if it genuinely carries water away. Electrical ducts and other services must emerge in the planned positions, remain protected and not block maintenance access.
For a wood-burning heater, include its floor protection, flue route and the clearances to combustible materials stated in the manual. For an electric heater, a competent professional must size the cable and protection before delivery. The base must not force the heater or sauna to be moved afterwards.
Check delivery access
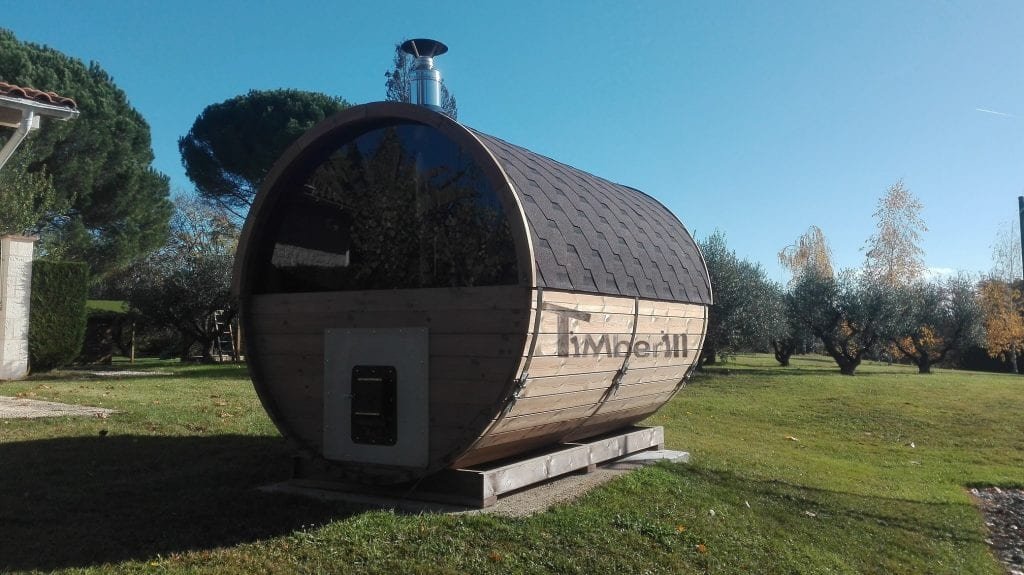
Measure the gate, overhead clearance, bends, slope and load capacity of the route. Also identify possible crane or forklift positions. Mark the door orientation and support points on the base: a sauna delivered assembled may no longer be rotatable once placed.
Check and accept the base before the sauna arrives
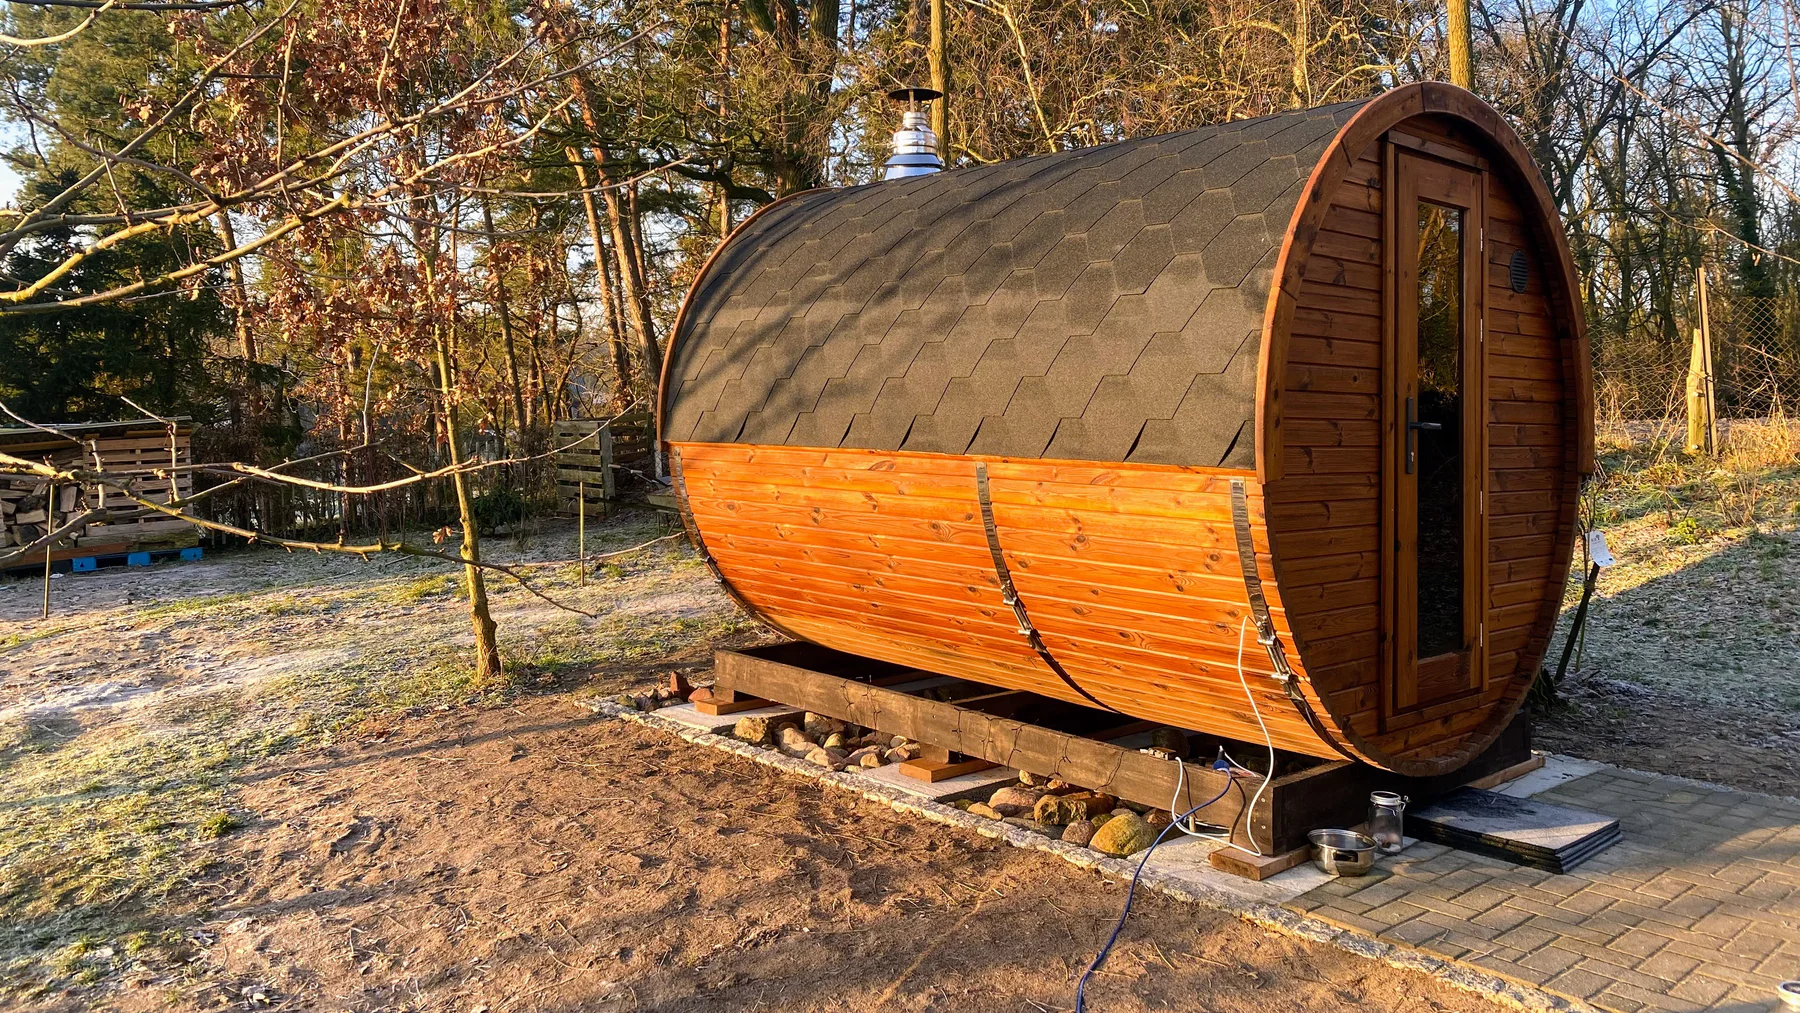
- Compare length, width, diagonals and support positions with the approved drawing.
- Check levels at the points that actually carry the sauna.
- Pour a little water around the area to check that it does not remain trapped.
- Check the space required for the heater, flue, door and services.
- Photograph dimensions with a visible tape measure before landscaping conceals them.
- Correct discrepancies before lifting rather than permanently packing a cabin on an inaccurate base.
Link this preparation to the rules for positioning an outdoor sauna and the moisture or door problems to avoid. Not all TimberIN outdoor saunas have the same footprint: choose the variant first, then give its drawing to the professional familiar with your ground.
What to remember before deciding
Frequently asked questions
Must you always remove 5 to 10 cm of soil?
No. That figure comes from a historical TimberIN example on a lawn. Actual preparation depends on the soil, frost, drainage, loads and sauna drawing.
Is a concrete slab mandatory?
Not in every case. A slab, paving, pads or a deck may be suitable when the solution carries the loads correctly and follows the model’s support requirements.
Can you slope the sauna to drain water?
Follow the level specified by the manufacturer. Arrange drainage around the base rather than distorting the cabin or its supports.