

A traditional wooden hot tub becomes watertight through accurate timber preparation, close stave joints, controlled compression and the natural movement of wood when it is first filled. It is not sealed like a plastic tank. Understanding that construction explains the first-fill routine, the maintenance it needs and why a professionally made tub differs from a timber-clad liner.
First identify what is actually made from wood
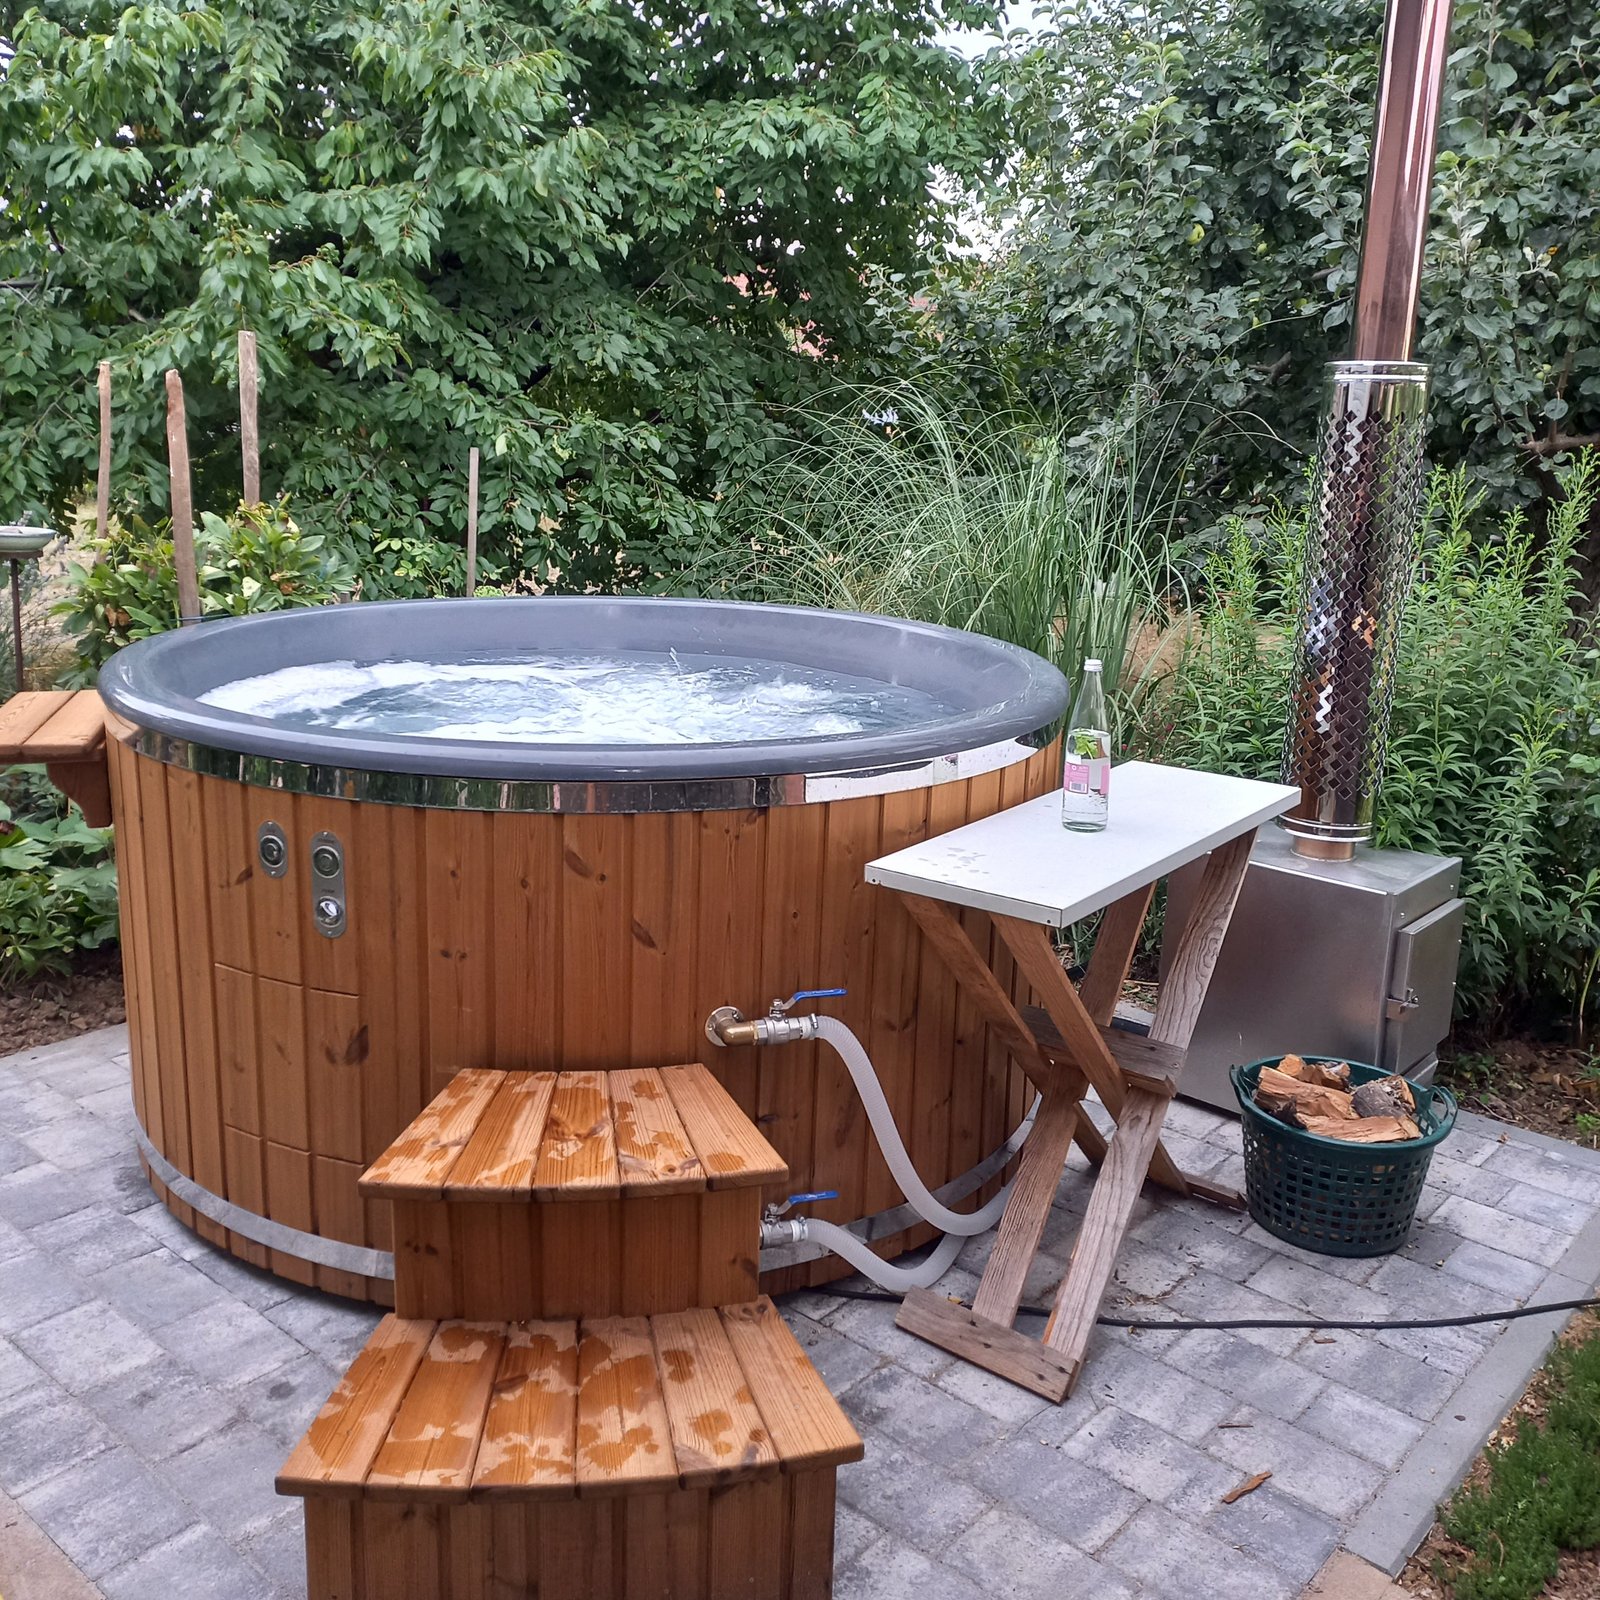
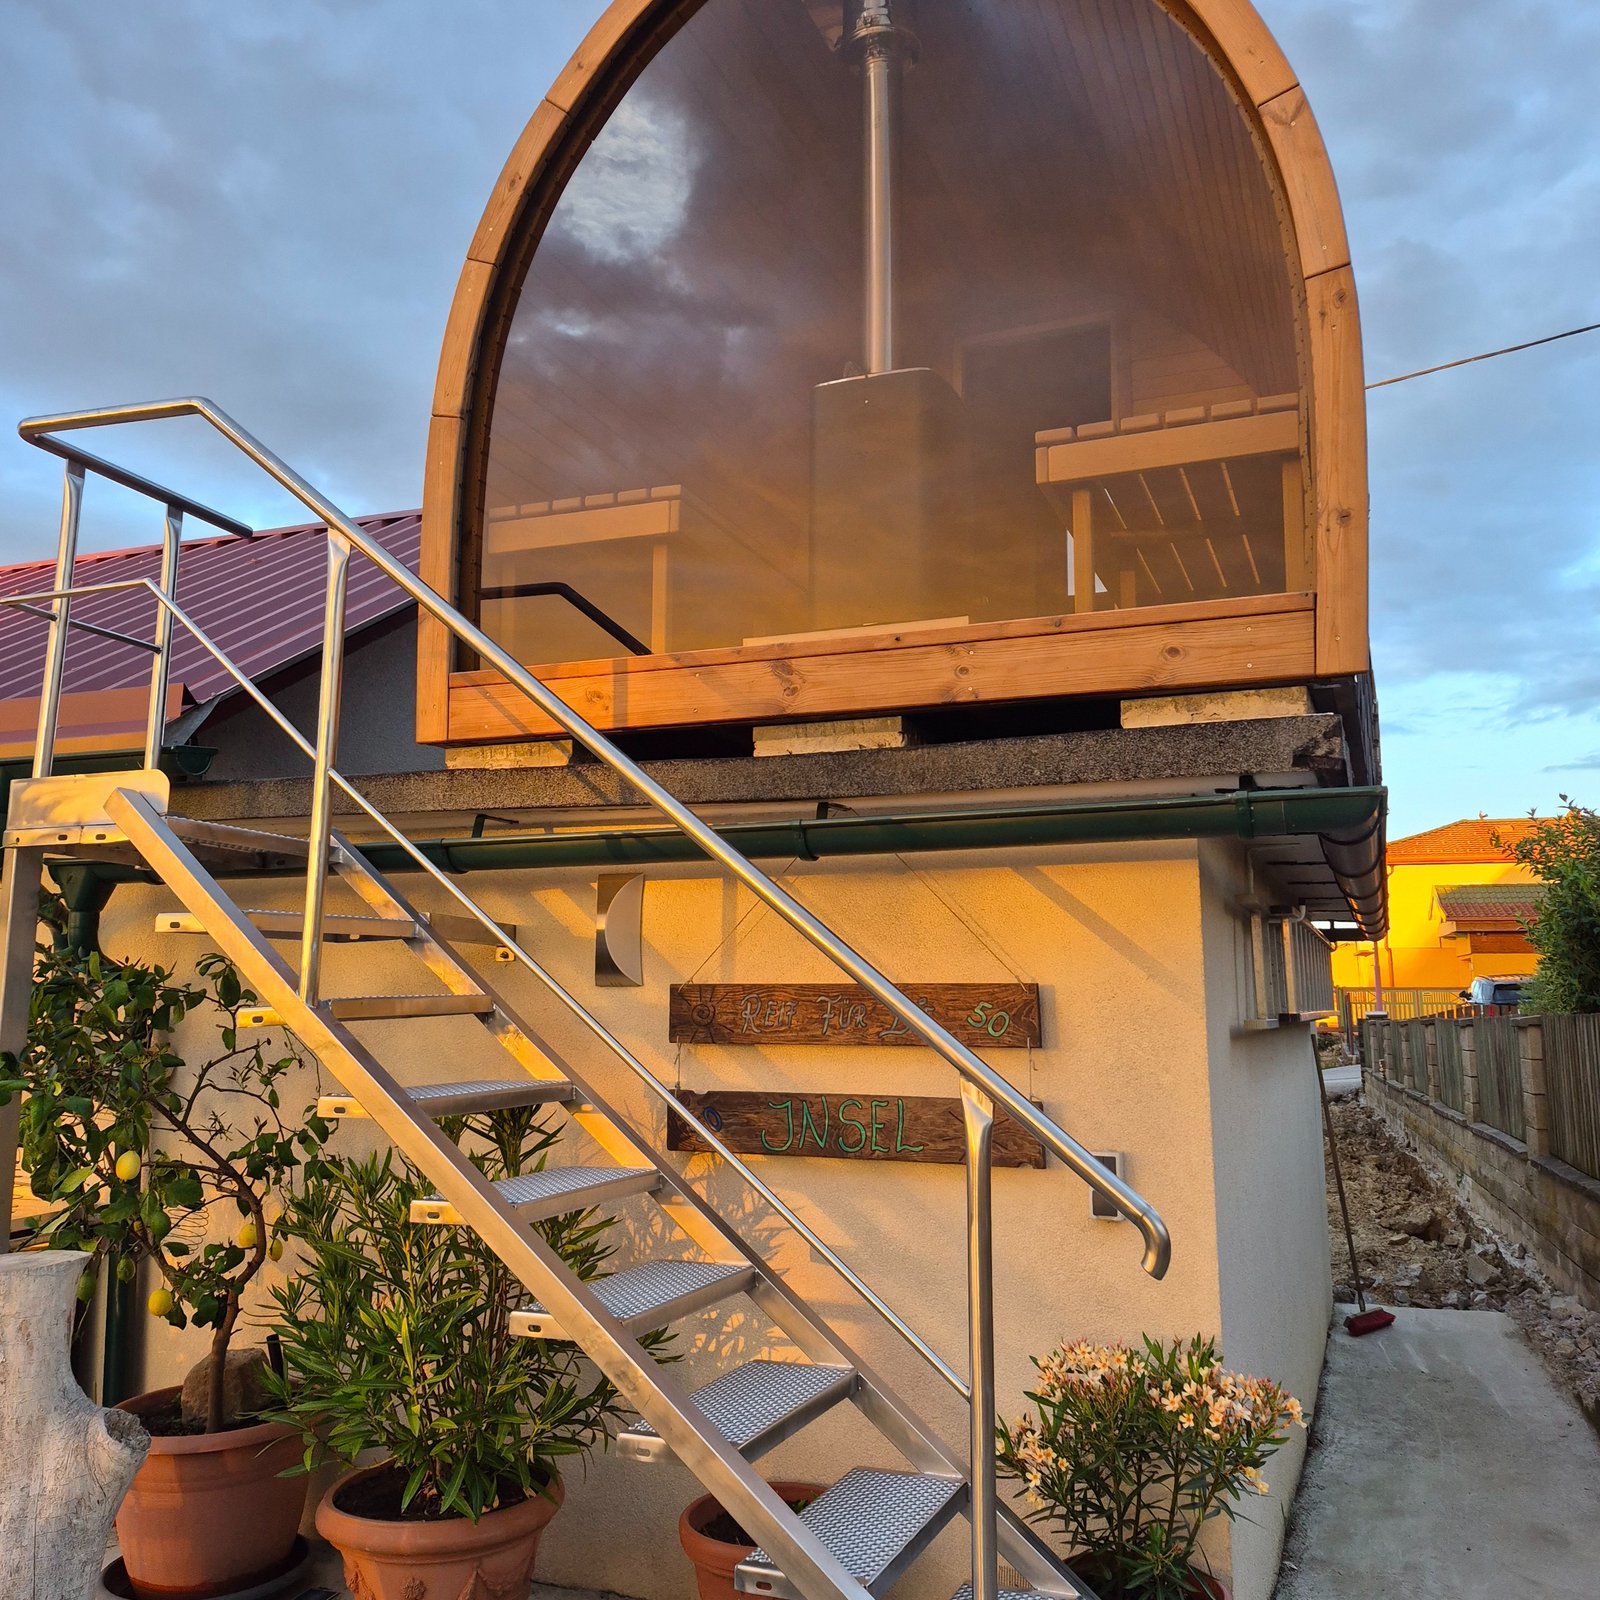
A solid-timber tub uses its wooden floor and wall staves to retain the bathing water. A lined tub may look similar outside but relies on a polypropylene or glass-fibre shell; the timber is then cladding rather than the vessel. Both can be well made, but their joints, seating, water care, insulation and winter behaviour are different.
This article describes the solid-timber method. It is an explanation of specialist manufacture, not a substitute for structural, heater, plumbing or electrical design. A filled family-size tub places several tonnes of water and occupants on its base, while a wood stove introduces hot metal, a flue and a pressurisation risk if circulation is wrong.
The design is resolved before the first board is cut
The maker fixes the internal diameter and depth, normal occupancy, bench geometry, drain, heater position and cover. From the final operating volume come the foundation load, stove selection and heating expectation. Openings for an internal, integrated or external heater must match the approved water circuit; they cannot be improvised after the staves are assembled.
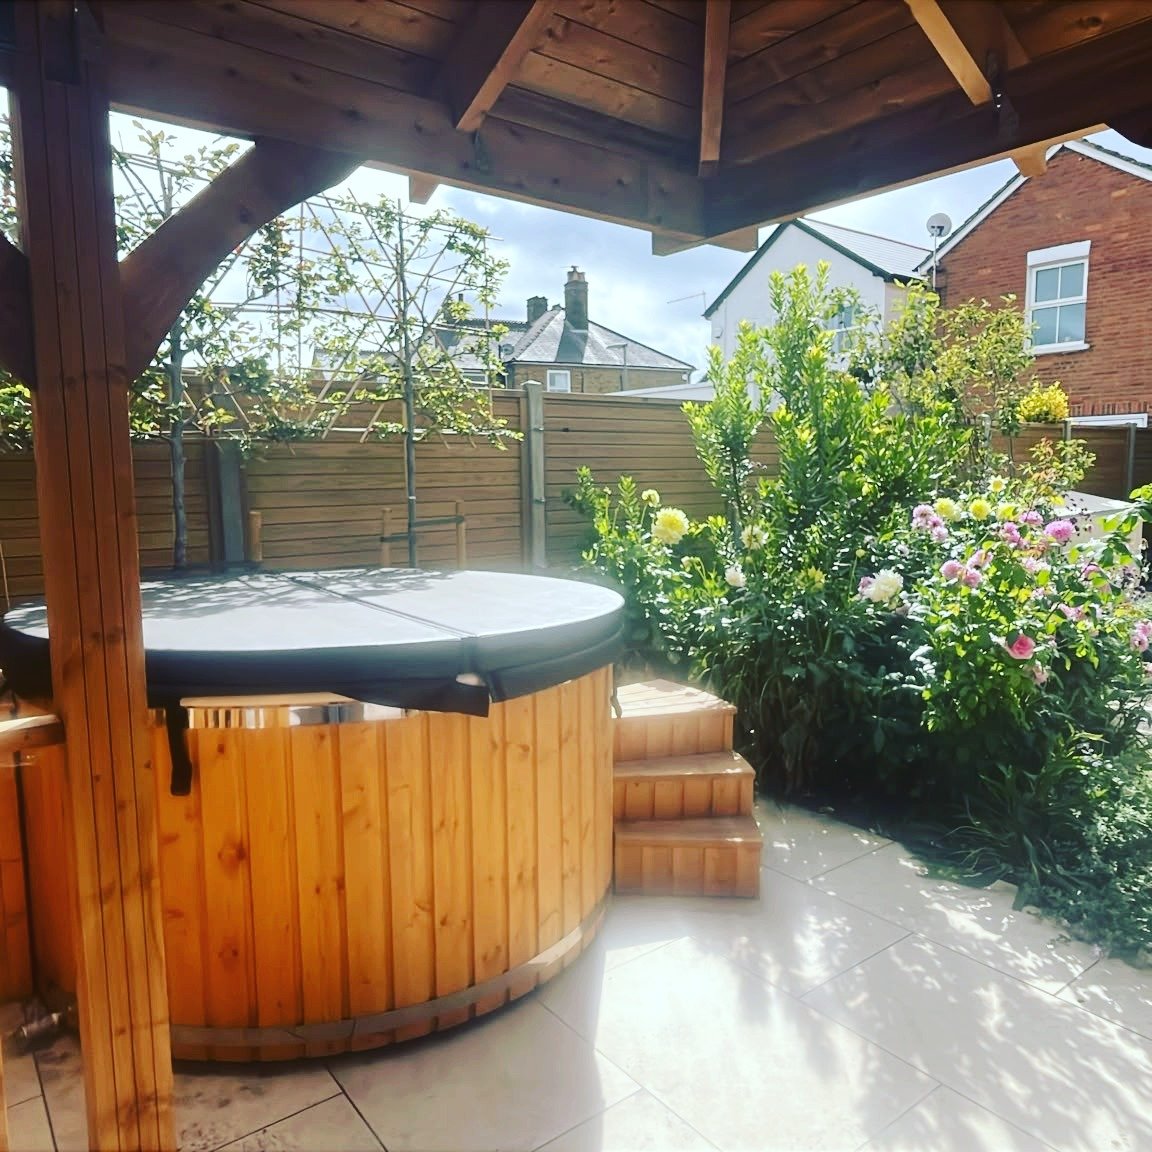
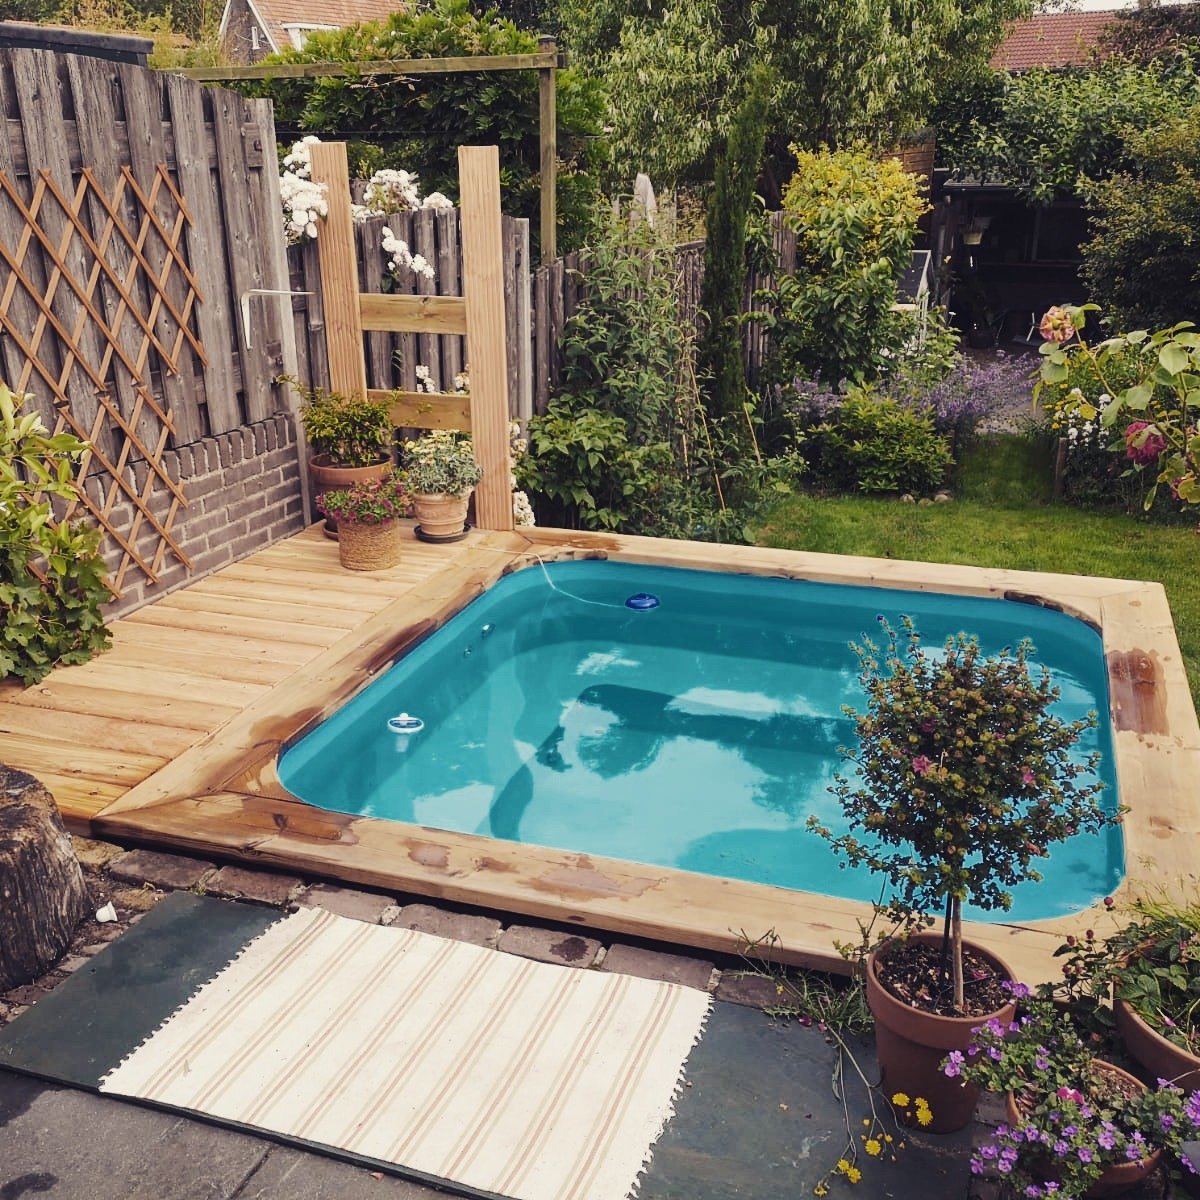
Access also belongs in the design. Bathers need safe entry, the stove needs a workable fuel-loading side, and bands, drain and connections must remain inspectable. If the tub will be recessed, the surrounding deck is designed around those clearances rather than tight to the visible rim.
Timber selection is about stability as well as appearance
The species and grade must be suitable for the manufacturer’s water-retaining construction. Grain direction, knots, splits, moisture condition and machining quality affect whether adjacent staves move evenly. Timber used for external cladding is not automatically suitable for a wetted structural stave, and a species name alone does not establish grade or origin.
The species used for exterior boards may differ from the species approved for the water-retaining vessel. The written model specification should state what forms the water-retaining body, benches and exterior rather than treating every visible board as the same material.
What the staves, floor and hoops each do
The floor, wall and hoops work together. The lower edge of each wall stave meets the floor through the maker’s joint profile; the side edges meet neighbouring staves. The wall is therefore a continuous fitted assembly, rather than a series of boards screwed onto a waterproof tank.
Hoops restrain the circumference and help keep these joints seated as the timber changes moisture content. Their job is controlled restraint, not forcing a split or badly machined board into a seal. More tension is not automatically better: a leaking joint needs diagnosis before adjustment.
Bench supports, guards and heater connections add loads and openings to that assembly. They need the original drawings and compatible fittings. This description explains what to inspect and ask about; it does not supply the dimensions, fastening schedule or heater design needed to build a safe vessel.
The first fill is part of commissioning
Dry timber can pass water at fine joints when first filled. As it takes up moisture, it moves and the accurately made joints close. The correct response is the maker’s staged wetting and inspection routine, not sealant poured across the interior or immediate aggressive band tightening. Mark the level, observe where water appears and distinguish normal early weeping from a damaged stave, fitting or floor joint.
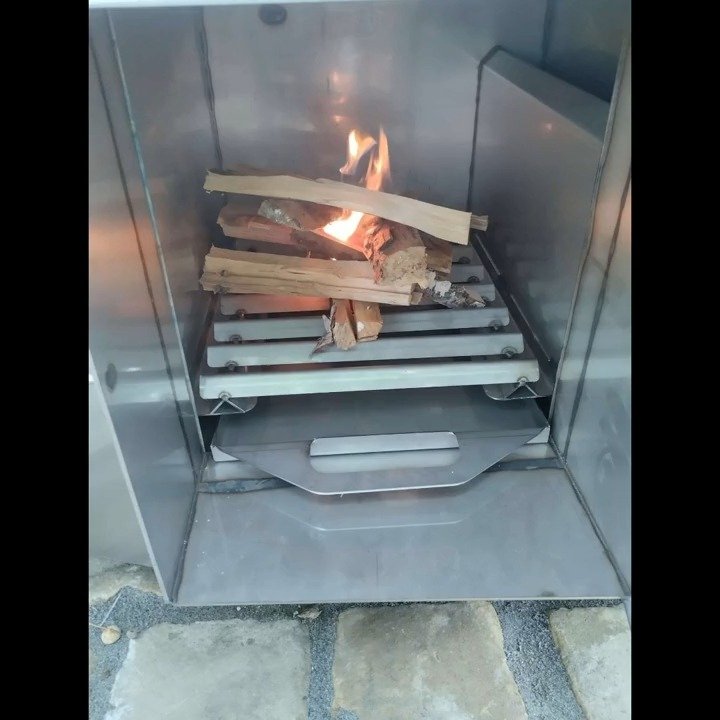
The stove remains off until the tub has the required water level, its circuit is full and circulation is proven. Heating an empty or partly flooded water jacket can damage equipment and create a serious hazard. The first warm cycle is monitored with all connections visible.
Finish the outside without sealing moisture into the structure
Exterior care follows the selected timber and supplied finish. A compatible breathable treatment can slow weathering when the chosen appearance is to be retained; some owners allow natural colour change. Interior products must be explicitly approved for prolonged hot-water contact and the intended water-care regime. A decorative household varnish is not an appropriate universal solution.
Keep the underside ventilated, stop soil and mulch touching the staves, and direct rain away from the base. A fitted cover protects the interior and reduces heat loss, but the tub should not be wrapped so tightly that damp timber cannot dry where the design expects it to.
Why a professional build remains serviceable
The drain, bands, heater circuit and optional equipment can all be reached after installation. Connections allow the movement specified by the maker without placing stress on a stave. A recessed tub has removable panels large enough for component replacement, not a token viewing hole.
Identify the construction before ordering parts
Take photographs of the interior, outer hoops, underside and heater connections and keep the model details. A timber-looking exterior with a continuous moulded or welded interior has different leak and cleaning routes from an all-wood vessel. Do not adjust its cladding as if it were a stave joint.
For supplied components and assembly responsibility, use the DIY hot-tub range. For ongoing care, follow the maintenance guide and the leak diagnosis guide.