
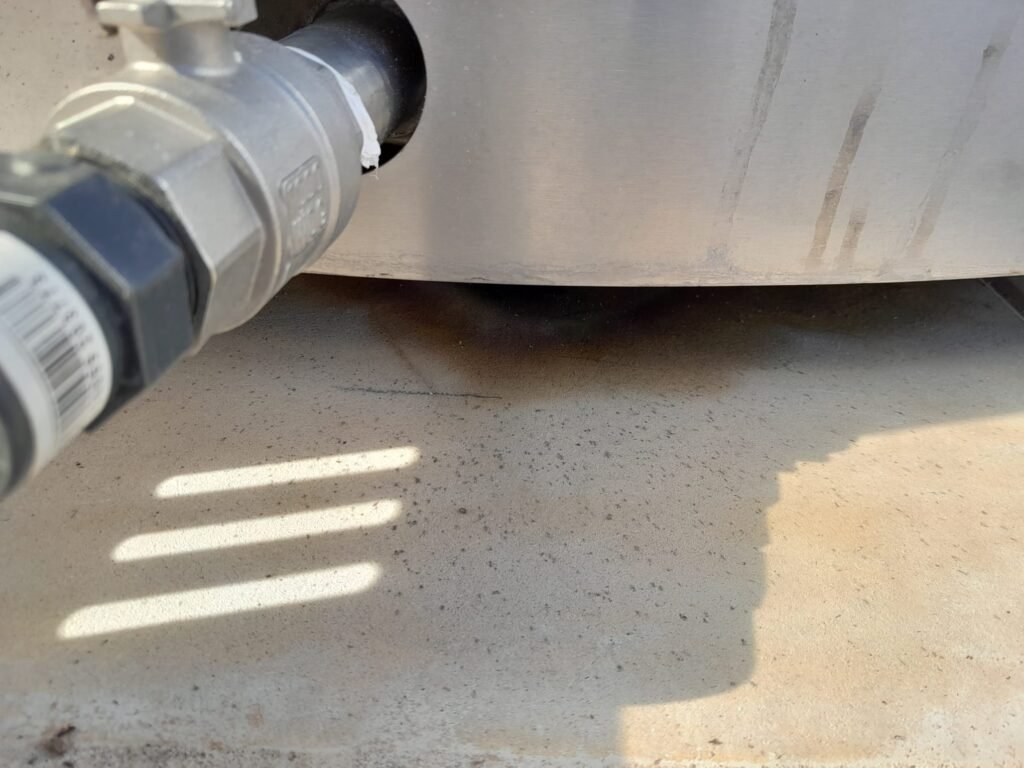
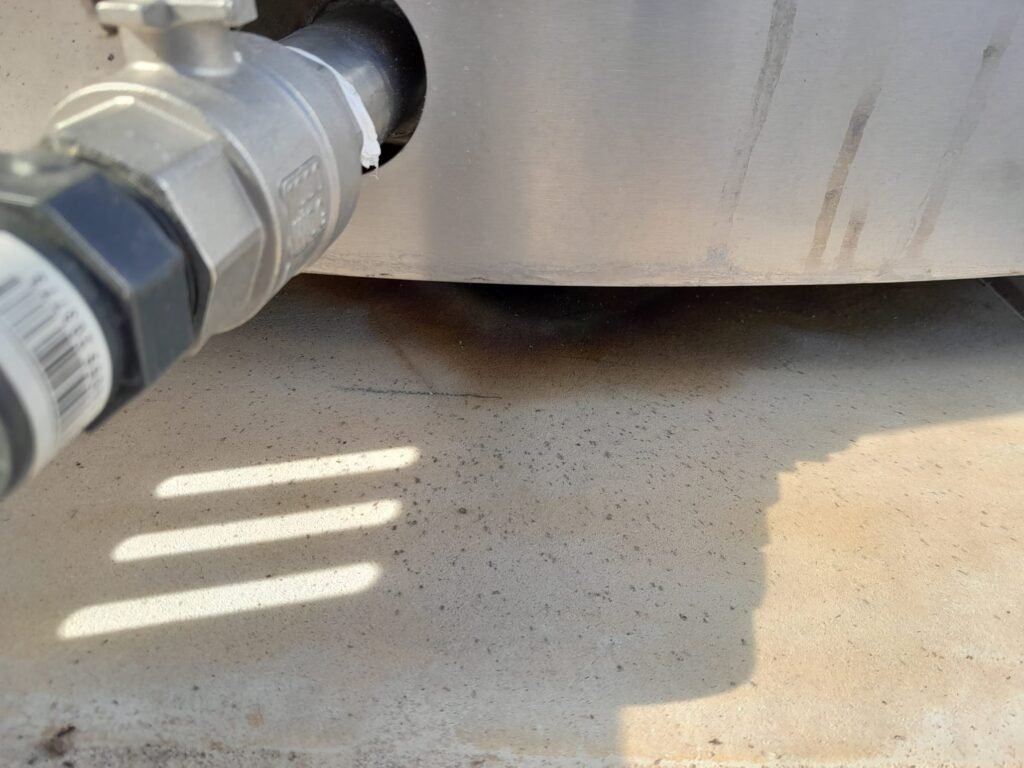
A brown puddle beneath the stove is understandably worrying, but it does not by itself prove that the heat exchanger has a hole. Water can enter through the flue, condense on a cold surface, wash away soot and then escape through a joint. It may also come from a water connection and become discoloured by deposits. When it appears is often the most useful clue.
Four scenarios to distinguish
| When | Likely cause | Check |
|---|---|---|
| After rain, stove cold | Water entering through the cowl or a flue joint | Inspect the cowl, joints, slope and internal traces. |
| At the start of a fire in a very cold stove | Condensation carrying tar or soot | Wood, draught, flue-gas temperature and flue condition. |
| During circulation, even without rain | Union, seal, pipe or heat exchanger | Dry the area, refill in stages and trace the first damp point. |
| After cooling and cleaning | Residual water or washed-out deposits | Observe the lowest point and the draining procedure. |
Stop using the stove before inspection
The investigation must connect the external stove installation, signs of corrosion on components and the routine for safe heating.
Let the fire go out and the whole assembly cool. Do not touch a hot flue or dismantle a pressurised heat exchanger. Switch off electric circulation if the system has it, then dry the area. An absorbent sheet under each connection can help locate the first drop during a cold test.
Condensation and combustion
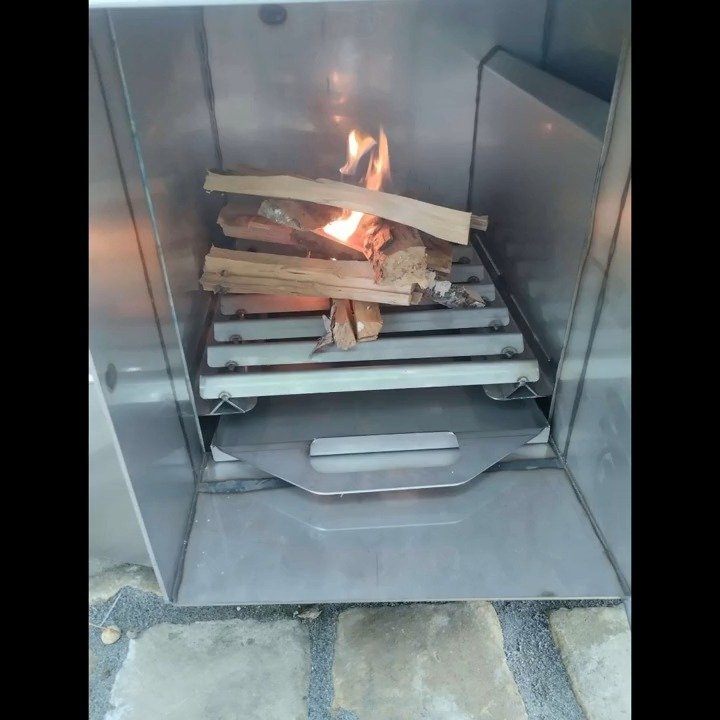
Damp fuel, a smothered fire or a cold flue encourage condensate containing brown compounds. Use the specified dry wood and firing method, clean the flue according to the manual and check its draught. Heavy tar accumulation requires competent servicing: it affects both operation and fire safety.
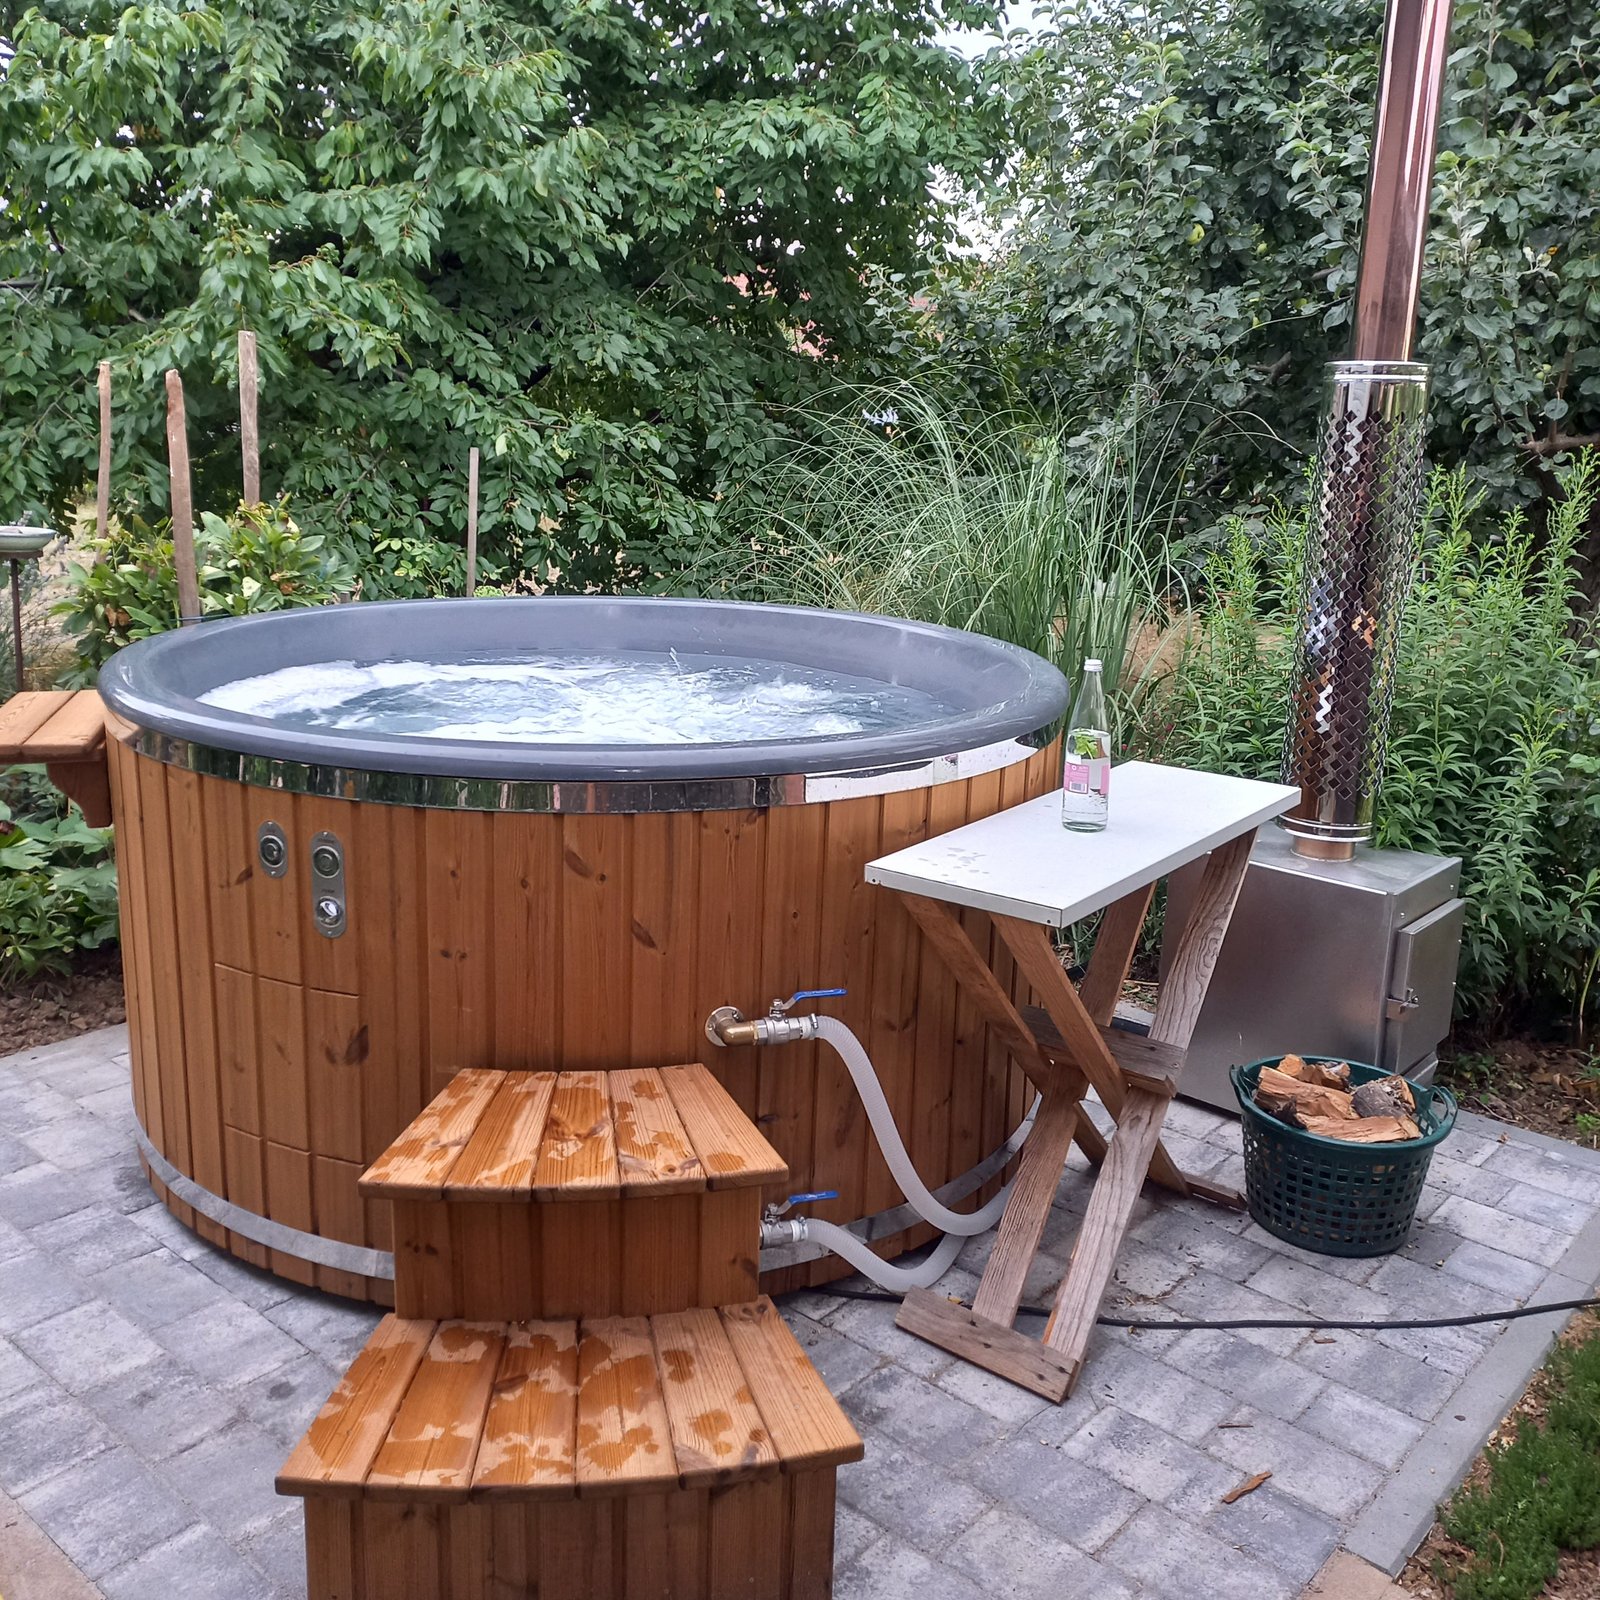
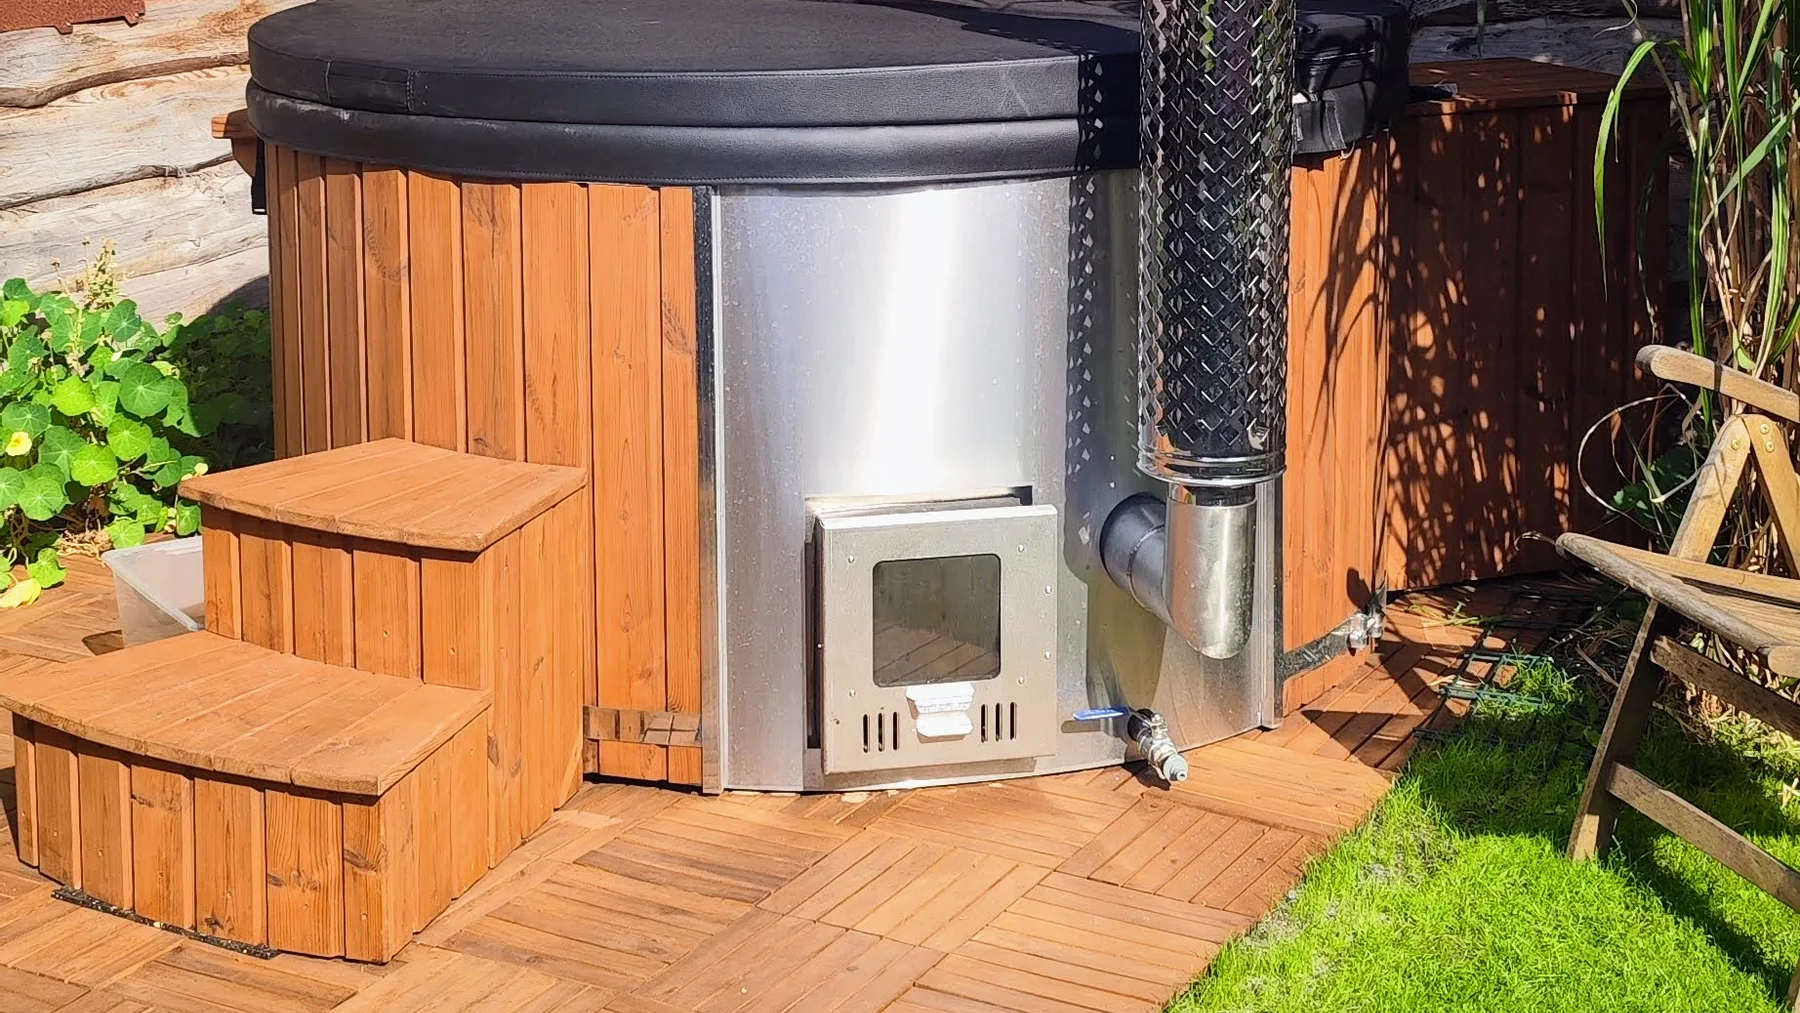
The product page for the Nordic External™ shows a current family of external stoves. To identify an appliance already installed, use its rating plate and order, then send these references to technical support with photos of the stain. Resemblance to a sales photograph is not a diagnosis.
If the cause is in the water circuit
Check the tub’s water level, unions, valves and accessible welds. Do not add paste, silicone or sealant to the circuit without the manufacturer’s approval. These solutions can conceal the source, contaminate the water or complicate a repair. A heat-exchanger leak or deformation needs assessment by technical support.
Reproducing the problem without making it worse
After cooling and shutting down according to the manual, clean only the accessible observation area and record the natural conditions: recent rain, a tub filled with cold water or a period without use. Do not pour water onto the cowl or into the flue to provoke a leak. If a test is necessary, ask the manufacturer for a written procedure for that stove; do not light an appliance while the source of the liquid remains unknown.
Do not drill a drainage hole, interfere with a weld or apply sealant to an appliance under warranty without written agreement. An improvised intervention can move the leak, conceal a crack or make the manufacturer’s diagnosis impossible. Photograph the first damp point with a scale reference and retain a sample on white absorbent paper if technical support requests it.
The guide to installing an external stove helps check gradients and connections. Heating configurations can be compared among the hot tub stoves. If the liquid continues to appear, stop using the stove until the cause is identified.
What to remember before deciding
Questions to identify brown liquid
How can you distinguish condensation from a water-circuit leak?
Work with the stove cold, dry the area and then locate the first damp point. Weather, smell, soot and any drop in water level help separate combustion condensate from a circuit leak.
Can you keep heating if only a little liquid appears?
An unknown or persistent cause means stopping until a diagnosis is made. The visible amount does not rule out a crack, a connection or liquid coming from the flue.
Should you apply sealant immediately?
No. A product can conceal the starting point, move the leak and compromise the warranty. Photograph the area and ask for a written method suited to the stove and connection concerned.