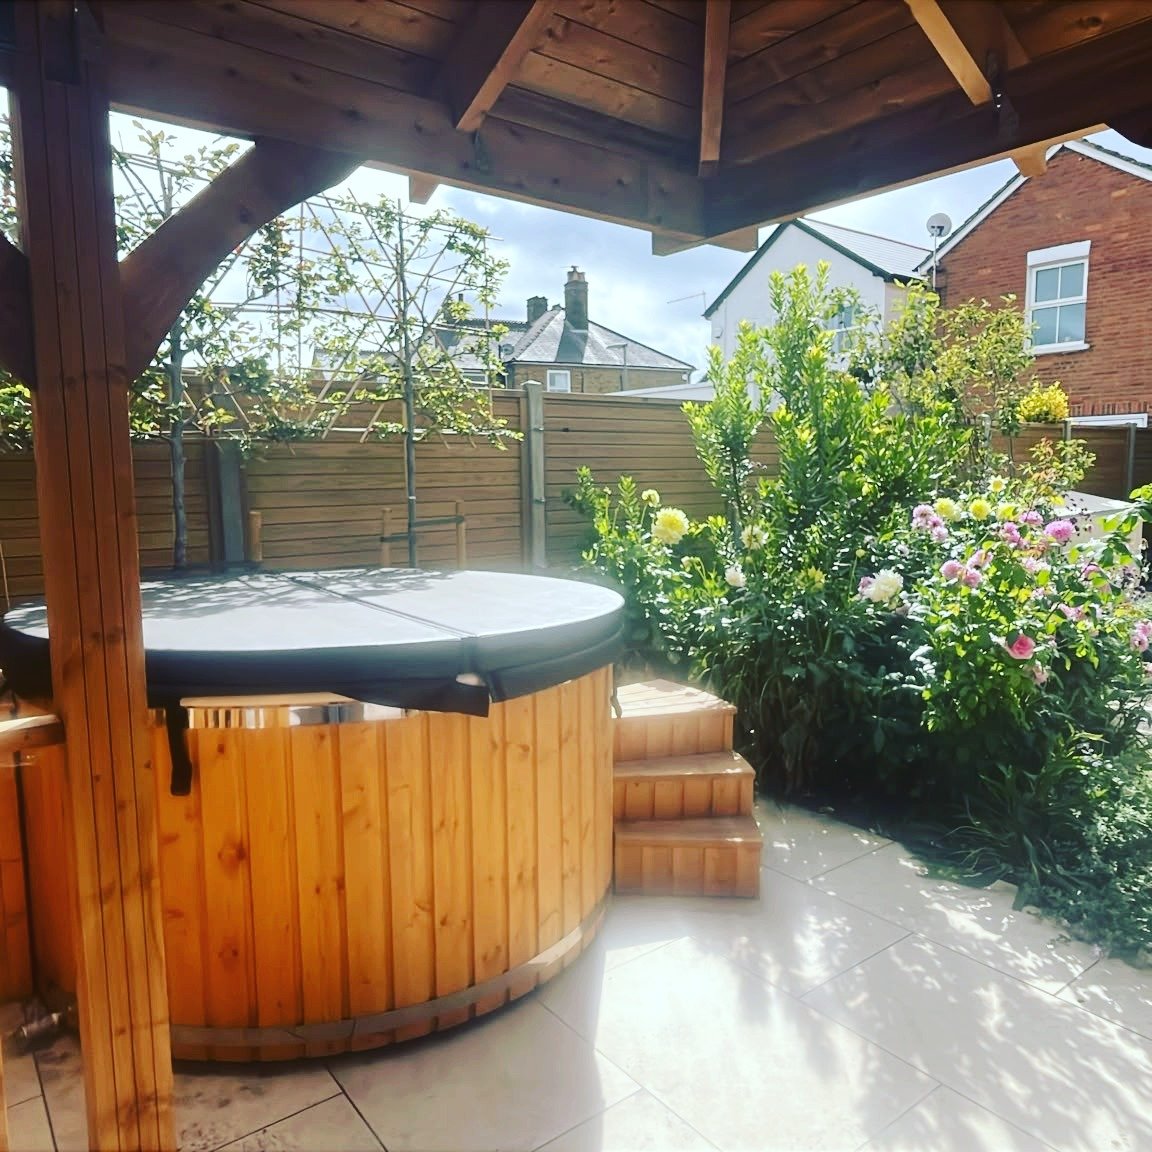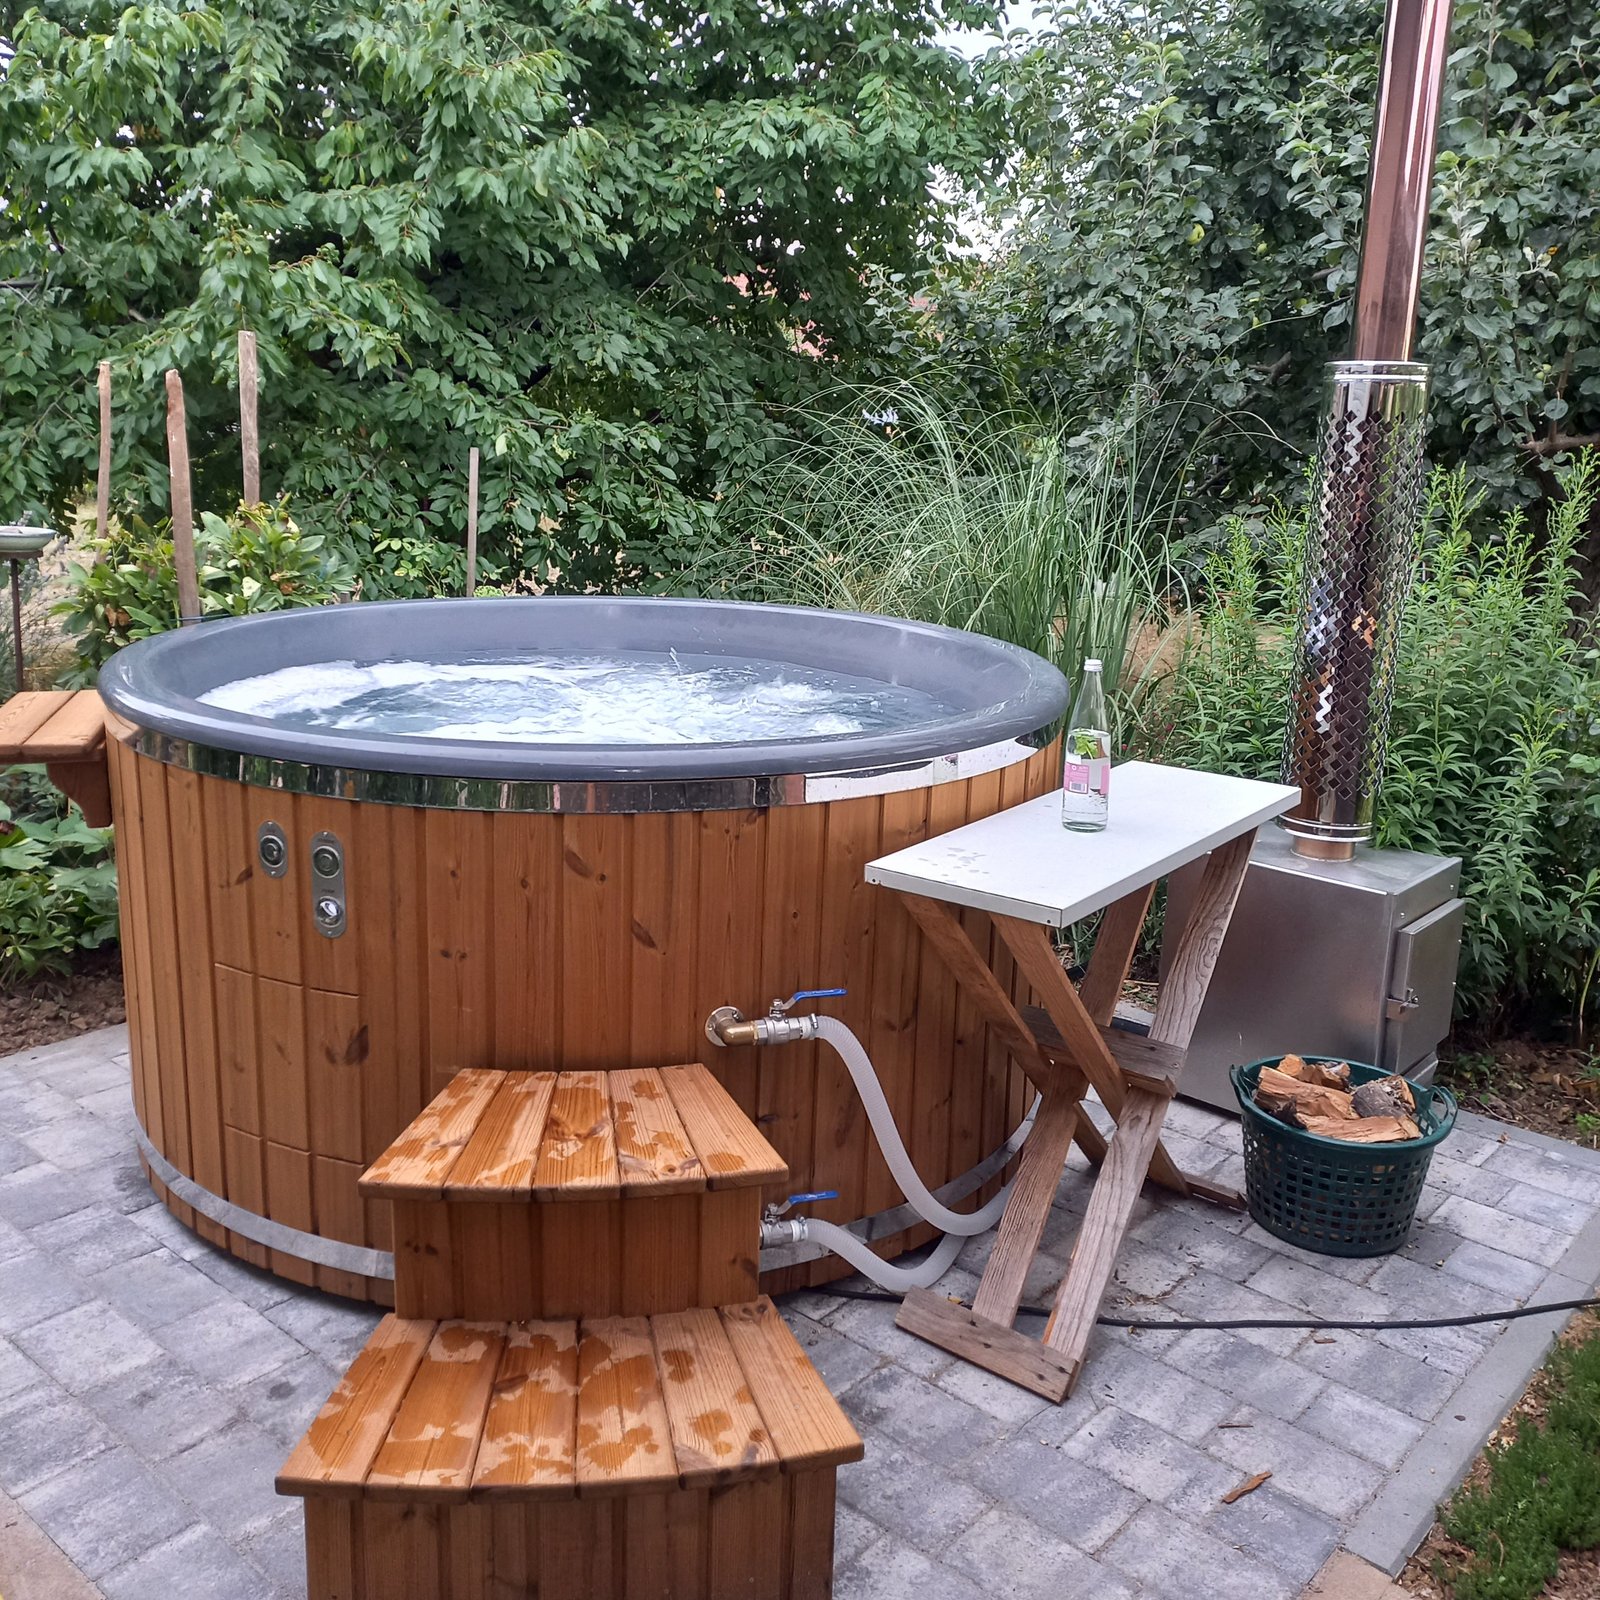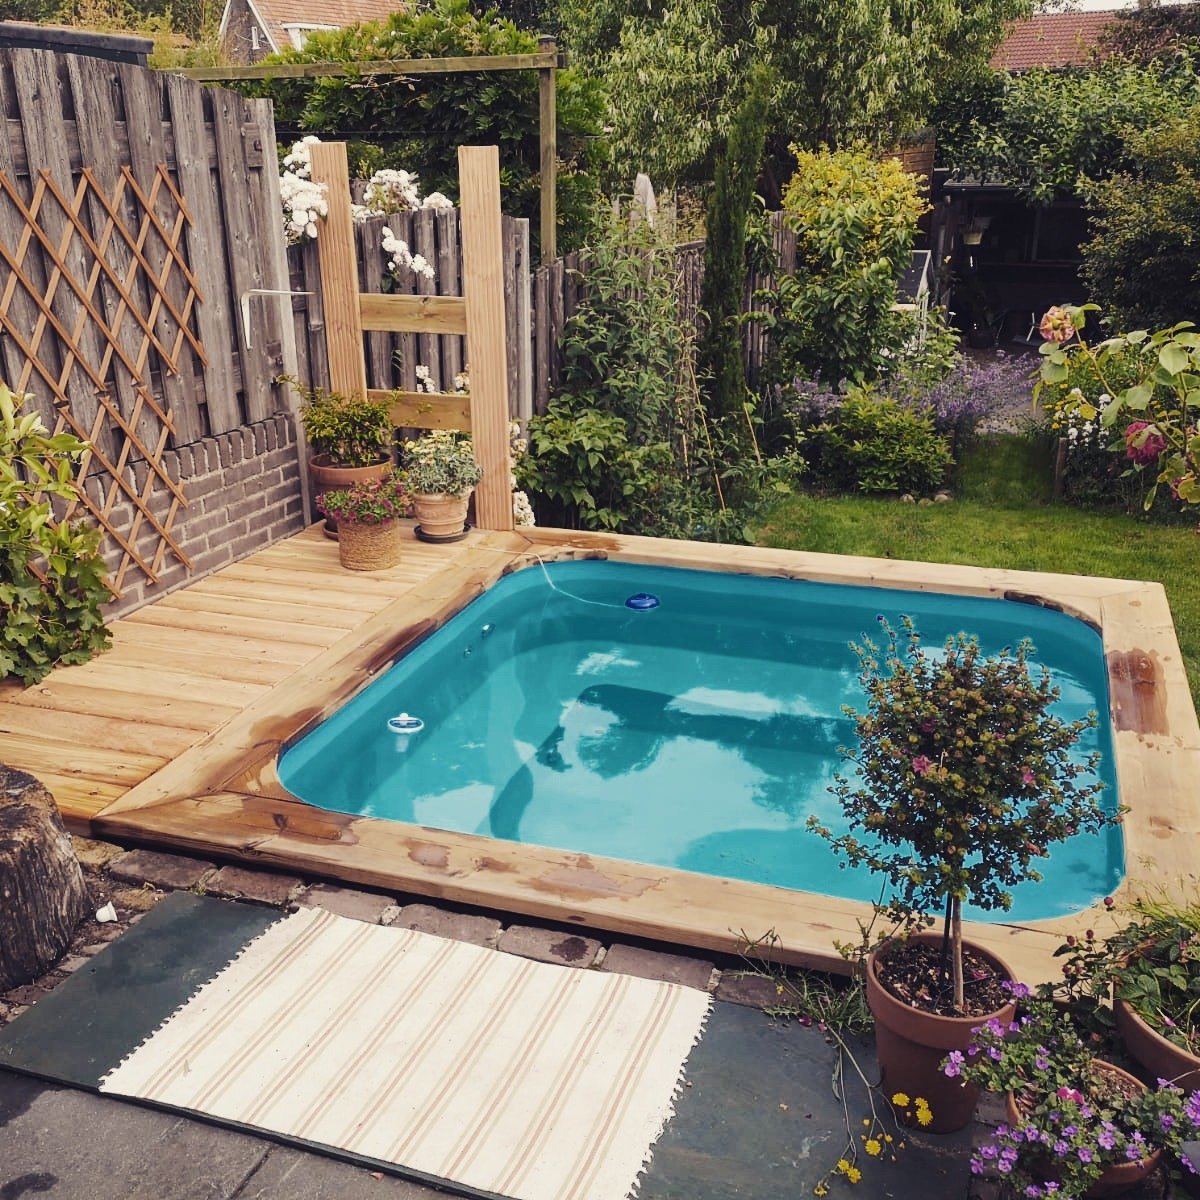

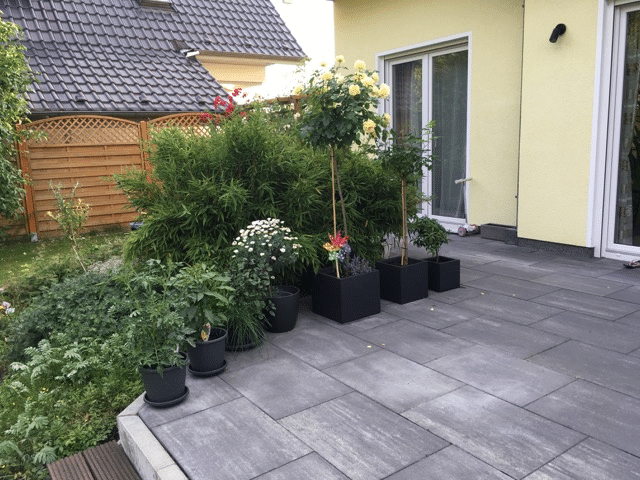
In this project, the owner did not choose a position at random. They decided to redesign an existing flower-planted corner to create an area that worked with the terrace and was more practical for everyday use.
Step 1 — Clear the ground and remove the soil layer
The plants were removed, followed by the surface soil, to provide a more reliable starting point for the future hot tub.
Customer-project reference: around 1 day of work and nearly €100 for soil removal.
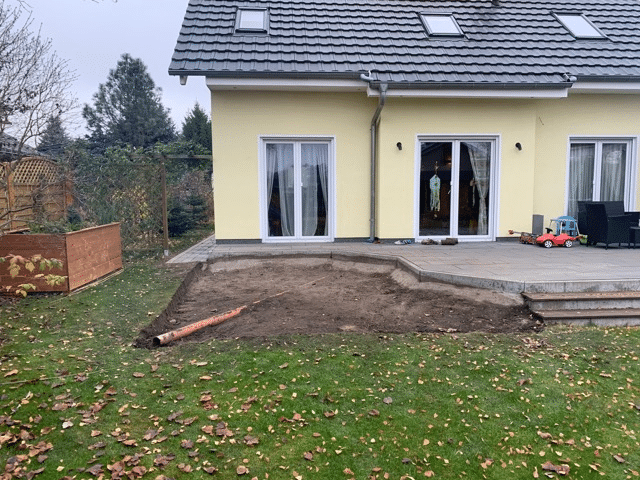
Step 2 — Define the position clearly
Once the ground is cleared, the intended position beside the terrace becomes easier to assess. This stage confirms access, layout and space requirements.
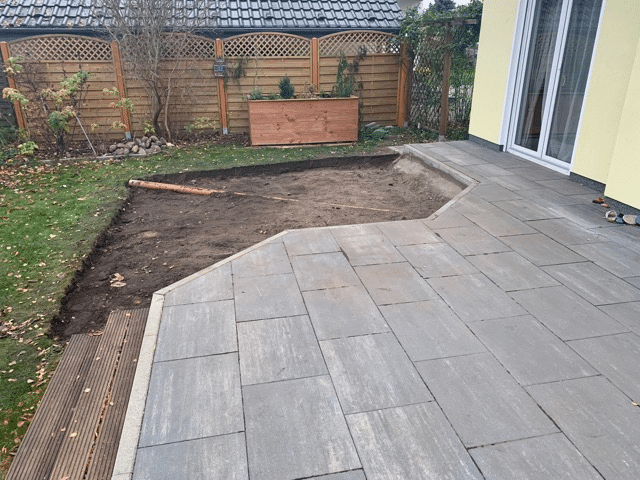
Step 3 — Create the edging and base layer
Masonry edging was built, then the area was filled with gravel to form a sub-base suitable for the final surface.
Customer-project reference: around 1 day of work, €50 for cement and approximately €65 for gravel.
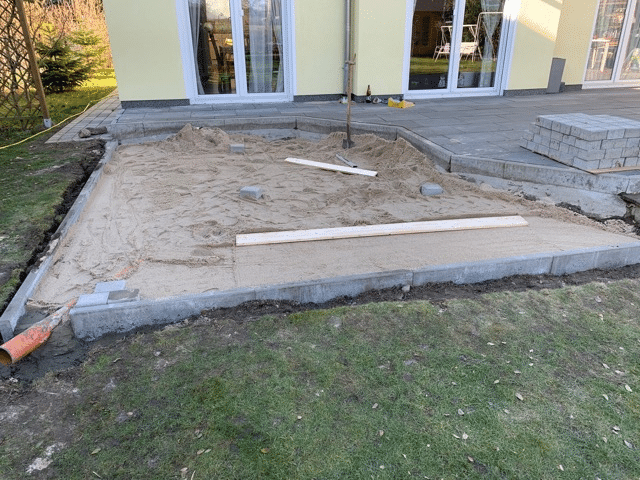
Step 4 — Lay the supporting slabs
The whole area was then paved to obtain a stable, clean and easily maintained surface. Here, the area was approximately 16 m².
Customer-project reference: around 3 days of work and €130–200 in materials.
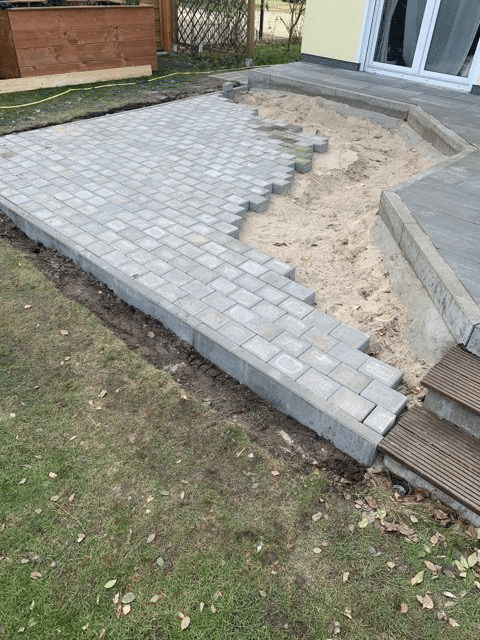
Step 5 — Plan the transition to the existing terrace
Because there was a level difference of around 40 cm between the terrace and prepared area, the owner chose to create a timber transition.
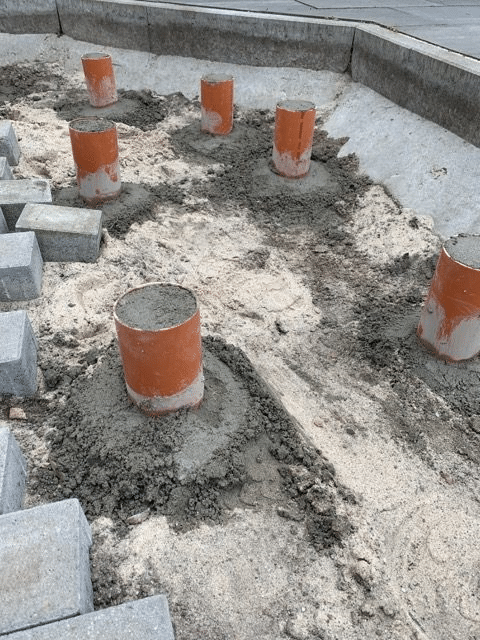
Step 6 — Build the substructure around the hot tub
A substructure was prepared to surround the tub and visually connect the new area with the main terrace.
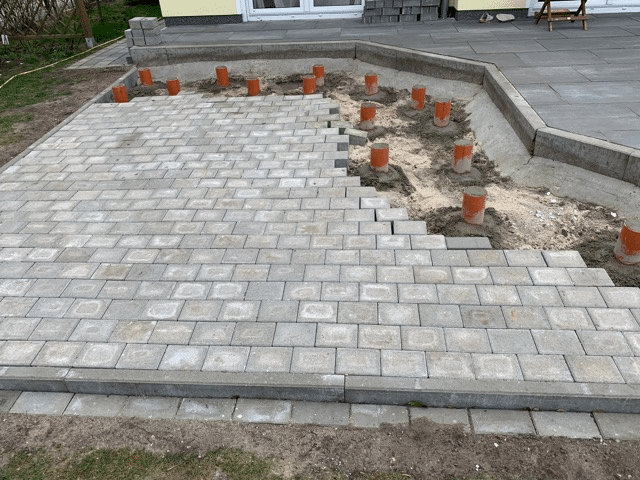
Step 7 — Add intermediate supports
Additional piers were distributed between the slabs to improve the stability of the timber deck and carry the loads more effectively.
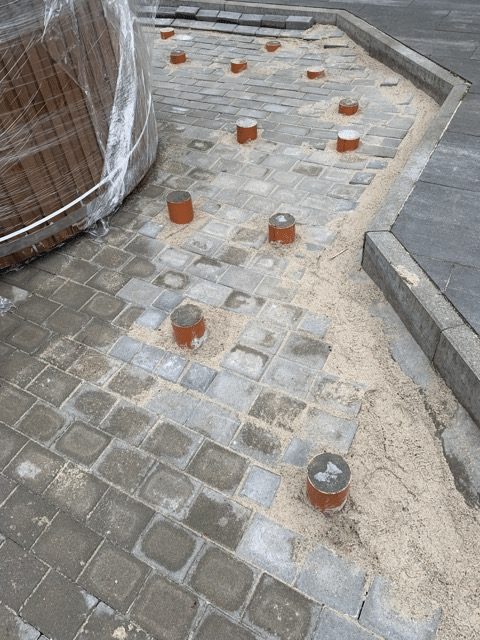
Step 8 — Assemble the timber framework
The timber deck structure was then assembled to create the future transition between the existing terrace and hot tub.
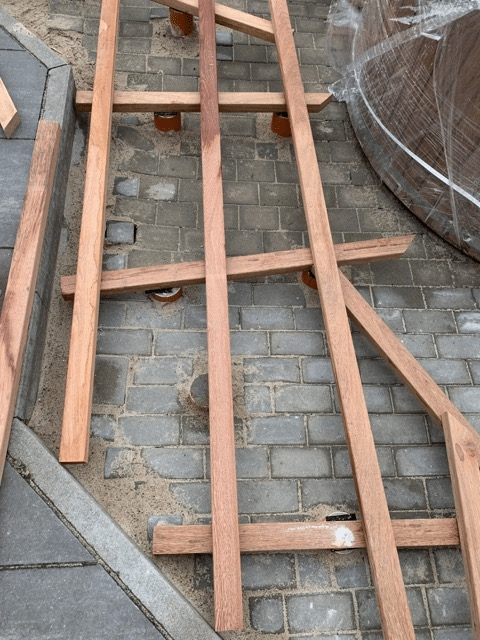
Step 9 — Form the curve around the hot tub
The curved finish around the tub needs greater precision than a conventional straight deck. It is often one of the project’s most technically demanding parts.
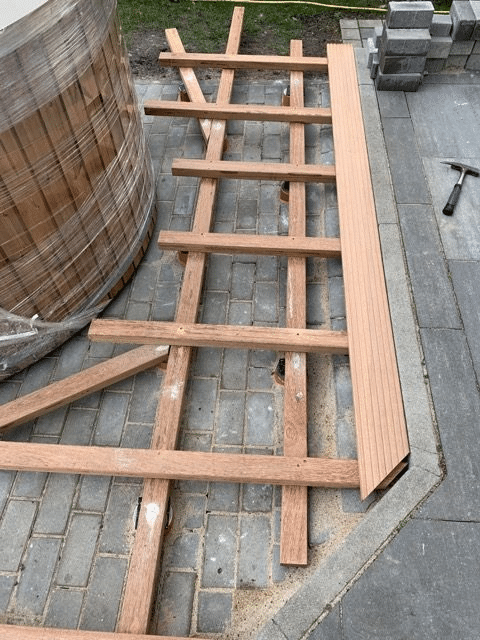
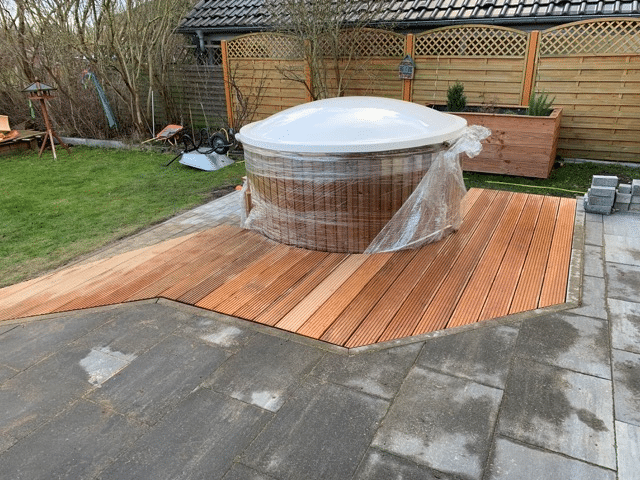
Step 10 — Complete the tub’s integration into the terrace
With the finishes installed, the hot tub now looks integrated into the layout. It no longer appears simply placed there, but genuinely incorporated into the outdoor space.
Customer-project reference: around €1,000 for the timber work carried out by a professional.
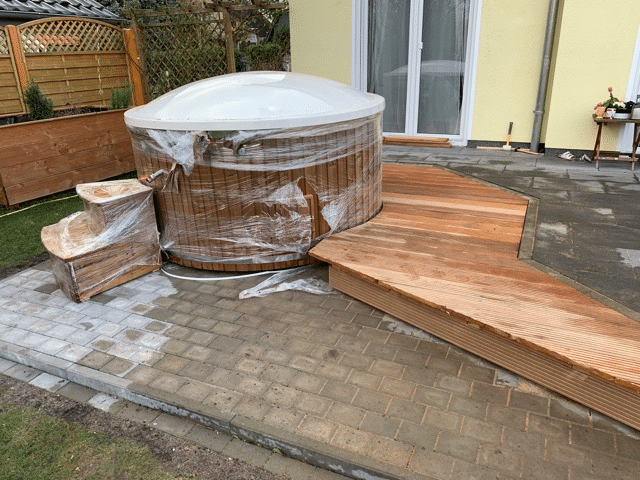
Step 11 — Final result and technical equipment
In this example, the hot tub also includes additional equipment such as LED lighting, massage systems and filtration, making it necessary to plan electricity and technical access in advance.
Customer-project reference: around half a day’s work for the electrical supply, plus approximately €25 for cable.
What to learn from this example
- The right position should be planned before ordering the hot tub.
- Preparing the base is a proper construction project in its own right.
- Associated works can involve several days of work and several hundred euros.
- Integration with timber decking significantly increases the technical demands and budget.
- The more extensive the integration, the more important it is to be certain of the final position.
This customer project should be read as a practical example showing the logic of a real project. Costs and technical solutions vary with the ground, tub size, equipment and desired finish.
A hot tub recessed into decking: complete preparation and installation guide
An illustrated guide based on a real TimberIN installation. The photos show a practical construction method with a timber structure and external wood-burning stove. They help explain the preparation process, but are not a universal structural plan. Dimensions, load capacity, stove and chimney clearances, connections and drainage must always be adapted to the actual model ordered and the site.
A recessed installation differs from a hot tub simply placed on a terrace. Once the decking is complete, much of the tub, connections and structure is no longer visible. The work must therefore be planned before closing the deck: load-bearing base, drainage, technical access, stove position, pipe routes, cover opening and the ability to remove a panel for maintenance.
The photo sequence below shows all the main stages, from delivery to the finished result.
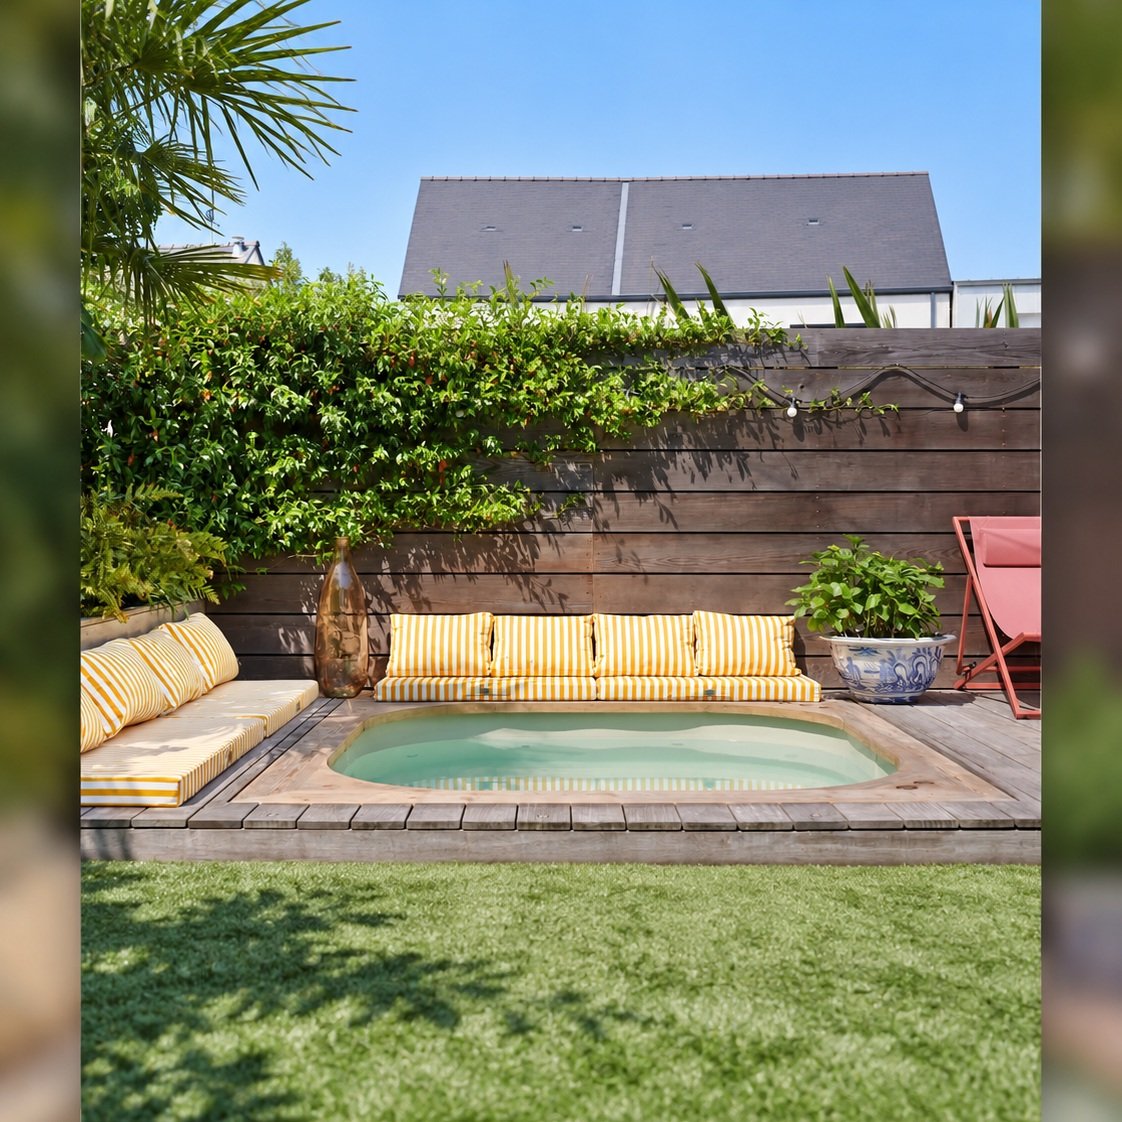
What does the finished result look like?
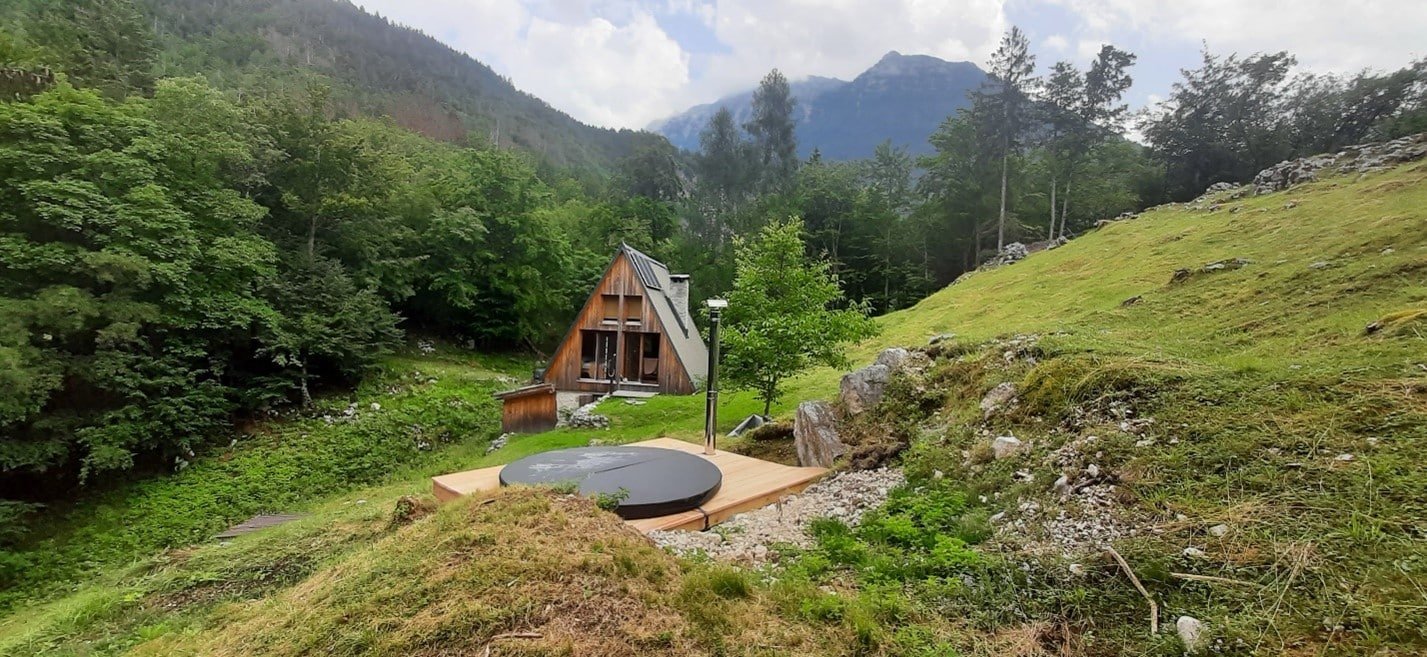
The aim is a hot tub visually integrated into the deck without sacrificing equipment access. In the photographed project, decking surrounds the tub while the wood-burning stove remains accessible from outside the recess.
Before starting, check at least:
- the total load of the tub filled with water and occupied;
- the stability and level of the base;
- water drainage around and beneath the structure;
- access to the drain, connections and any filtration equipment;
- the space needed for the stove and opening its door;
- the chimney route;
- future access for inspection and maintenance;
- full cover opening without conflict with the deck.
Step 1 — Receive the hot tub before starting the recess
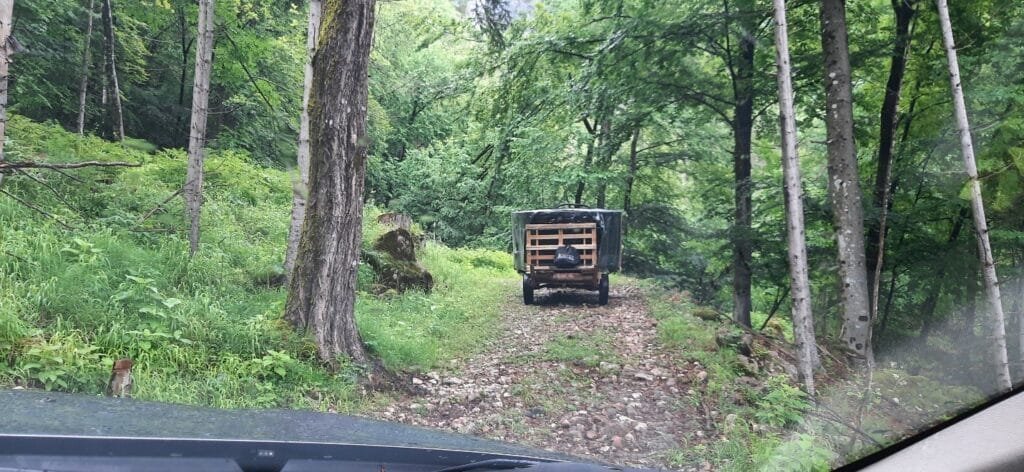
The hot tub arrives protected for transport. Before moving it into the installation area, check access between the unloading point and terrace: passage width, bends, slope, steps, vegetation and overhead obstacles.
It is best to keep the tub protected until the base is ready. Decking should not be built “around an estimate”: the actual positions of the tub, stove, connections and accessories must be confirmed before closing the structure.
At this stage:
- check the condition of the delivered tub and accessories;
- identify the stove and connection positions;
- confirm the tub’s orientation;
- plan where maintenance access will remain;
- do not close any part of the deck yet.
Step 2 — Prepare stable supports and a draining base
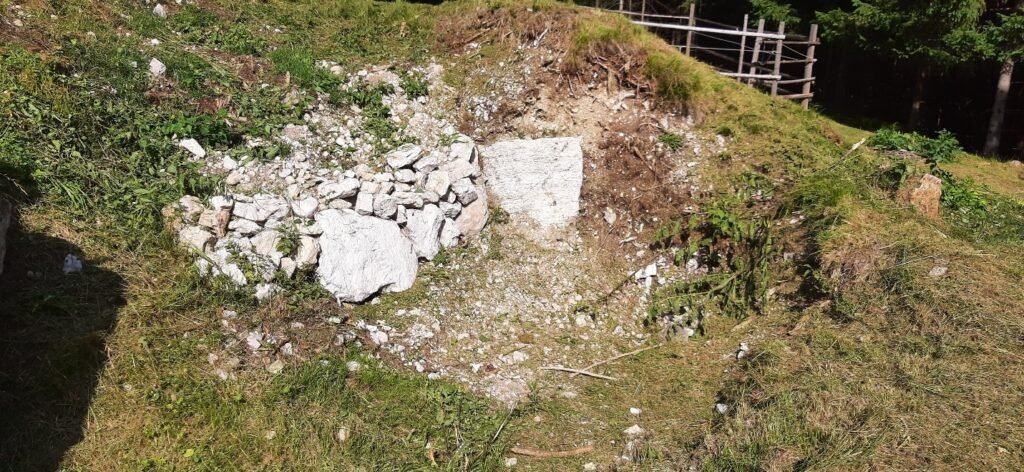
The photo shows the first support points used to stabilise the future construction. The key is not to copy the exact number or shape of the visible stones, but to create a base that does not settle and keeps the structure level.
For a recessed hot tub, the base must simultaneously support:
- the tub;
- the water;
- the users;
- the weight of the decking and its structure;
- local loads from access points, steps or equipment.
The ground must also drain rainwater, splashes and water from emptying or technical work. An enclosed area without drainage can retain moisture around timber and connections for long periods.
Important: on a raised deck, balcony, unstable ground or existing structure, load capacity must be confirmed for the actual project. The photos illustrate a build; they do not replace structural calculations.
Step 3 — Install the first reference support
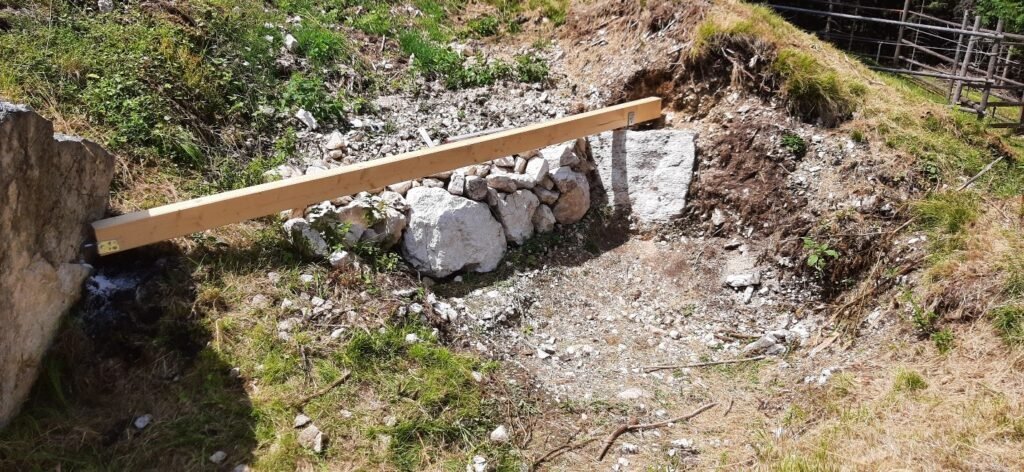
The first post or support is essential because it establishes the starting geometry of the structure. If it is unstable or wrongly positioned, the error is carried through the entire base.
Before adding other elements:
- check that the support is plumb;
- check its stability;
- check its height against the finished deck level;
- confirm the space needed around the tub;
- plan the opening reserved for the stove.
This is the right stage to mark the tub’s outside diameter and the area that must remain accessible on the ground.
Step 4 — Build and level the load-bearing structure
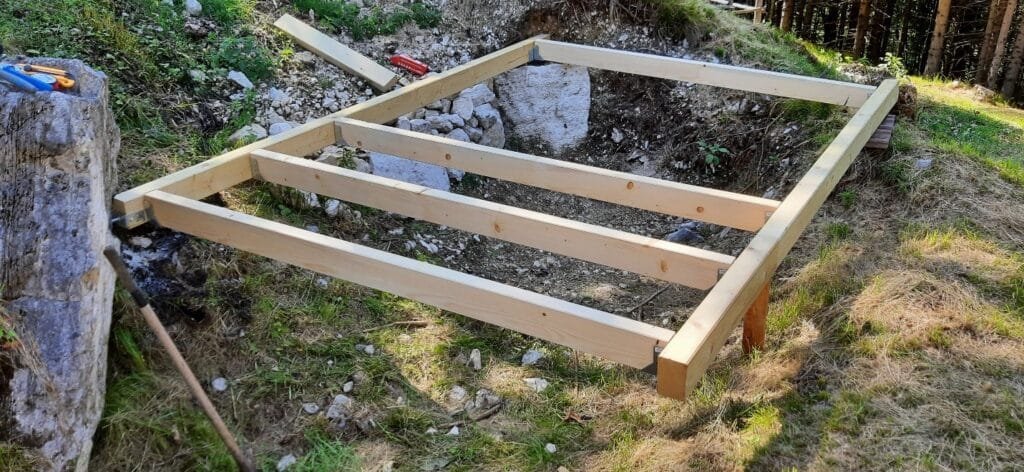
From the first support, the base structure is developed around the future tub. The photo shows the gradual construction of the frame and adjustment of the supports to achieve a stable base.
Before placing the hot tub, check:
- the level in several directions;
- the rigidity of the structure;
- the distribution of supports;
- the absence of rocking or movement;
- compatibility between base height and final decking level.
The tub must not be used to “force” an uneven structure into place. The base must be correct before installation.
Also allow space beneath the construction so water cannot become trapped. Drainage and ventilation under the deck make future maintenance easier too.
Step 5 — Create the technical opening for the stove and connections
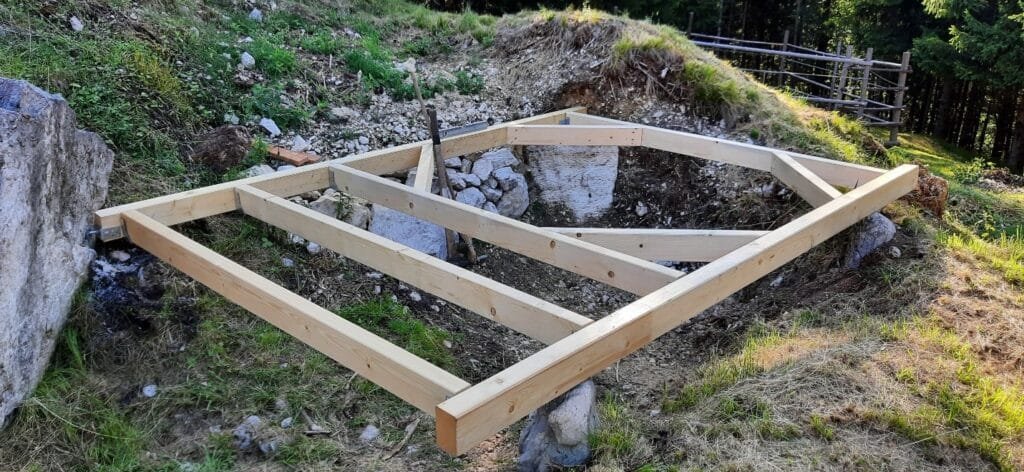
The structure is not built identically all around the tub. On the stove side, the photographed project provides a specific opening and frame to reserve the technical area.
This opening must be planned before laying the final decking. It must allow:
- positioning of the external stove;
- connections between the stove and tub;
- access to the firebox door;
- loading firewood;
- inspection of connections;
- future work without dismantling the whole deck.
If the hot tub has filtration, a pump, a drain valve, a massage system or electrical equipment, those elements must also remain accessible.
A good recessed installation does not simply hide equipment: it integrates it while preserving genuine technical access.
Step 6 — Place the tub on the structure before closing the deck
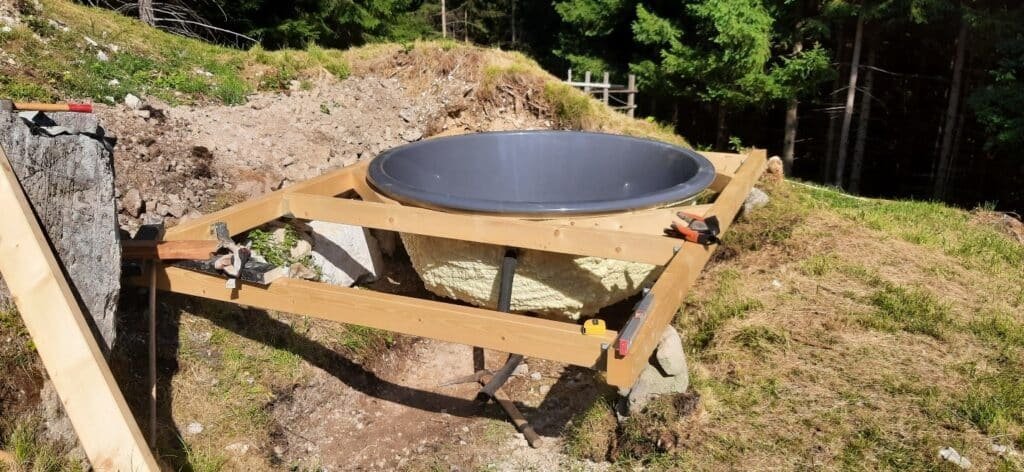
When the base is complete, the tub can be positioned. The photo shows the hot tub on the structure before final closure of the decking.
At this point, do not just check that the tub “fits”. Check:
- that the tub is supported evenly;
- that it does not move when pressure is applied on different sides;
- that it is correctly positioned relative to the future deck level;
- that the drain remains accessible;
- that the stove connections are not compressed;
- that there is enough space for maintenance panels.
If an additional support is needed, it must be added before finishing.
Carry out a trial fit before closing
Before laying all the deck boards, position the stove, pipes, any steps and the cover. This check avoids discovering too late that a component cannot be opened, removed or serviced.
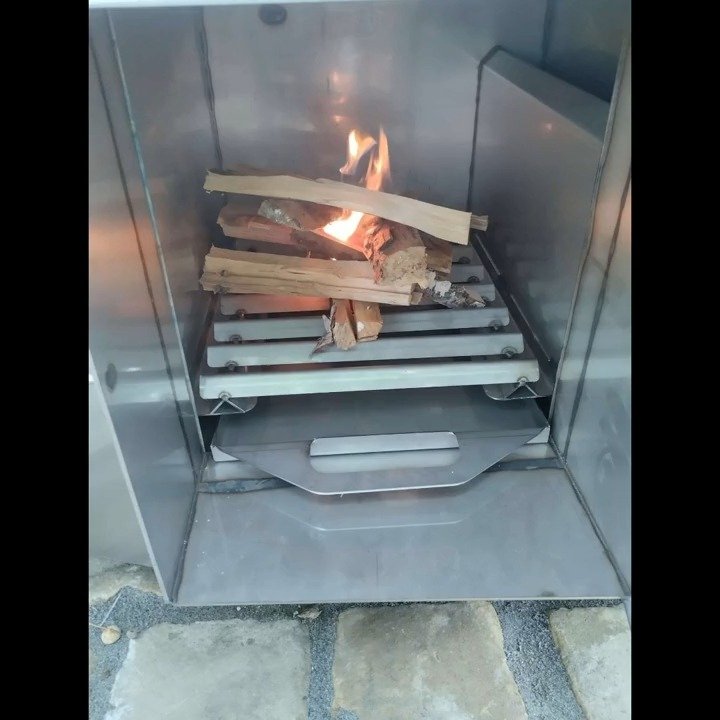
Step 7 — Install the external stove in its reserved area
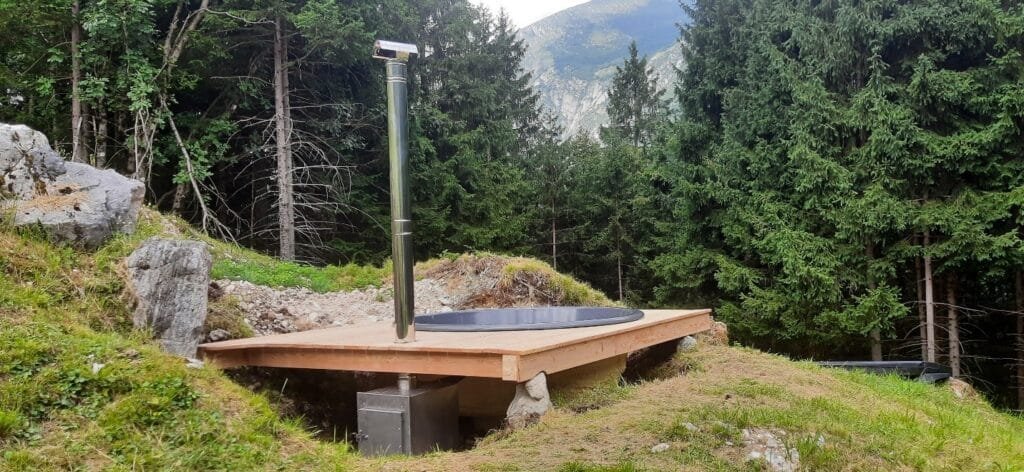
The stove is placed beside the tub in the space prepared when building the structure. The photo clearly shows why this area must remain open and accessible.
The main point is access to the firebox door: you must be able to load wood, remove ash and inspect the stove without crawling beneath the deck.
Also provide:
- access to the water inlet and outlet connections;
- a route that does not strain the pipes;
- a removable technical area if the stove needs to be taken out;
- the clearances specified for the actual stove model installed.
Do not close the technical area until the connections have been checked.
Step 8 — Position the chimney and check its clearance
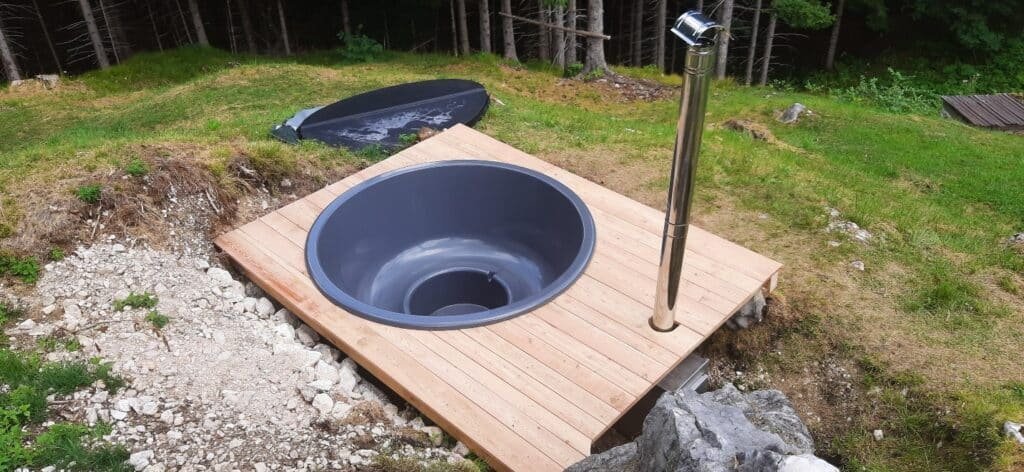
After positioning the stove, the chimney is assembled. The photographed project shows the flue clear above the technical area.
The chimney must not be directed or enclosed so that heat and smoke are sent towards bathers, the tub rim or sensitive deck components.
Check before finishing:
- flue verticality and stability;
- distance from combustible parts;
- absence of overhead obstructions;
- absence of conflict with the open cover;
- access for inspection and cleaning.
Exact clearances depend on the stove, flue and site configuration: always follow the requirements of the equipment installed.
Step 9 — Close the deck without blocking technical access
Once the tub and stove are correctly positioned, the decking can be completed around the hot tub.
The most common mistake in a recessed installation is making everything attractive but impossible to maintain. Provide removable panels or boards at strategic points.
The areas that generally need to remain accessible are:
- drain;
- stove connections;
- valves;
- filtration and pump where present;
- any electrical connections;
- stove fixing or removal points;
- underside of the deck for inspection.
The deck edge must not compress the tub. Keep a neat gap around it so that movement in the deck timber does not push directly against the tub wall.
Step 10 — Plan the cover from the design stage
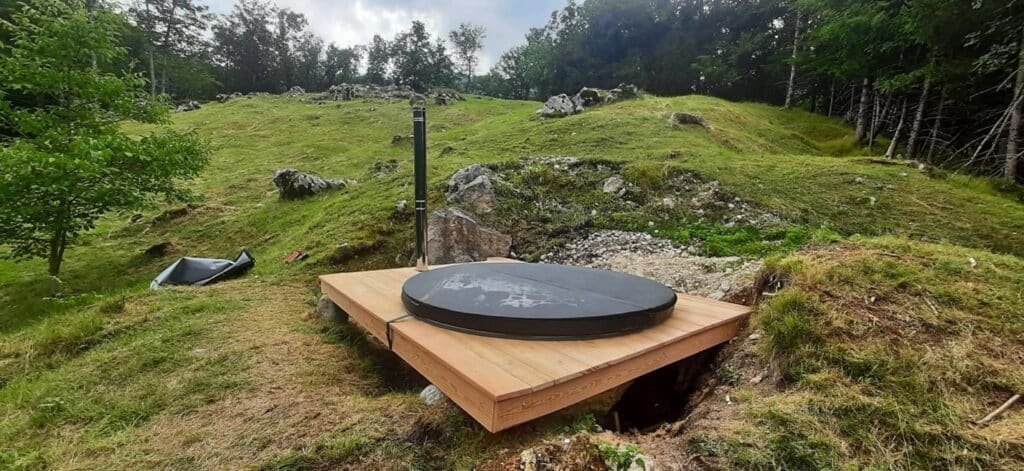
The cover is not a detail to add once construction is complete. Its dimensions, opening direction and handling space must be checked.
In a recessed installation, the deck edge can easily obstruct handling if the hot tub sits too low or the deck comes too close to the tub.
The cover helps to:
- limit leaves and dirt;
- protect the water when the hot tub is not in use;
- make maintenance easier;
- reduce heat losses, depending on the cover type.
Test full opening before considering the deck complete.
Step 11 — Test before considering the recessed installation complete
Before closing the final technical panels, carry out a complete system check.
Mechanical check
- stable tub;
- structure without movement;
- rigid decking;
- clear stove access;
- removable maintenance panels.
Hydraulic check
- accessible drain;
- connections visible during the first filling;
- no leaks;
- correct circulation between the hot tub and stove;
- water can drain without soaking the structure.
Stove check
- door usable without obstruction;
- chimney correctly positioned;
- accessible technical area;
- no deck component subsequently added within a required clearance.
Use check
- safe entry and exit;
- usable cover;
- no awkward deck edge around the tub;
- maintenance access remains possible even after garden decoration is complete.
Final result: neat integration that remains maintainable
A successful recessed installation makes the hot tub look like part of the deck, but the technical equipment remains accessible behind the finish.
The principle to remember is simple:
build for load, drainage and maintenance first; finish the deck’s appearance afterwards.
For a recessed project, always prepare the installation around the actual model ordered. Tub dimensions, stove position, connections, drain and optional equipment can change from one configuration to another.
Compare for your project
- See in-ground and recessed hot tubs
- Discover TimberIN Nordic™ InGround Comfort
- Prepare the base and ground
- Compare hot tub stoves
TimberIN tip: before closing the deck, photograph the connections, valves, drain and pipe routes. These photos will be very useful during future maintenance.
To prepare your project
Detailed guides
External stove connection
Check the circuit between the tub and stove, its position and the points that must remain accessible.
Hot tub recessed into decking
Return to the sequence covering structure, water, ventilation, service access and approval of the current drawing.
Outdoor sauna base
Prepare the sauna foundation separately: its geometry, supports and construction work differ from those for a filled hot tub.
The information to have approved before delivery
- variant, dimensions, volume, filled weight and supports confirmed;
- ground or existing structure examined to the necessary level;
- support surface level, stable and in accordance with the drawing;
- rain, overflow, draining and leak routes defined;
- stove, pumps, filter, valves and cladding still accessible;
- services protected and technical professionals identified;
- delivery, unloading and positioning genuinely possible;
- permissions and local rules checked by the project owner.
Send this information with photos and drawings when you have the TimberIN configuration confirmed. The base can then be compared with the ordered product before a structure that is difficult to alter is closed.