
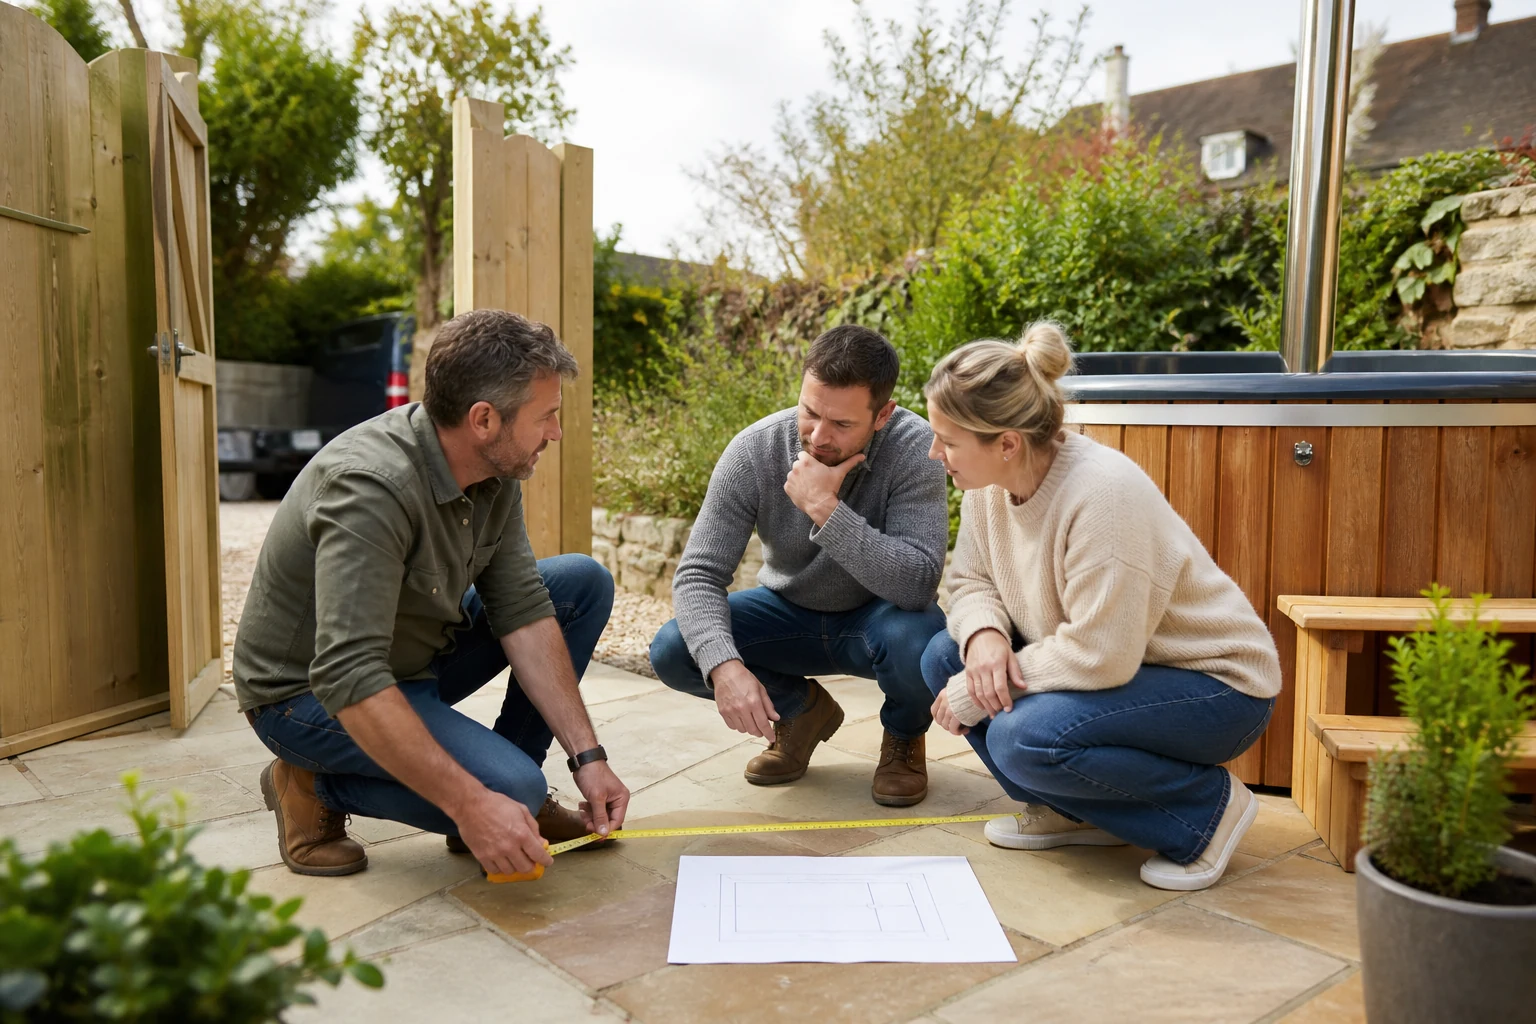
Hot-tub installation planning begins with the finished configuration, not with a generic circular outline marked on the patio. Diameter, water volume, dry and filled weight, heater position, pumps, drain, cover and optional massage equipment can all change the base, delivery route, electrical load and service envelope. Freeze the product drawing before contractors freeze the site in concrete.
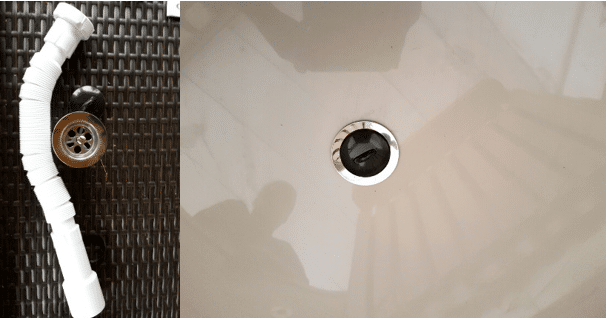
1. Lock the model and options before groundworks
Record final external dimensions, water volume, dry weight, heater and chimney, steps, cover/lifter and every pump or control box. Product photographs may show optional equipment and are not construction drawings. Ask for the support points and required clearances, including space to remove the largest serviceable component.
2. Measure the complete delivery route
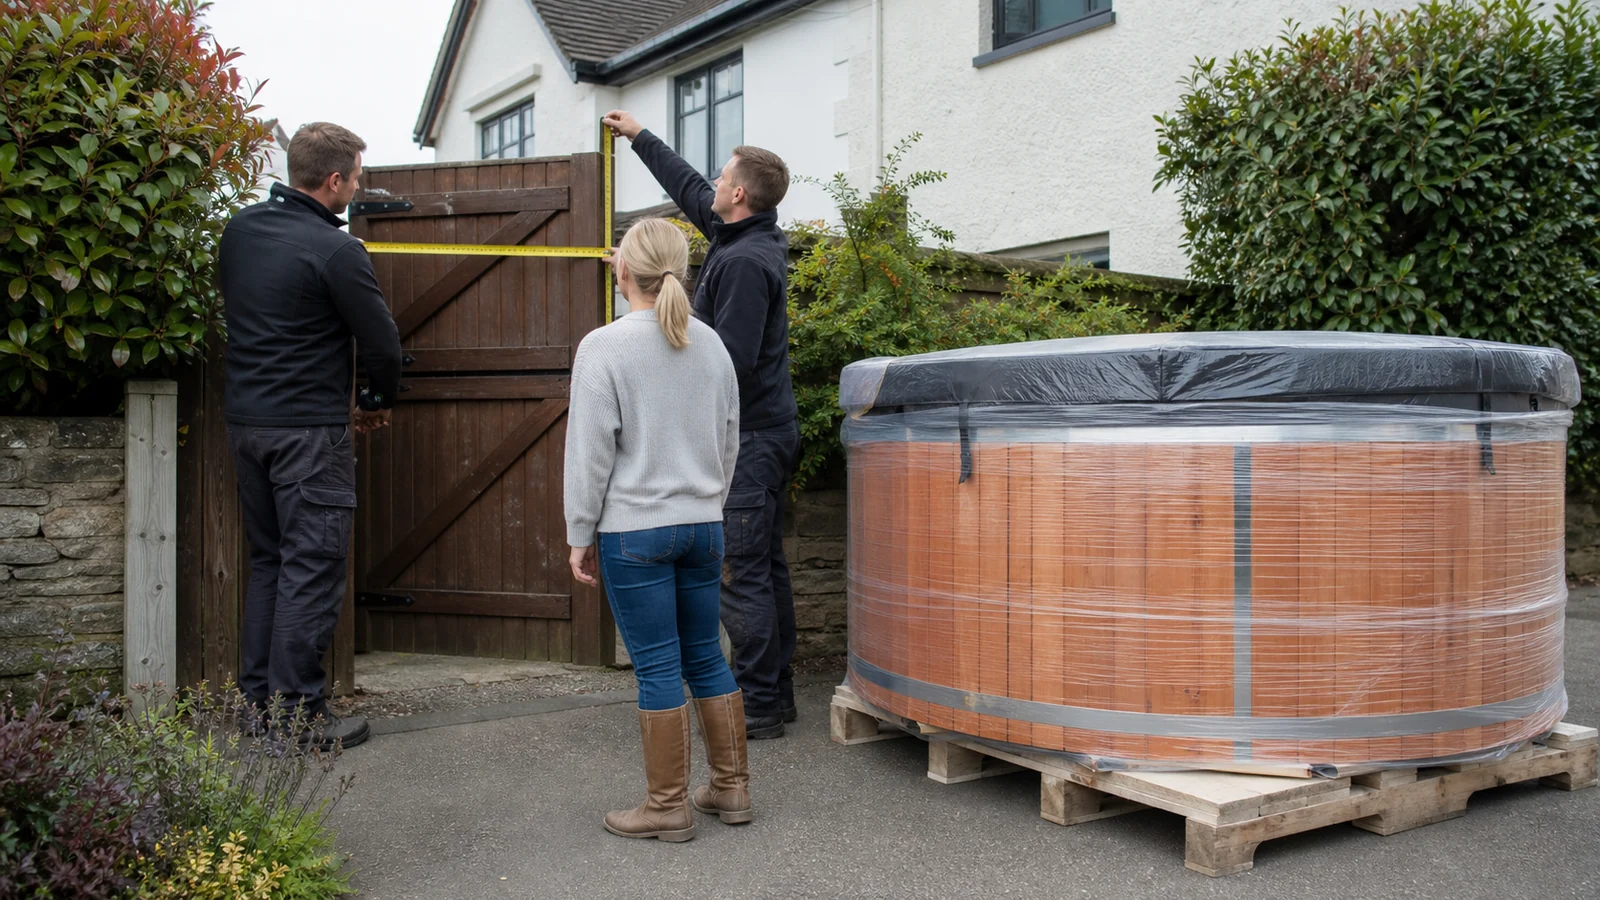
Measure the narrowest gate, not the widest approach. Add corners, eaves, cables, branches, slopes, steps and soft ground. Identify where the lorry can stop, how unloading happens and where a forklift or crane can stand and land the product. The route needs height and turning room as well as width.
3. Design the base for the filled product
Water weighs approximately one kilogram per litre. Add the tub, heater, equipment and bathers, then give the drawing and site conditions to the person designing the base. It must remain level, support the specified footprint and drain surface water away without settlement. Do not place a tub on loose blocks or assume existing decking is adequate without structural assessment.
4. Give fill water and drained water separate routes
A nearby clean hose can be enough for filling if it is protected from contamination and backflow. Permanent plumbing is model- and site-specific. Drainage needs more thought: the full volume must not flood the base, neighbour, building, surface-water drain or watercourse. Keep the drain valve and hose connection reachable after steps and cladding are installed.
Local discharge rules and treatment levels matter. Decide the route before purchase, especially for a large tub, commercial property or site using a septic system.
5. Size electricity from the final equipment list
Provide the electrician with exact ratings and manuals for electric heater, circulation/filter pump, massage pumps, lights, pellet controls and accessories. Do not copy plug types or phase assumptions from an old table. The site supply, circuit, cable, protection, isolation, enclosure and test regime must be designed for the installed wet outdoor equipment.
Electrical Safety First recommends RCD protection for outdoor equipment and a registered electrician to assess load, circuit and cable. An extension lead or indoor multi-socket is not an acceptable permanent solution, including for a wood-fired tub with powered accessories.
| Site item | Evidence to retain |
|---|---|
| Product | Signed options, dimensions, weight, volume and support drawing |
| Foundation | Design, dimensions, level check and photographs before placement |
| Electrical | Final load schedule and installation/test documentation |
| Drainage | Route and confirmation it will not flood or pollute |
| Delivery | Measured route, unloading method and lifting responsibilities |
| Commissioning | Cold leak/flow test, control settings, heater handover and owner sign-off |
6. Design service access as part of the finish
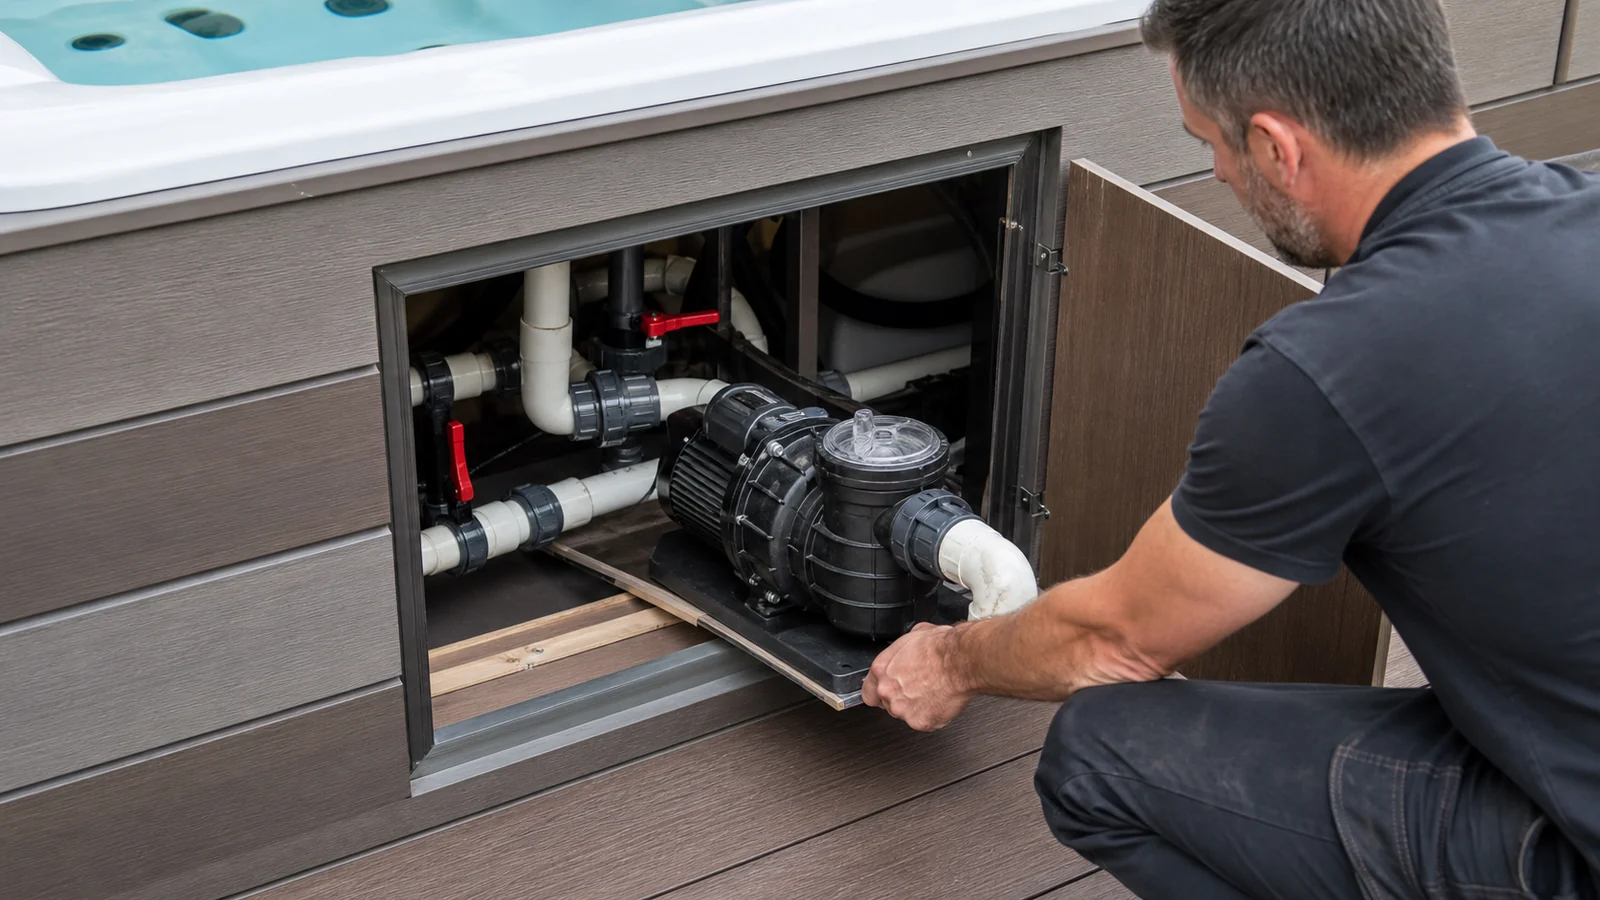
A professional installation looks complete but can still be opened. Mark pumps, filter, drain, electric heater, stove connections, lights and controls on the landscape drawing. A small inspection hatch is not enough if a pump cannot pass through it. Keep equipment ventilation and removal routes in the orientation specified by the manufacturer.
7. Plan safe everyday use
Provide slip-resistant access, stable steps and handholds, lighting and a cover storage position. Keep the wood-stove loading route separate from bathers and combustible storage. Plan privacy without trapping combustion gases or blocking equipment airflow. Consider neighbours, smoke, noise from pumps and the time of use.
Final pre-delivery meeting
- Compare the finished site with the latest product drawing.
- Confirm access and weather/ground conditions for unloading.
- Check base dimensions, level and drainage.
- Confirm electrical completion and safe isolation.
- Label the fill and drain route and every service panel.
- Agree who is present for positioning, connection and commissioning.
For the next stage, use the hot tub and sauna delivery guide. For recessed work, read the sunken hot tub design guide before excavation.