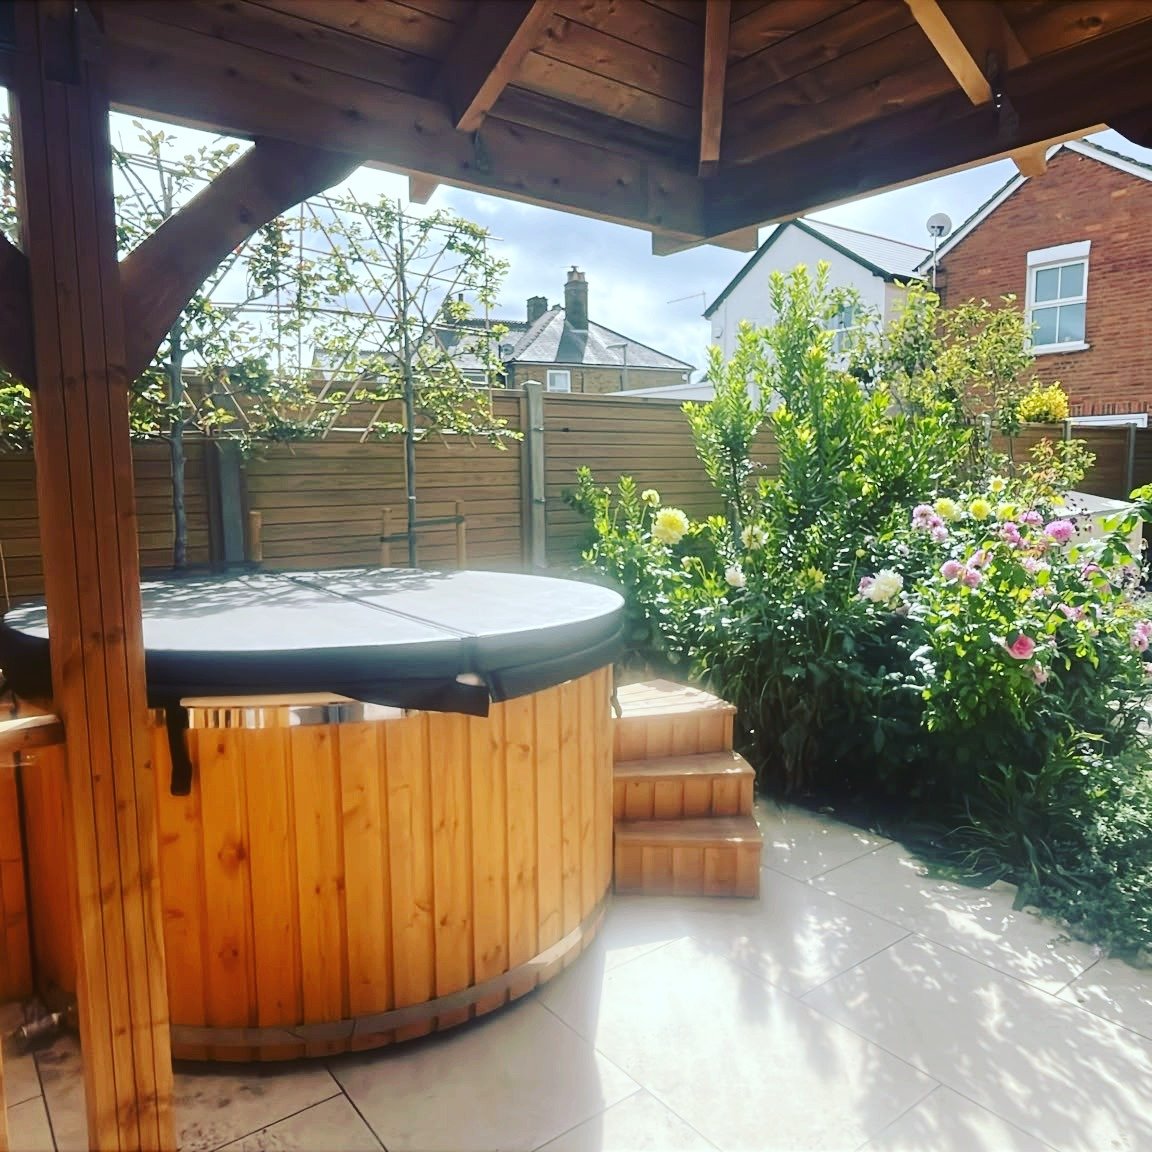

David — Ormesby St Margaret, United Kingdom
TimberIN Nordic™ InGround Comfort
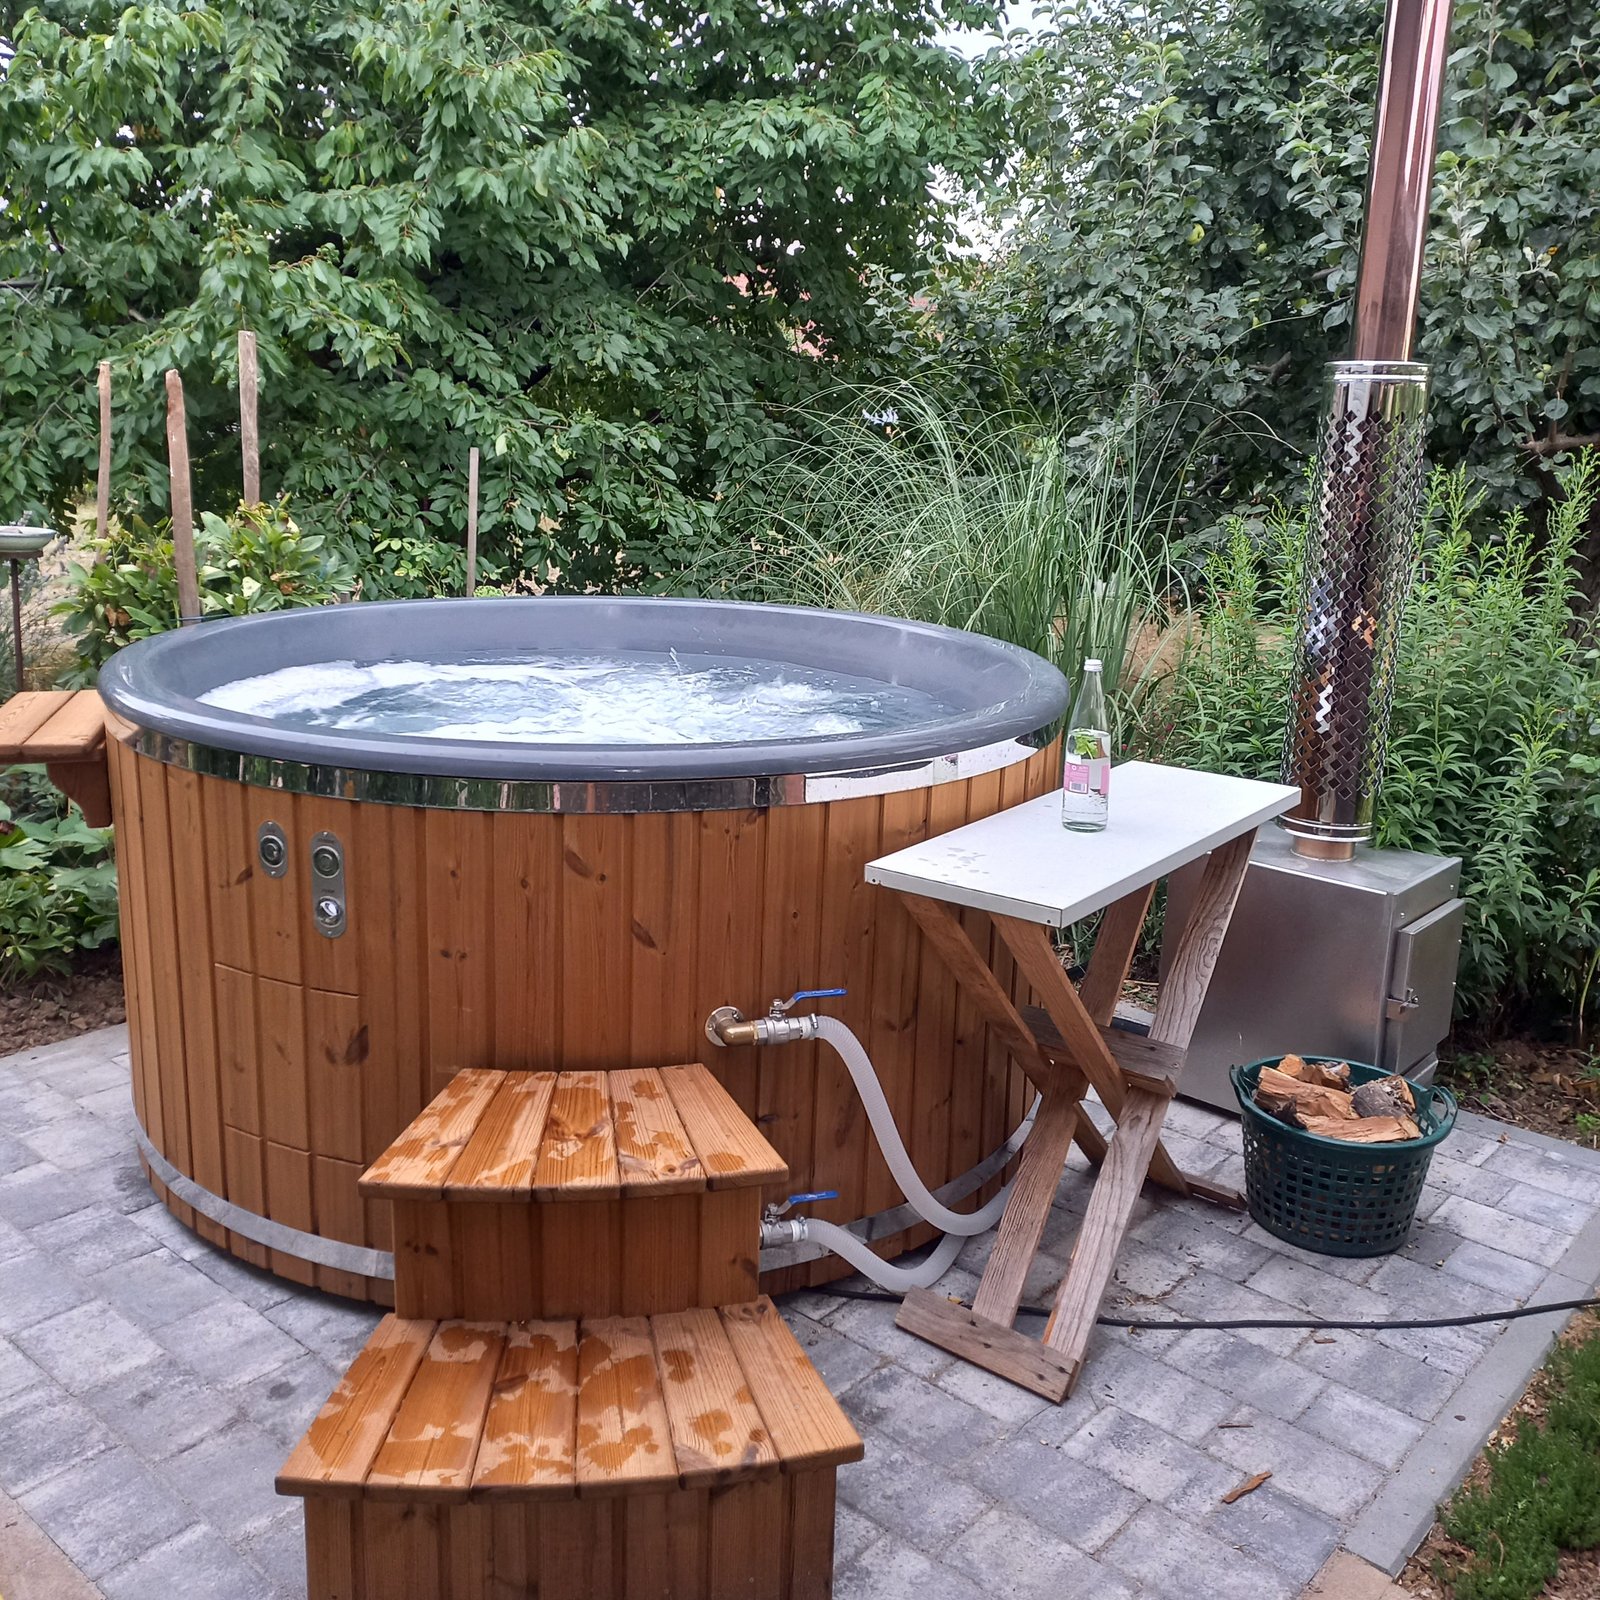
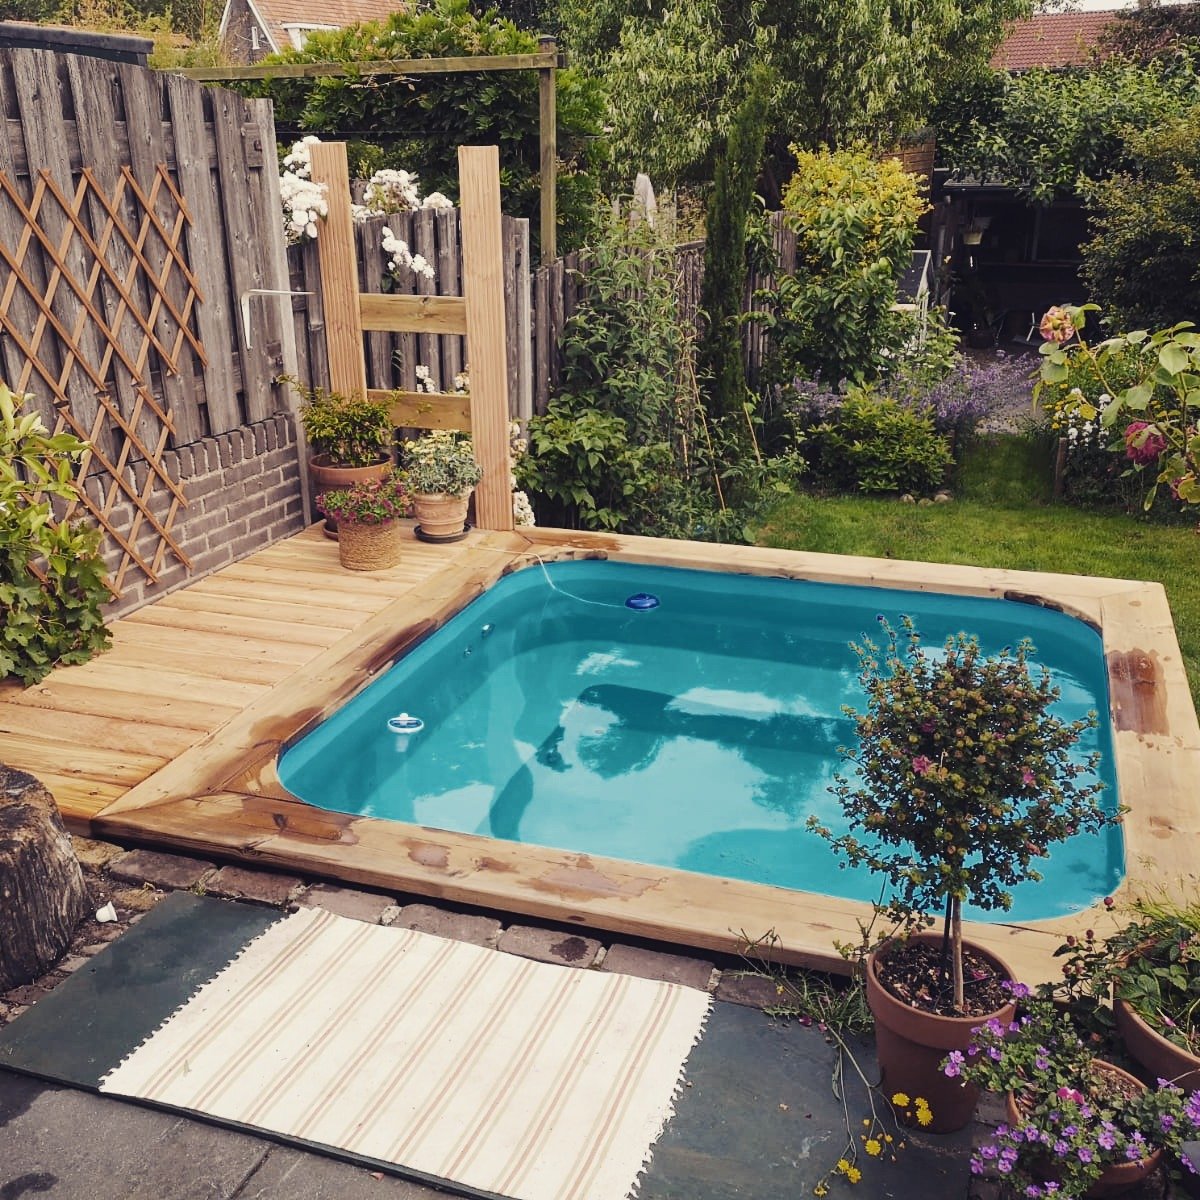
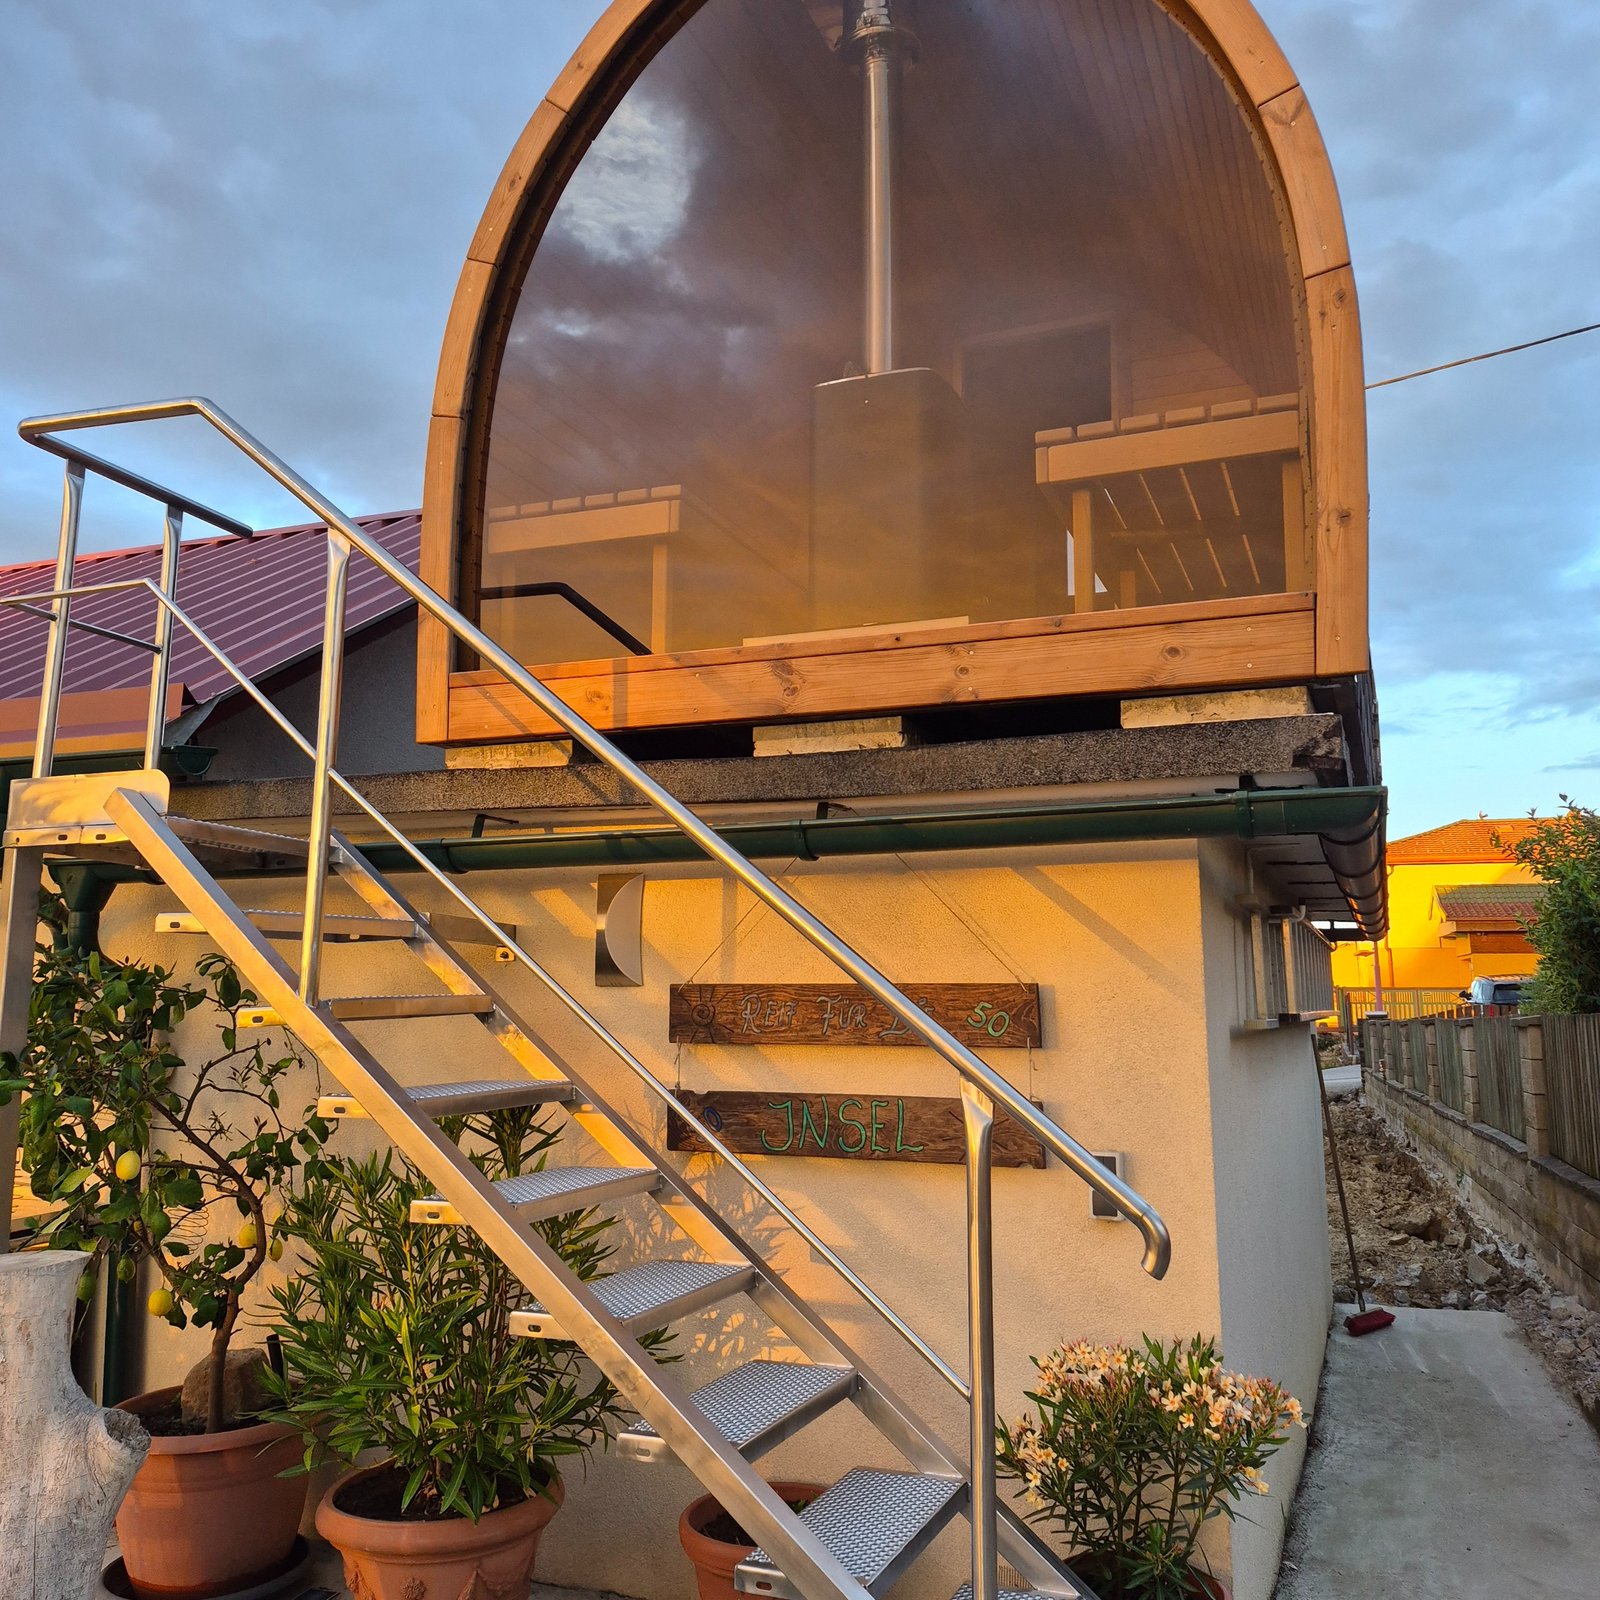
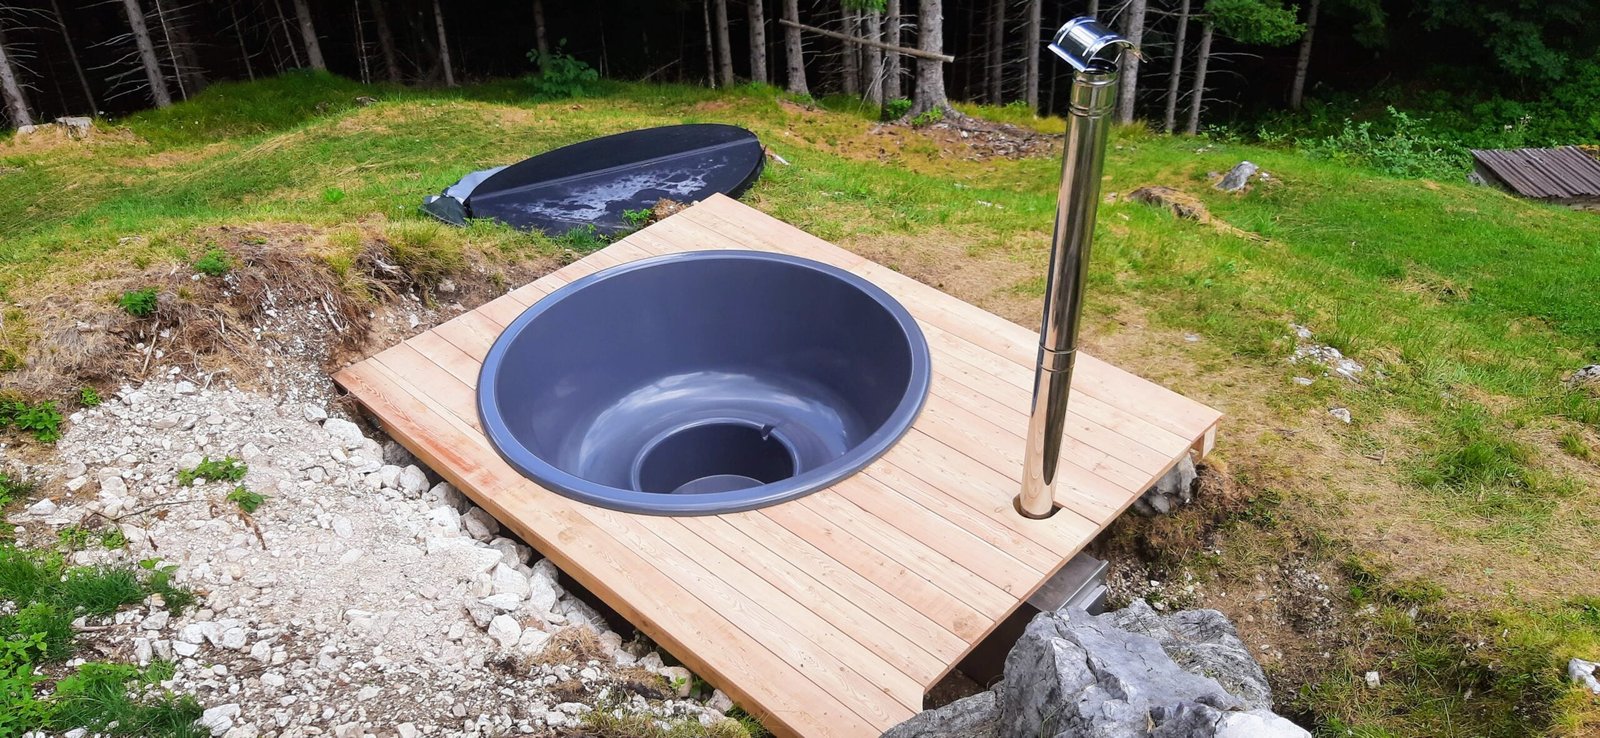
Customer installation photographs.
Review and installation photos →Choose the shell before constructing the surround
Create a recessed garden hot tub with its support, drainage and maintenance access planned from the start. The visible rim is only one part of a successful installation.
Begin with the purpose-built InGround family and its named TERRACE drawings. Compare other complete hot tubs below if a freestanding or differently arranged project would be more practical for your garden.
From our customers
Customer projects matched to the products listed on this page. Earlier specifications and selected options may differ.
Customer projects from United Kingdom.
TimberIN Nordic™ InGround Comfort
Customer installation photographs.
Review and installation photos →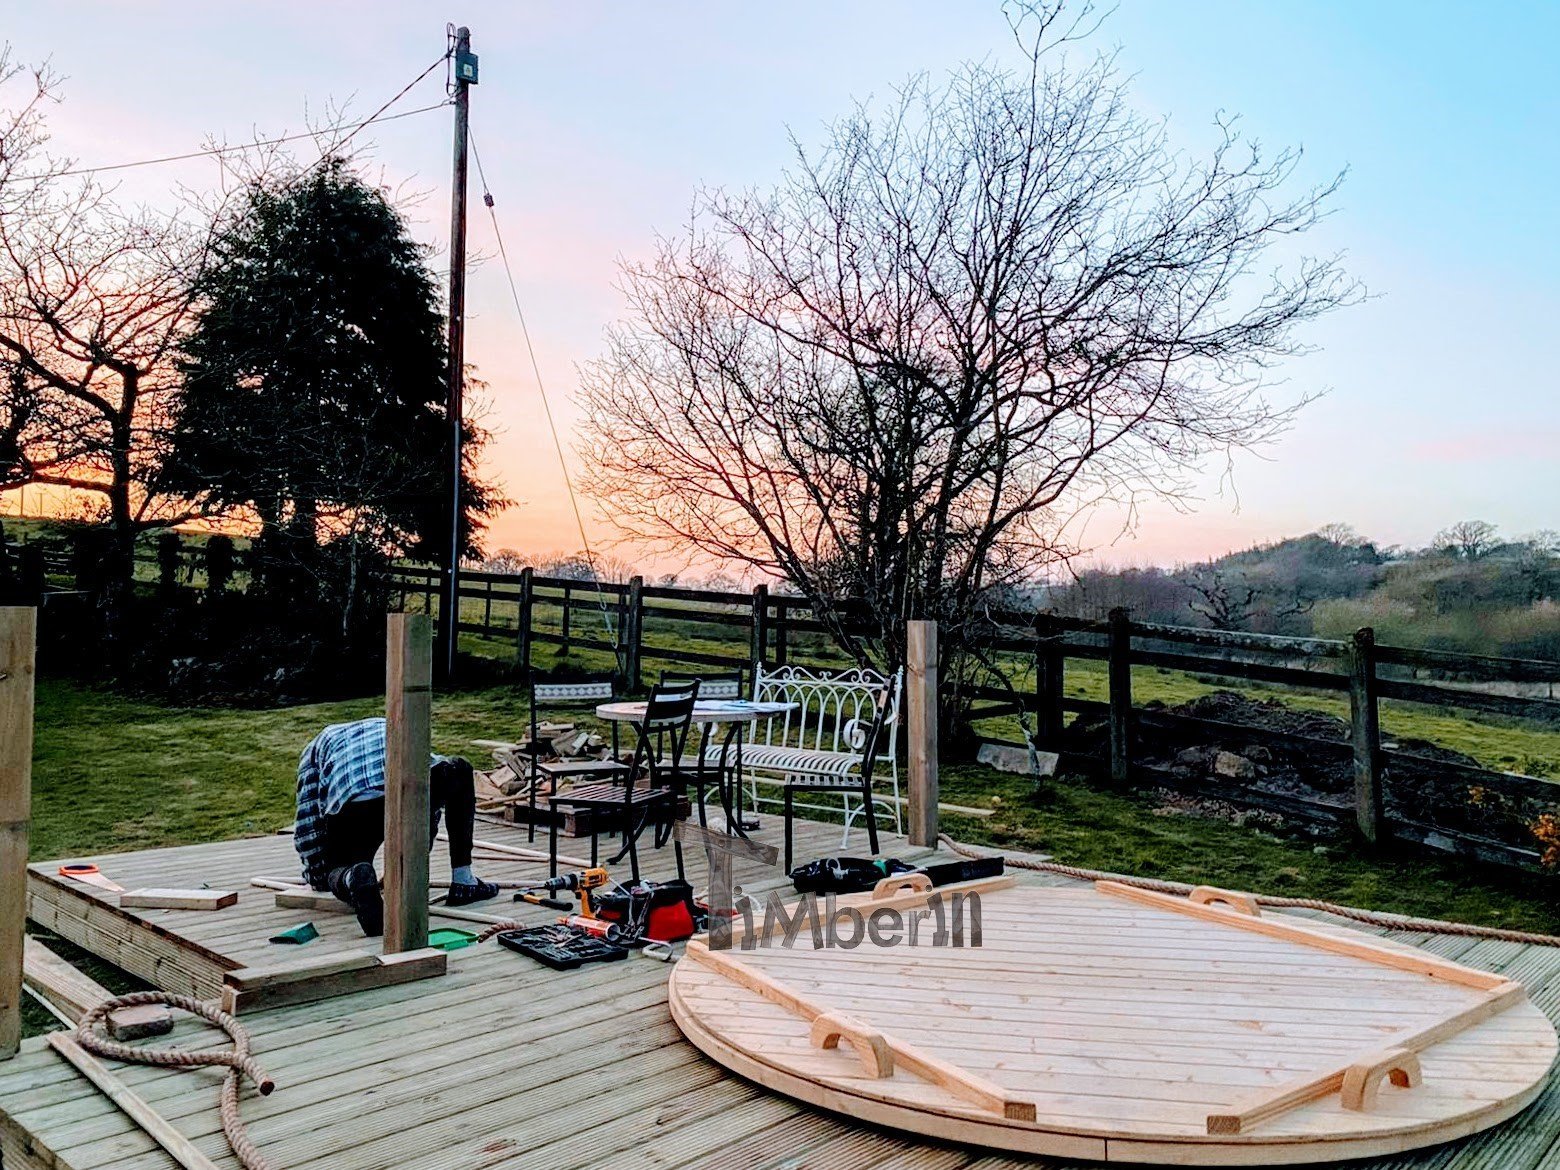
TimberIN Nordic™ InGround Comfort
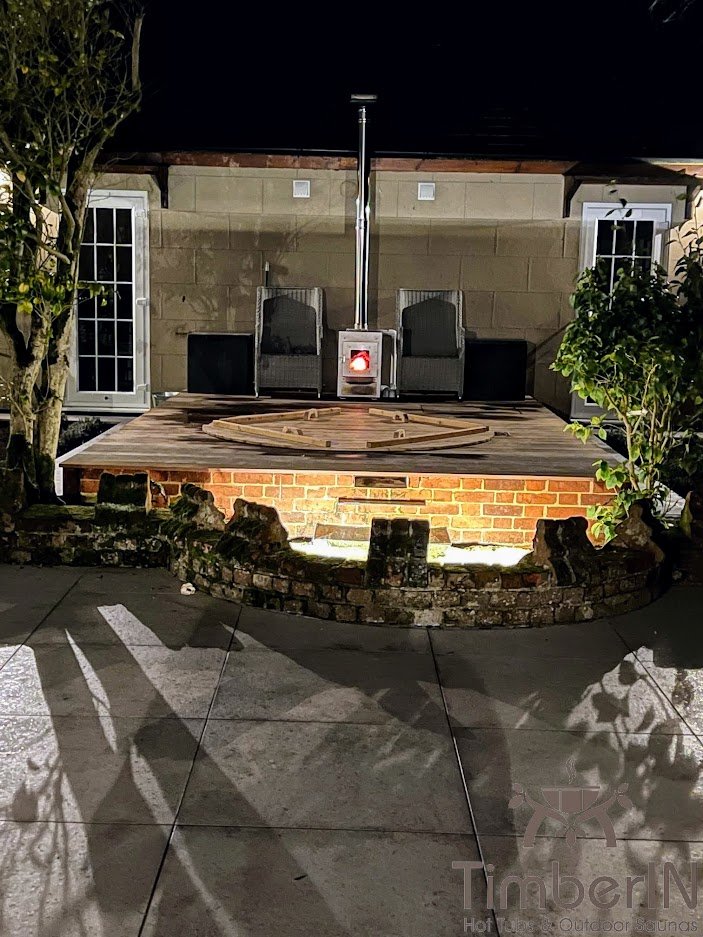
Review and installation photos →Hi Albert hope you’re well, something to cheer you up during these weird times, we are nearly finished...
Choose a named TERRACE shell and the available heating and equipment package. The accepted drawing must govern the supporting structure, opening and service arrangement.
These alternatives have their own installation requirements. They are not presented as approved for burial or a sealed recess. Consider them if a freestanding layout or another project design better suits the site.
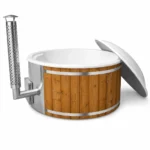
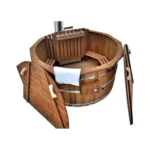
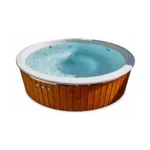
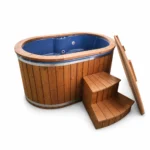
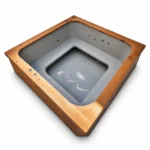
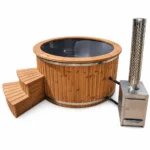
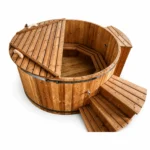
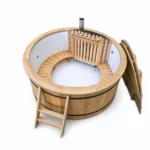
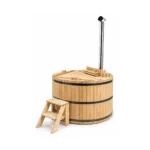
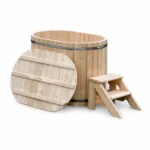
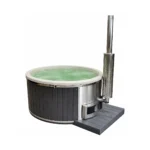
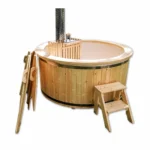
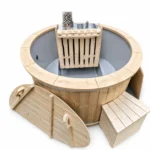
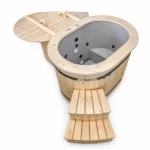
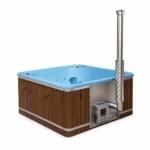
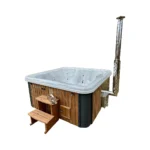
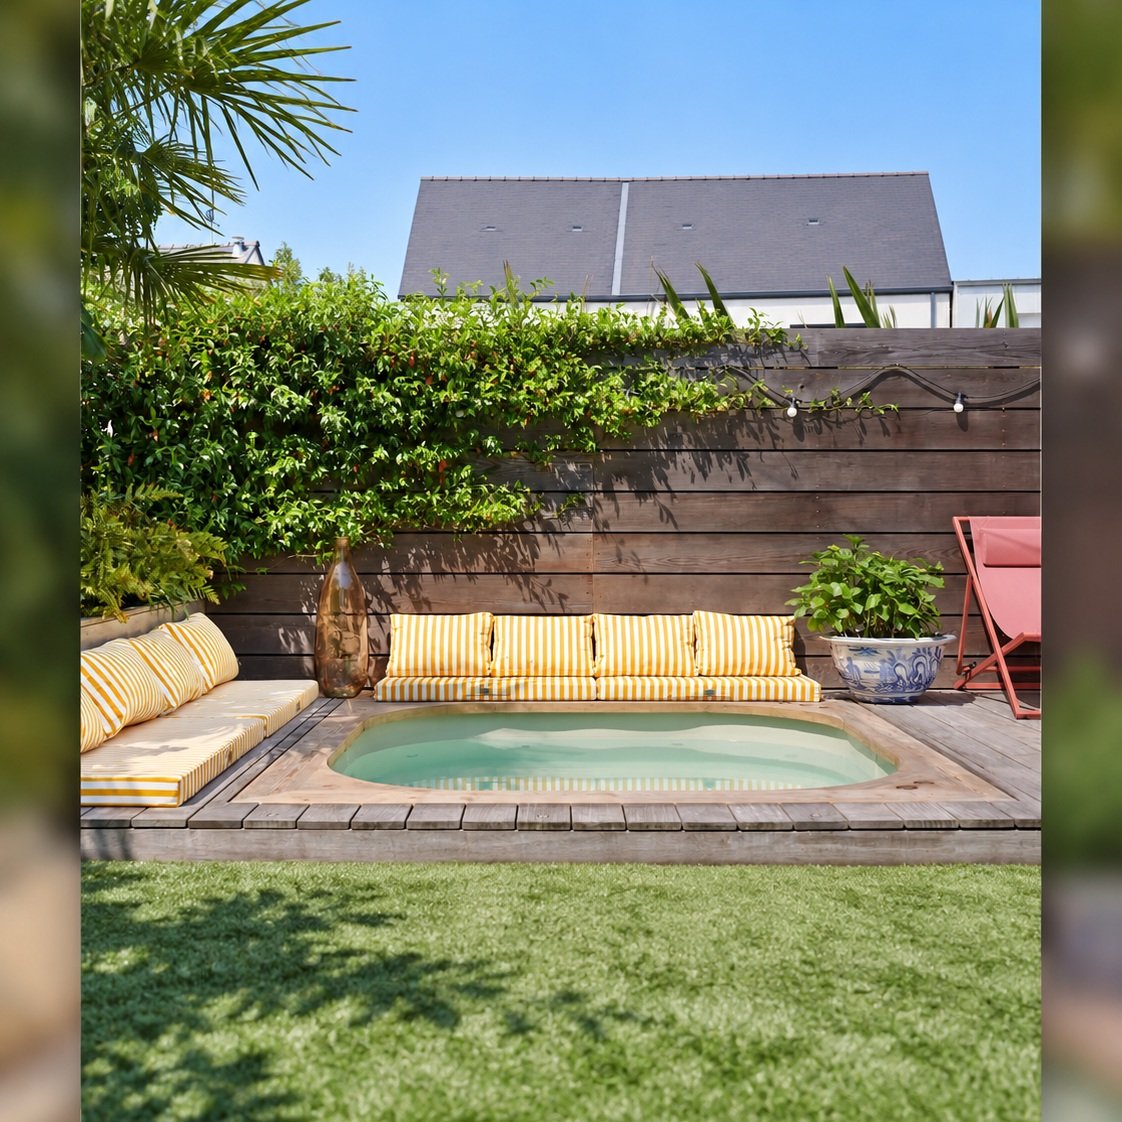
A recessed hot tub can sit neatly within a terrace, with the shell largely hidden and the garden extending around its rim. The result depends on much more than the opening visible from above. Underneath, the vessel needs its approved support, water must have somewhere to go, and equipment must remain accessible for inspection, maintenance and replacement.
Decide what “sunken” means for your setting. You may be lowering a purpose-built shell into an engineered recess, building a raised deck around a correctly supported vessel, or leaving part of the tub above the surrounding finish. These approaches can look similar in photographs while requiring different groundworks, structures and service arrangements.
Begin with the exact product, then coordinate the garden around it. The garden hot-tub guide covers the wider delivery route and outdoor layout. Here, the emphasis is the hidden part of a recessed installation: support, drainage, equipment space and the ability to undo the surrounding work when a component eventually needs attention.
Nordic InGround Comfort is the current purpose-built family for this type of project. Its TERRACE numbers identify different shells and heater arrangements, rather than interchangeable finishes on one universal vessel. A change in shell can alter the outer dimensions, bench shape, water load, cover and position of equipment. Confirm the named drawing and actual selected options together.
| Shell reference | Documented form and heating layout | Approximate water volume |
|---|---|---|
| TERRACE1 | Compact round, internal wood heater | 1,200 litres |
| TERRACE2 | Round Classic, external wood heater | 1,650 litres |
| TERRACE3 | Round Wellness, external wood heater | 1,400 litres |
| TERRACE4 | Round Wellness, internal wood heater | 1,500 litres |
| TERRACE5 | Oval Ofuro, external wood heater | 1,000 litres |
| TERRACE6 | Larger round Wellness, external wood heater | 1,550 litres |
| TERRACE7 | Square, external wood heater | 1,800 litres |
These examples come from the terrace-shell technical sheet. They distinguish the designs; they are not excavation dimensions or structural approval. The live product also offers selected no-heater configurations and optional equipment. Use the current selector and accepted quotation to establish which combinations are actually supplied.
Nominal size labels need particular care. For example, the TERRACE7 drawing gives approximately 2,008 × 2,008 mm internally and 2,200 × 2,200 mm externally. Neither measurement includes all the space needed for a serviceable recess. State critical tolerances before production and confirm the final dimensions before cutting permanent decking or completing masonry.
A flush rim gives a continuous visual line, but it changes how people approach the water. Compare fully recessed and partly raised arrangements with the people who will use the tub. Think through the movement from standing on the terrace to sitting on a bench, and the return journey with wet feet. A low rim is not automatically an accessible entrance.
Discuss suitable steps, hand support and the surrounding walking surface with the project designer. Leave enough clear approach space to use those features comfortably. Check the actual depth and bench geometry of the chosen shell rather than estimating from the overall tub height or a lifestyle image. The smaller central footwell and seating ledge may affect where someone can place a foot.
Keep the water edge understandable in daylight and after dark. Lighting should help people see changes of level without relying on underwater lights alone. Plan how the tub is covered and how access is managed when it is unattended. A recessed position does not remove the need for suitable supervision and access control; it may make the water easier to approach.
Ask for the support requirements for the exact shell and equipment package. The base, any supporting framework and retaining construction must be designed for the installation and local ground conditions. Do not assume that a fibreglass rim can carry the filled tub, or that ordinary terrace joists can support it because they already carry people.
The load includes the vessel, working water volume, bathers and selected equipment. As a simple scale check, 1,650 litres represents about 1,650 kg of water before the shell or occupants are added. That observation is not a footing design: the way the load reaches the ground, the supported area and the condition of the ground all matter.
Have a suitably qualified designer or structural professional resolve the support and retaining work where required. They should coordinate the tub manufacturer’s requirements with the terrace design. Agree which elements carry the tub and which carry the surrounding deck so that decorative boards, paving or trim are not used as improvised structural support.
As an independent general cross-check, Hot Spring’s current preparation guide also stresses filled weight, structural assessment and equipment access. Its product dimensions, electrical rules and foundation specifications belong to its own models and market; they should not be copied into a TimberIN installation.
The recess must remain workable in wet conditions. Survey how surface water moves across the garden, whether adjacent paving directs rain towards the opening and what is known about groundwater. A pit that appears dry during construction can behave differently after prolonged rain. Ask the groundworks designer how those conditions are addressed before selecting a final depth.
Separate the jobs of draining the bathing vessel and keeping the recess dry. Emptying the tub can release a substantial volume of water; it should follow an agreed route suitable for the site and water-treatment routine. That is different from managing rain entering around the surround or water escaping from a damaged connection. One small outlet should not be assumed to solve every scenario.
Agree how standing water will be detected and removed, where it will discharge and who maintains the drainage provision. Where a designed system relies on a pump, discuss its power supply, inspection, blockage risk and what happens if it fails. A pump is equipment requiring care, not proof that flooding is impossible.
Keep electrical equipment and service connections in the positions required by their instructions. Do not allow the recess to become an uninspectable reservoir around them. Avoid inventing a universal pit depth, drain size or gravel layer: soil, groundwater, levels and the chosen shell make those project-specific decisions. The quotation should identify who designs and builds this work.
Start with the maintenance task, then size and position the opening needed to perform it. Someone may need to inspect a joint, remove a filter, reach a drain or replace a pump. A narrow gap that allows a photograph of the equipment may be useless for those jobs. Confirm the working space with the supplier and installer before fixing the surround.
Removable deck panels should open without dismantling permanent railings, moving a full planter or taking apart the tub’s cover mechanism. Identify each panel and keep its fixings accessible. Check how it will be lifted, where it will rest and how the opening will be made safe while work takes place. Heavy paving slabs need a realistic handling arrangement too.
Leave the specified ventilation paths clear around pumps and other equipment. Insulation can reduce unwanted heat loss, but it must be coordinated with access, drainage and the equipment’s own cooling requirements. Filling every void around the shell with material is not a substitute for an approved construction detail.
Finally, plan removal of the entire vessel. A serviceable installation should retain a route for lifting out a damaged or worn shell in future. Consider how walls, planting, overhead structures and a completed deck affect that route. It is easier to include demountable sections now than discover that replacement requires demolition of the finished garden.
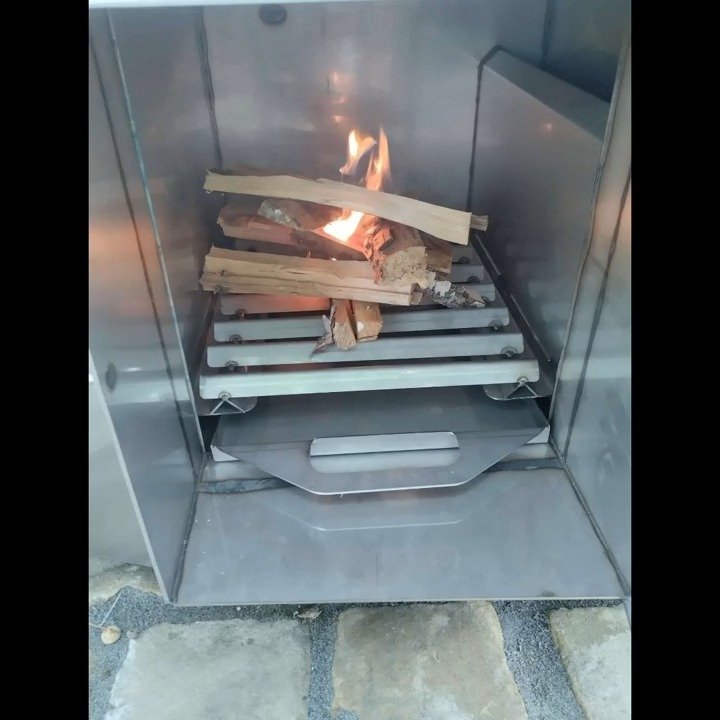
An external wood heater preserves bathing room but needs a separate location with an approved connection relationship to the tub. Recessing the vessel changes levels, so the installer must confirm that the final pipe route and circulation remain suitable. Do not assume that moving the stove to the nearest convenient deck corner preserves the original design.
An internal heater keeps more equipment within the vessel envelope, while taking up some bathing space and requiring its specified guarding and operating water level. In either layout, the firebox approach and flue route need to work with the surrounding deck, cover, buildings and planting. Never copy clearances from the finished appearance of another installation.
Optional electric heating, filtration, air massage, hydromassage, lighting and controls each add components or services. Agree the exact equipment schedule before the recess is built, then have the electrical requirements assessed for your UK property. Product-sheet connection examples are not instructions to use a particular domestic circuit.
Compare electric hot-tub options if controlled electric heating is a priority, and the wood-fired range if tending a log fire suits your routine. The chosen heating method must fit the whole recessed project, including maintenance and shutdown access.
Choose a cover offered for the exact shell, then establish how it will be removed and stored. The technical sheet distinguishes cover types and availability across the TERRACE designs. A generic cover option elsewhere on the product page is not enough to establish that it fits every model. Confirm the supplied cover in the order.
Visualise the cover in its open position, including any lifting device and the person handling it. A flush surround can obstruct straps, an overhanging edge or the space needed to grip a lid. Preserve access to fastening points and avoid resting the cover against a hot flue or blocking the maintenance opening.
Locate the water-release control where it can be used after the terrace is complete. The live model offers different drainage options, but the component alone does not determine where discharged water goes. Have the installer demonstrate the actual route and access during handover, before trim and final finishes conceal the relevant connections.
Use the selected model’s packed dimensions and handling requirements to survey the delivery route. Check gates, turns, overhead obstructions and the space available for unloading or lifting. The manufacturer’s sheet separates the shell package from some side equipment; ask which packages will arrive and where they can be stored safely.
Agree the placement method before the recess or access route becomes obstructed by construction. If specialist lifting is needed, confirm its booking, access and responsibilities separately from product delivery. Do not assume a carrier will lower a vessel into a pit simply because the order includes shipping.
After placement, leave access for connection checks and commissioning. Inspect the installed system and test its intended functions before completing removable panels and decorative trim. Photograph the service layout and label accessible shut-off or drain points as appropriate to the approved system. Keep the final shell reference, equipment list and construction drawings together.
Agree whether the installation will be operated through winter or shut down between visits. The required routine depends on the heater, pumps, pipework and vessel; a recessed position does not establish frost protection. Equipment can remain exposed to cold even when the visible water surface is covered.
If the system is drained, follow the supplied sequence and confirm how trapped water is removed from the actual components. For wood heating, do not drain while fire or embers remain or the heater is still hot. Keep drainage and inspection points reachable after the surround is finished, and ensure the recess’s own water-management system remains maintained.
Record who checks the installation during an extended absence. At a holiday property, the person looking after it needs the same clear instructions and access as the owner. Plan maintenance around the completed installation, not around a temporary opening that disappears when the landscaping is finished.
No. Use a model and installation method approved for the proposed arrangement. The InGround family is designed for coordinated terrace projects; the other models shown are alternatives, not permission to bury their cabinets or block their equipment access.
Agree the desired rim height, then use the confirmed shell, support design, drainage and service space to determine the construction. There is no universal excavation depth. A nominal tub diameter or overall height is not a complete groundworks specification.
The total depends on the site and scope, but a recess introduces design and construction work beyond the vessel itself. Compare itemised allowances for groundworks, support, drainage, services, lifting and removable finishes. A freestanding or partly raised layout may be more practical for the same garden.
Send your preferred TERRACE shell, intended rim height, garden levels, delivery route and equipment choices. Request a written division of product supply, installation and site responsibilities. For a different outline, compare square hot tubs before fixing the garden design.