
Charles — London, United Kingdom
TimberIN Nordic™ Thermowood Deluxe
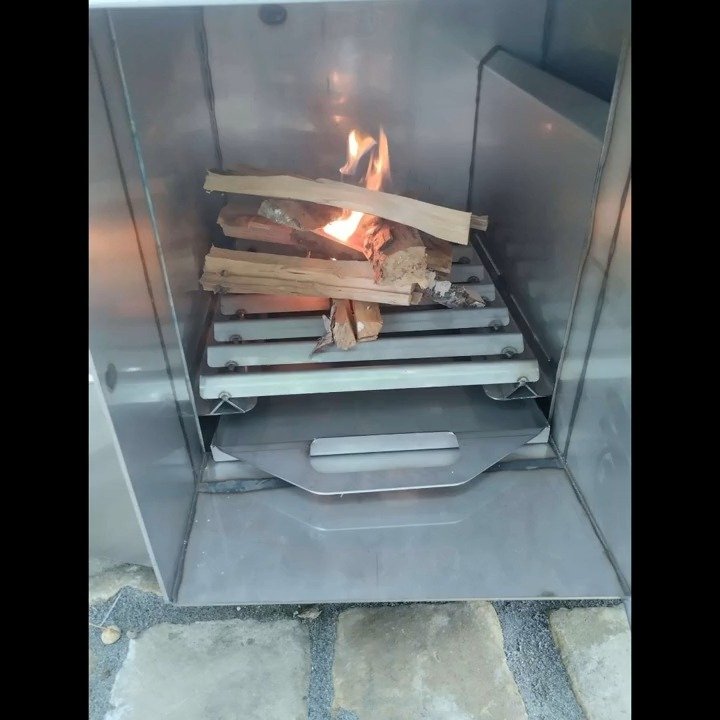
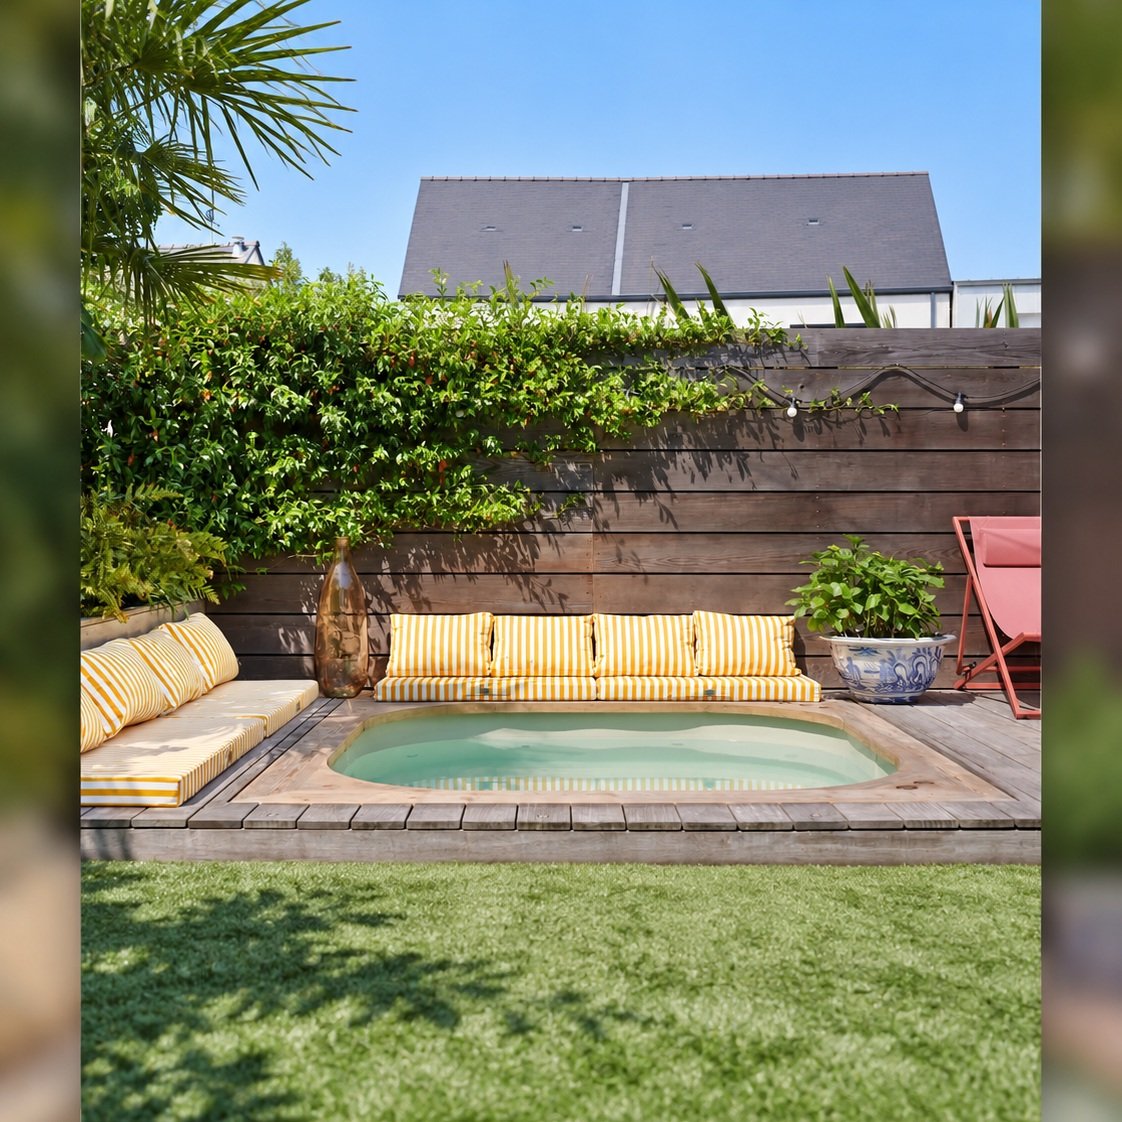
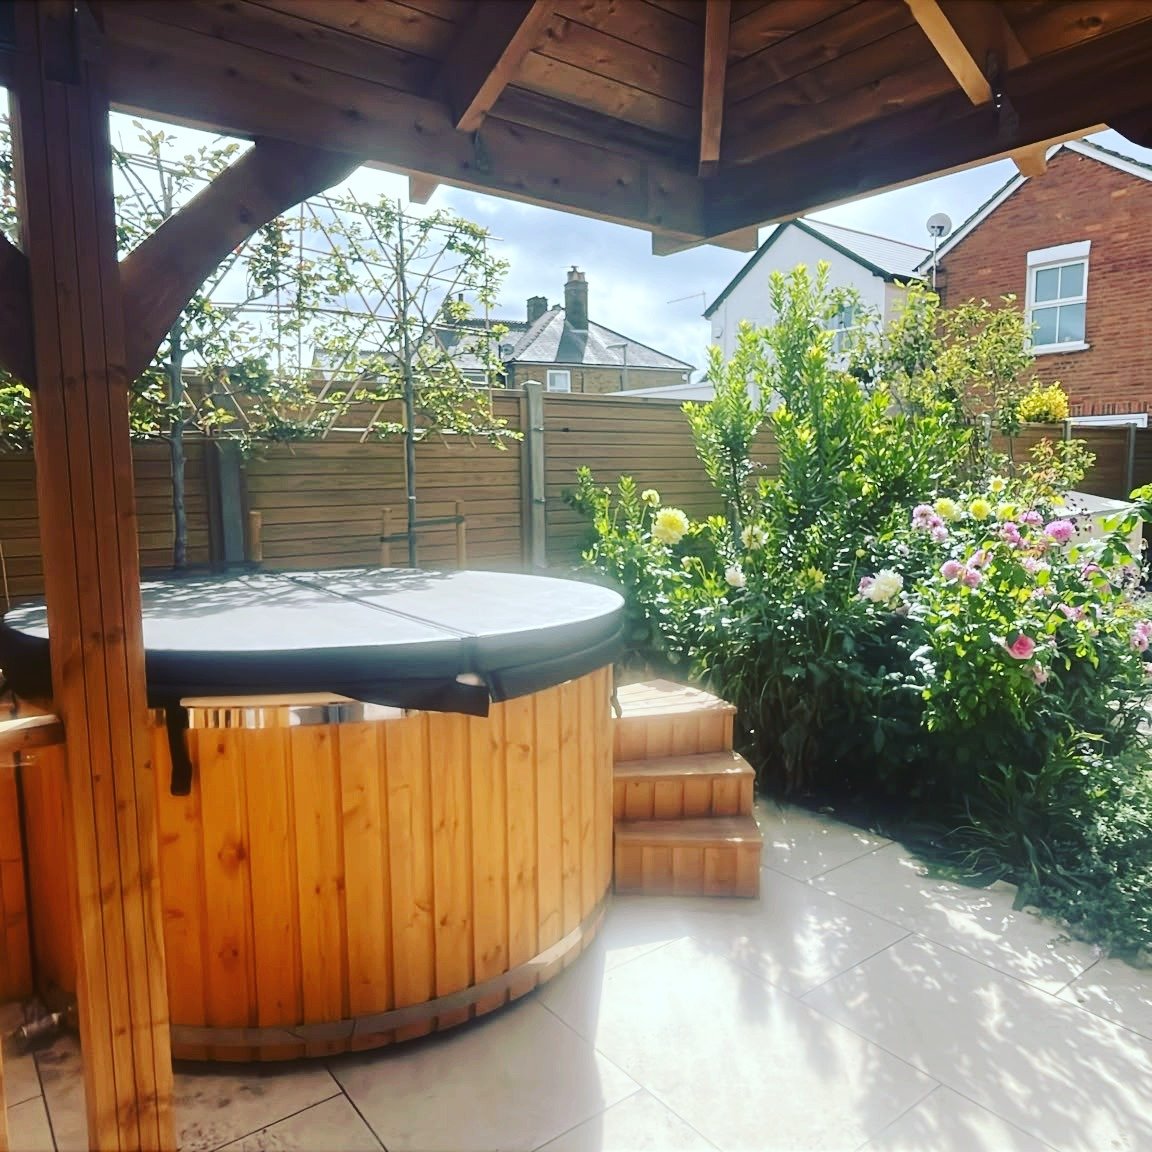
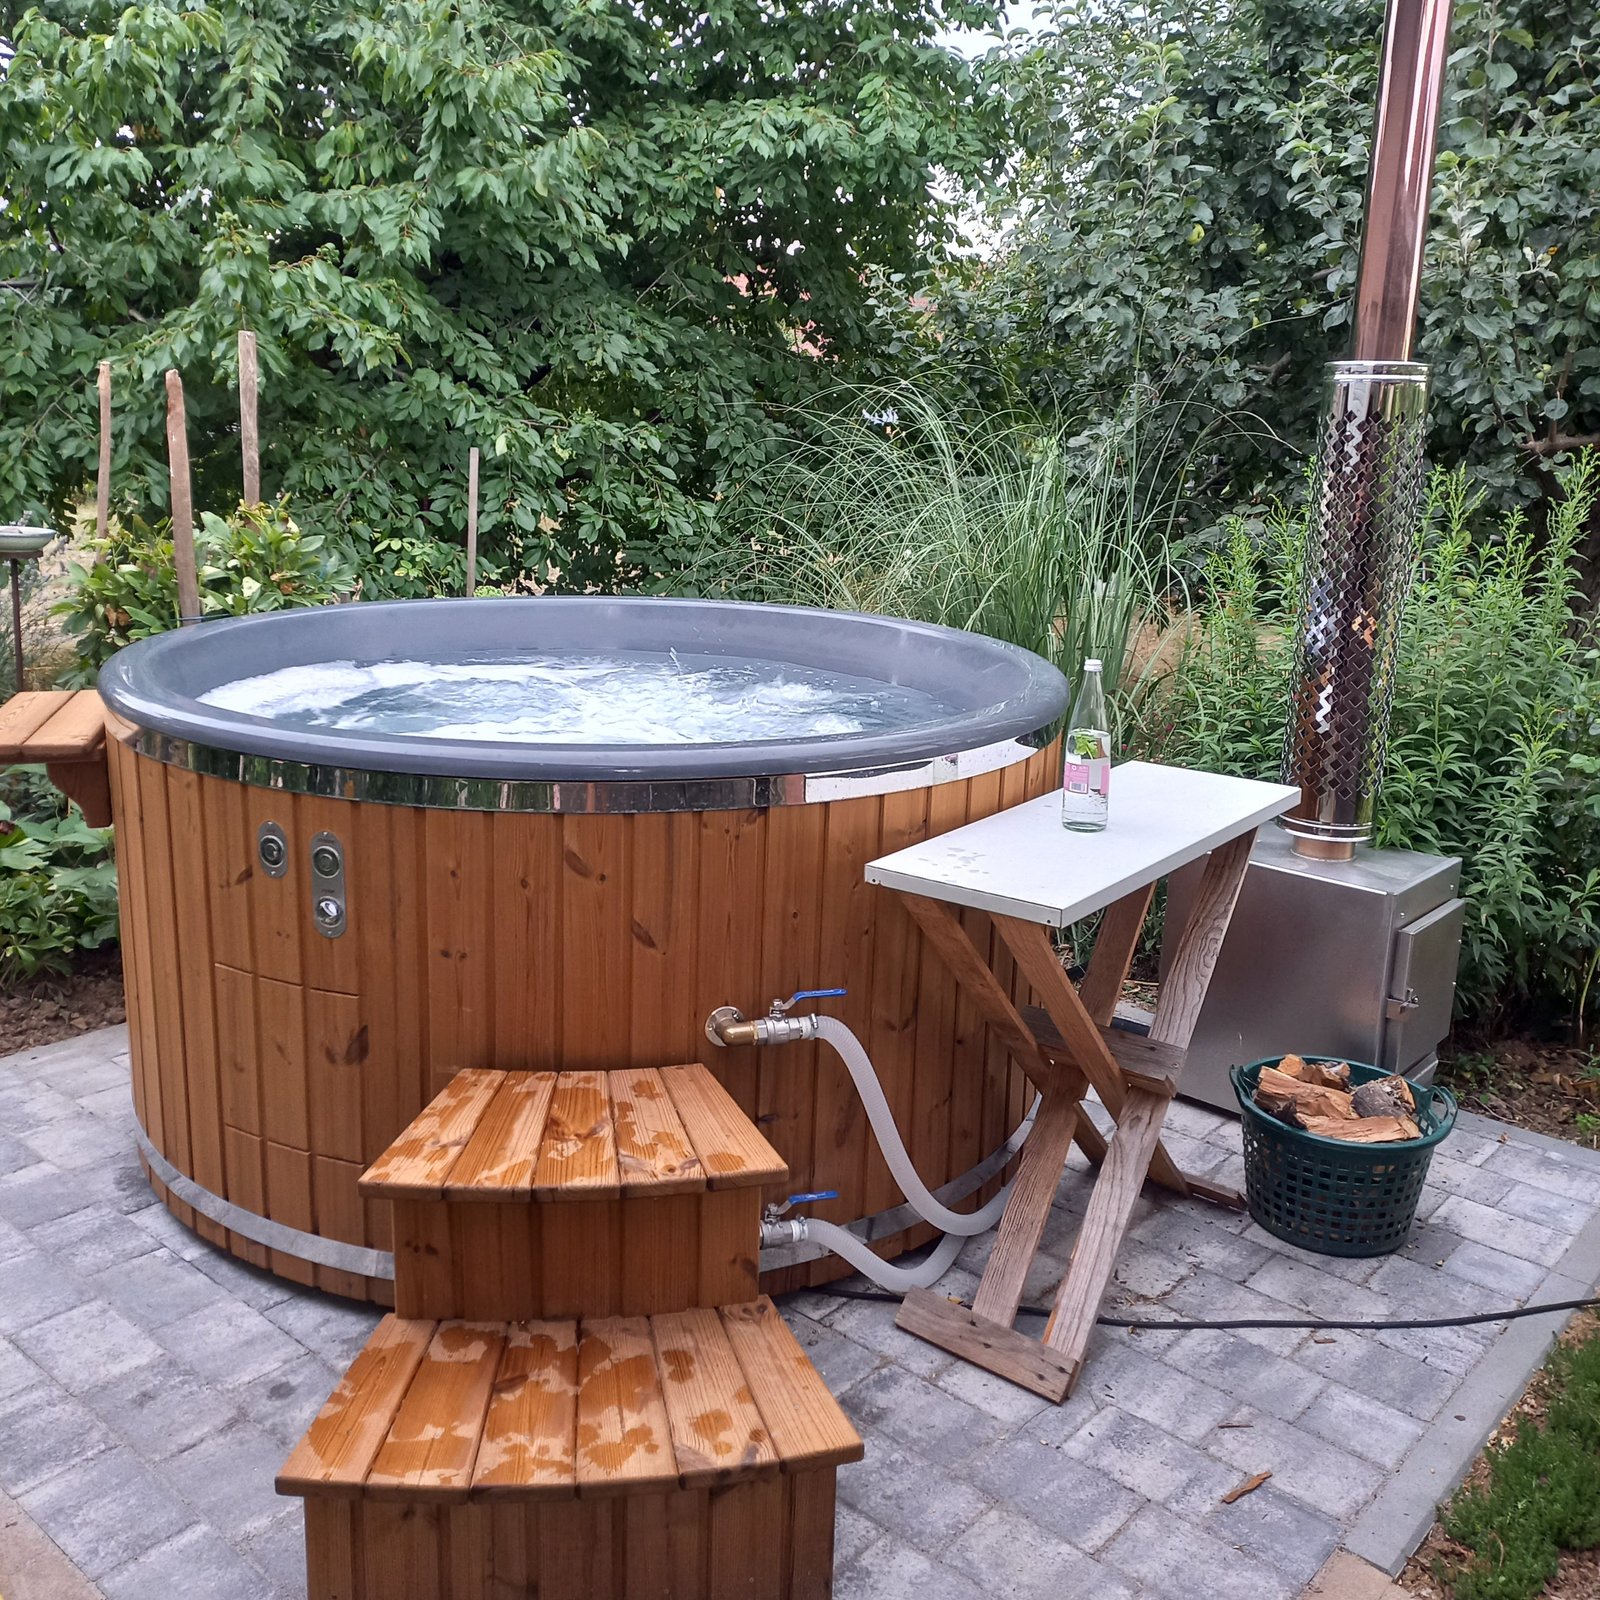
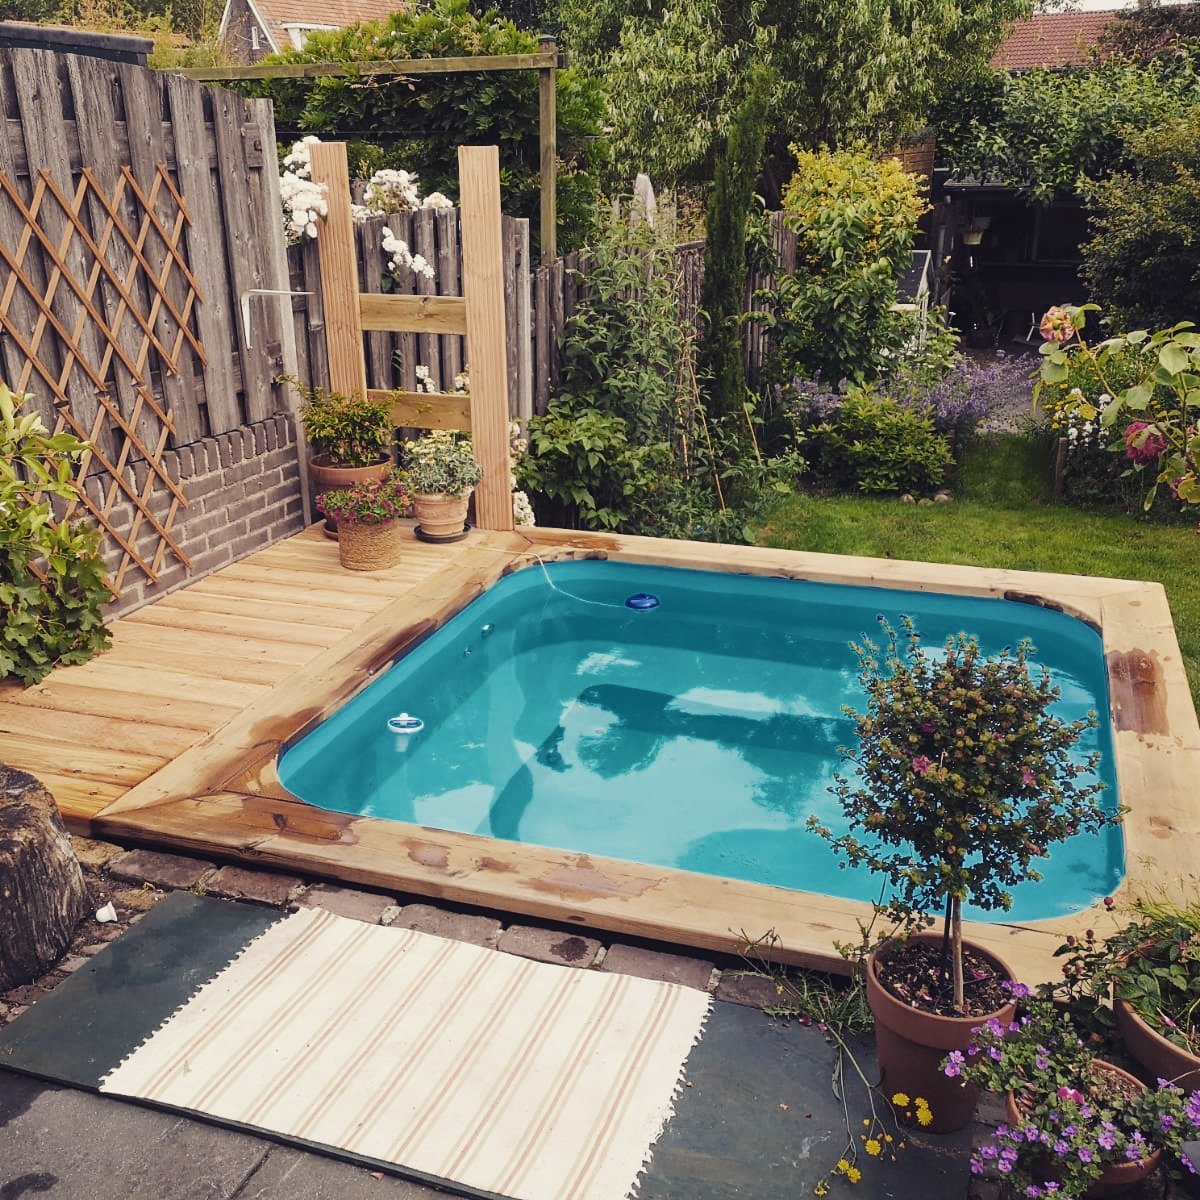
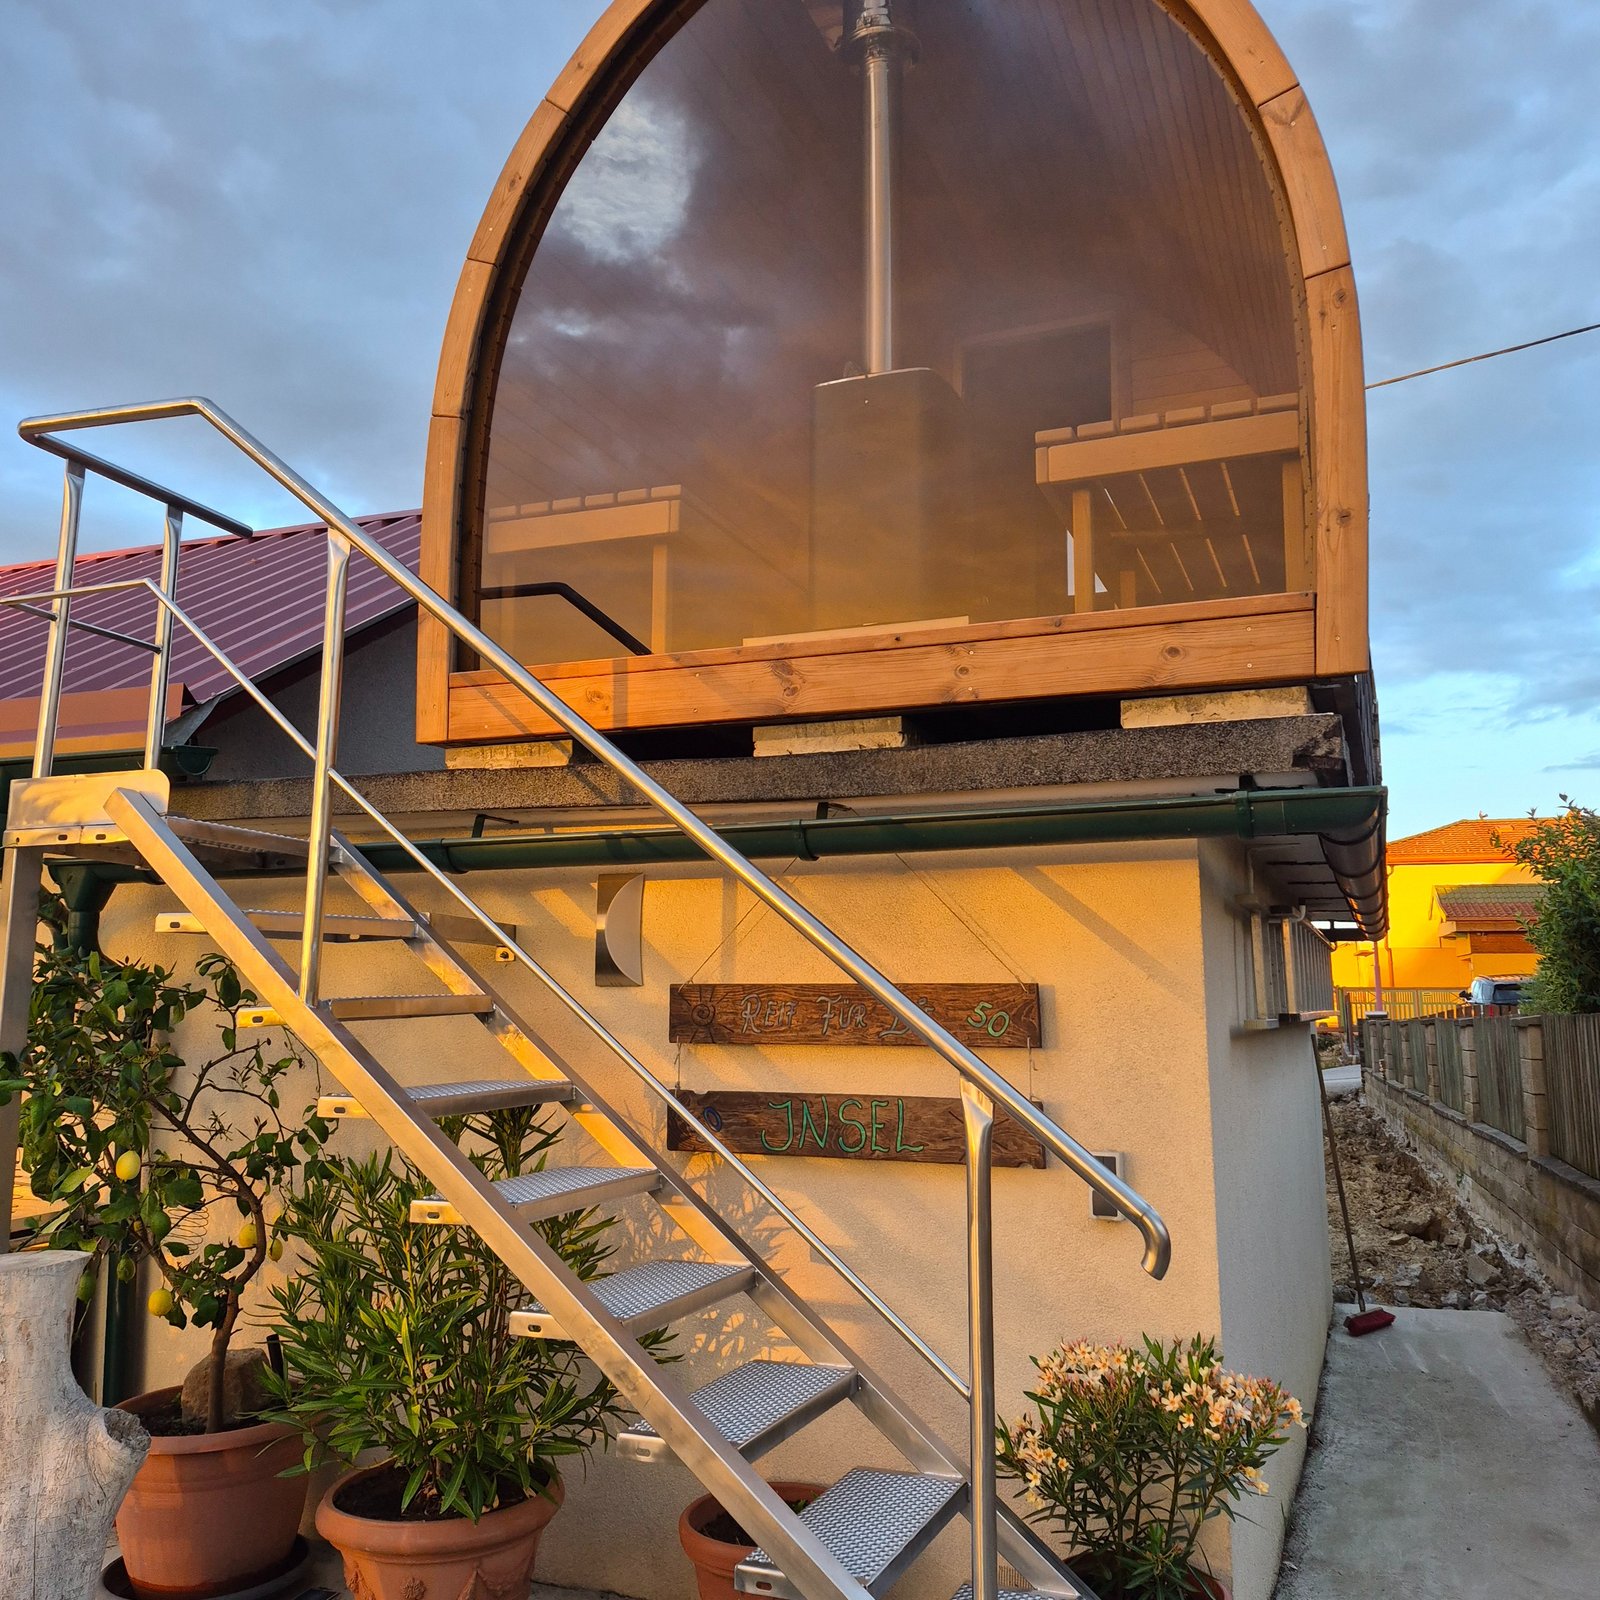
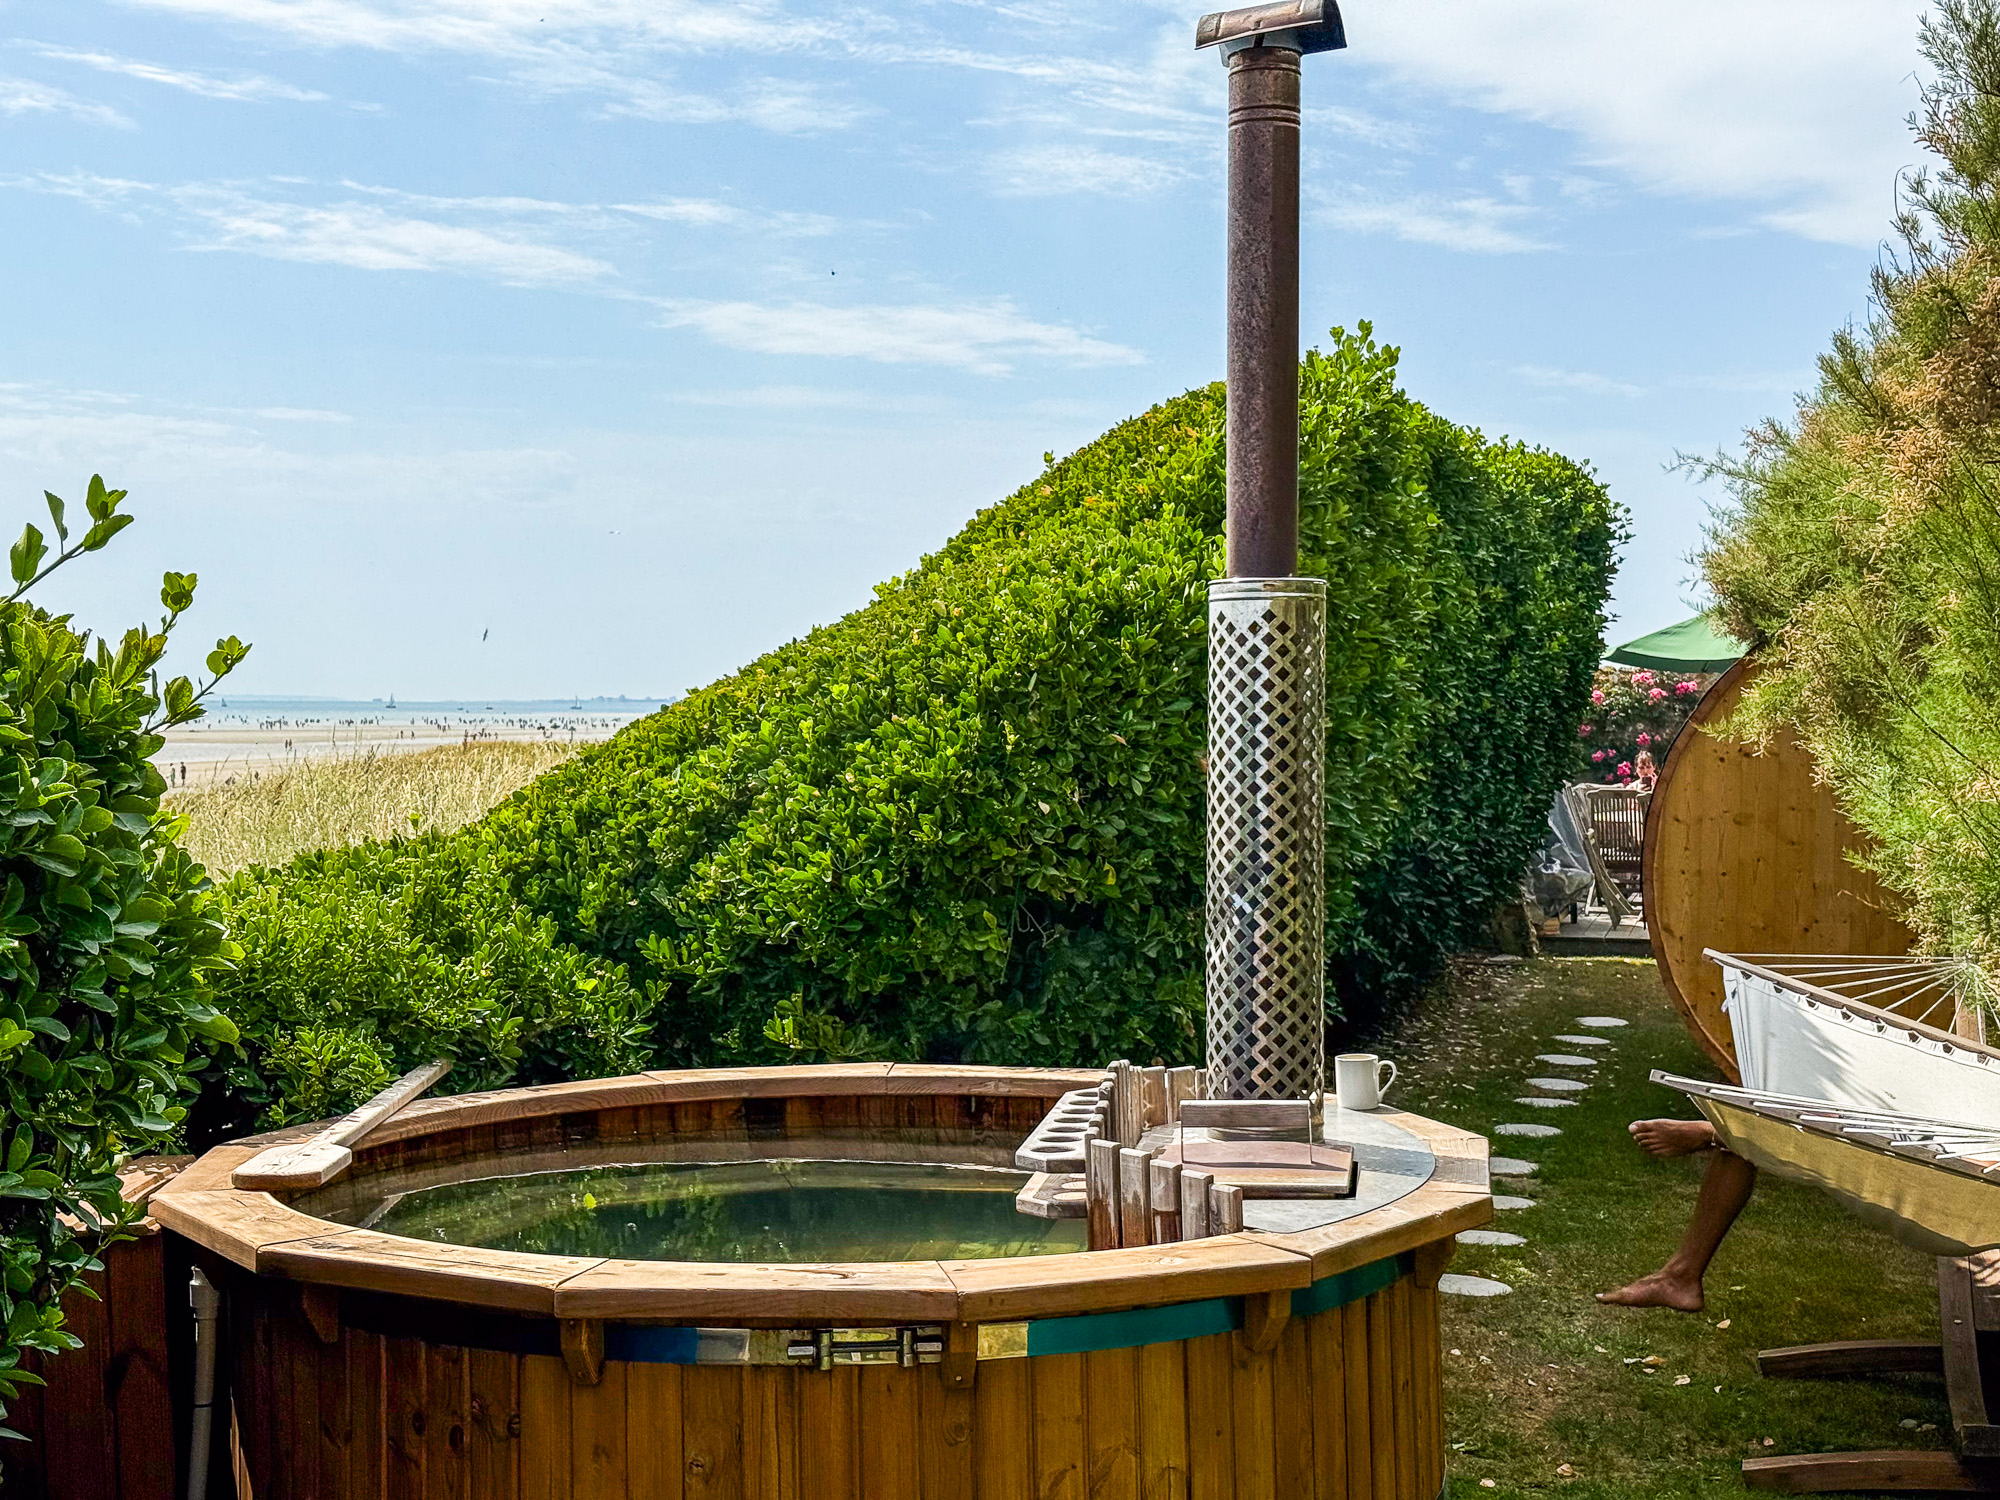
Review and installation photos →Hi, you can see the hot tub in these pics at our retreat.
From the garden gate to the finished installation
Choose the hot tub and its place in the garden together. Follow the delivery route, check the complete operating load and leave room for heating, cover handling and servicing.
Compare the current outdoor range below, including wood-fired, electric, built-in and specialist mobile configurations. The selected equipment determines the site requirements; the shell footprint is only the beginning.
From our customers
Customer projects matched to the products listed on this page. Earlier specifications and selected options may differ.
Customer projects from United Kingdom.
TimberIN Nordic™ Thermowood Deluxe
Review and installation photos →Hi, you can see the hot tub in these pics at our retreat.

Hi Albertas, as promised, I’ve attached some photos of our Hot Tub. We’re not on Facebook or the other social media platforms, but we’re happy for you to use any you might want for your website. It arrived Friday morning…
Hi Albertas, as promised, I’ve attached some photos of our Hot Tub. We’re not on Facebook or the other social media platforms, but we’re happy for you to use any you might want for your website. It arrived Friday morning 4th April and we were in the water and enjoying it on Saturday evening. We’ve been in it every night since! A big thank you to you and your team. The specification is exactly as planned, and the workmanship is excellent. You might welcome some feedback on a couple of relatively minor issues, which I hope you will find helpful. We only received 4 pictures of the hot tub, but in all honesty, these weren’t really enough for us to confirm that we would be happy with the product before making the final payment. We trusted the process and made payment, but it would have been better if we could have seen images of the liner and also inside the electric cupboard and the insulation. Just something to be aware of. The other minor point relates to the sand filter and UV-C. both of them came with European plug fittings that required changing. I would have thought that a UK specification would come with a UK plug. Again, this is not a huge point, but it was inconvenient to have to change these. Apart from those minor niggles, everything was great. So, once again, a big thank you to you and your team. Best of luck and continued success in the future.

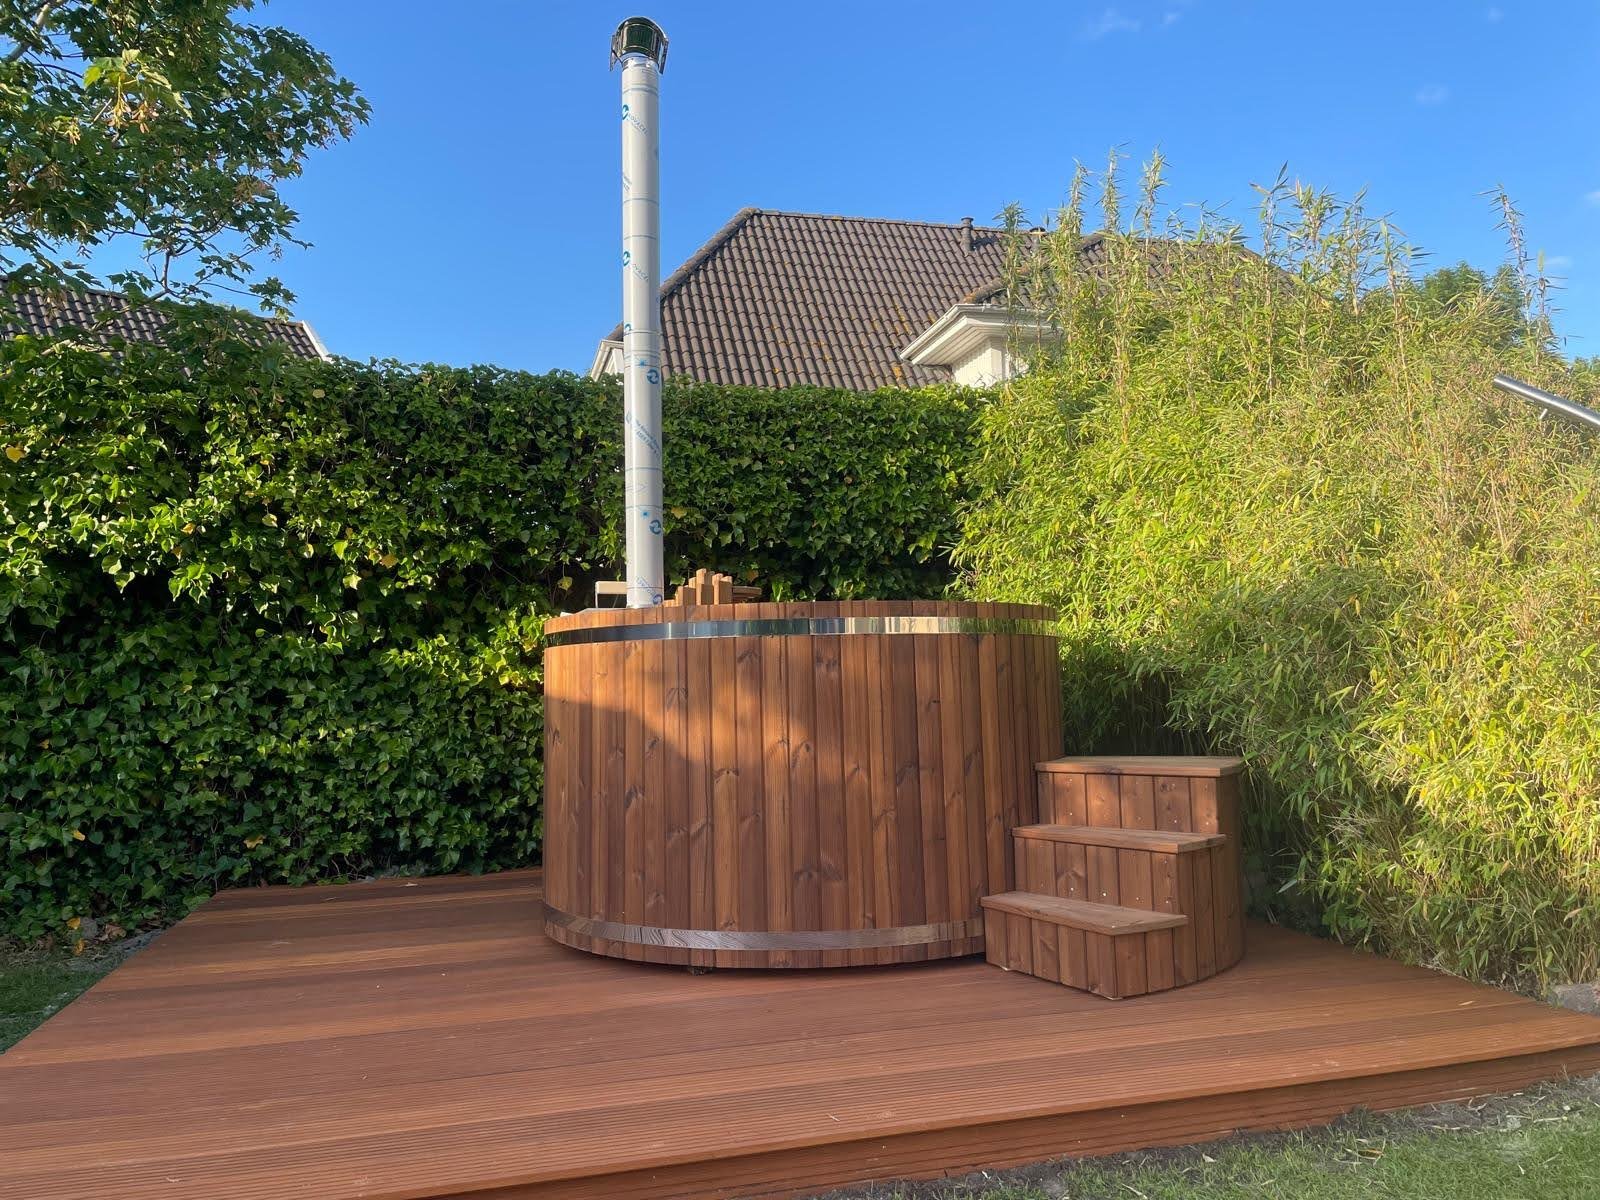
Review and installation photos →Hi, we have finally moved into our house & hot tub is amazing! Attached photo (feel free to use!)
Explore the complete outdoor range, from two-person vessels to larger and specialist installations. Compare the selected size and heating package: built-in systems need designed support, while mobile models add trailer and setup requirements.
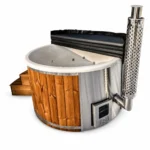
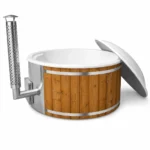
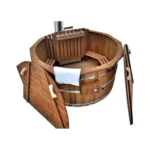
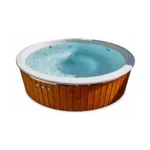
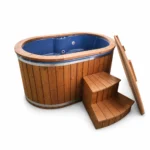
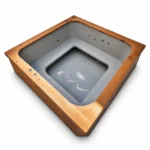
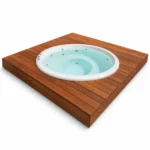
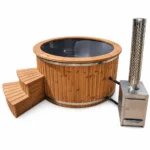
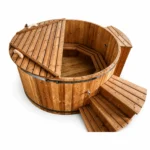
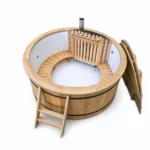
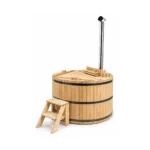
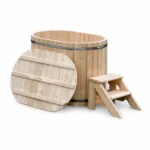
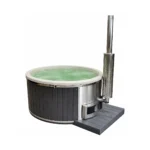
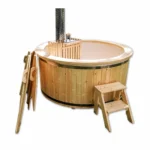
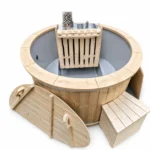
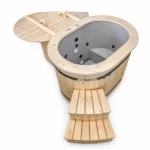
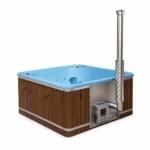
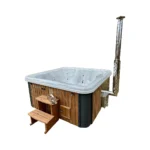
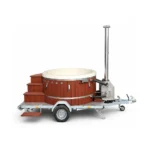
Begin with the journey you will make each time you use the tub. Walk from the house to two or three possible positions, considering wet weather and darkness as well as a sunny afternoon. Notice steps, changes of surface, doors that open into the path and the distance to towels or changing space. The most attractive corner is not necessarily the easiest place to use regularly.
Mark the complete installation on the ground. Include the vessel, entry steps, heater or equipment enclosure, cover in its open position and the route needed to reach service parts. Leave these outlines in place while you use the rest of the garden. A layout can fit inside a measured rectangle yet obstruct the ordinary route to a shed, gate or outdoor seating area.
Look back towards the house from the intended seating level. This reveals the view from the water, the relationship to windows and the privacy a screen might actually provide. Repeat the check from the house and adjoining paths. Decide which view matters most before fixing the tub’s orientation or ordering a cover lifter that opens on one particular side.
Keep the product drawing beside the garden sketch. The relevant outline is the selected model with its equipment, not a generic circle or square. A change of heater, shell size or pump enclosure can alter the space after a base has been designed. Resolve those choices before agreeing the permanent work.
The tub’s route into the garden needs its own survey. Record the narrowest clear width and height at gates, side passages and overhead restrictions. Measure the opening with the gate in its usable position, including posts, hinges and protruding fittings. Photograph corners from both directions so the delivery team can assess turning space rather than relying on one straight-line measurement.
Include slopes, stairs, soft ground and changes in level. Check for drain covers, low roof edges, branches, cables and anything that prevents the proposed handling equipment from reaching the site. Tell the supplier which obstacles are permanent and which can be removed by agreement. Do not promise a clear route based on work that nobody has accepted responsibility for.
Ask for the packed dimensions, delivered weight, permitted handling orientation and intended unloading method for the exact order. A nominal inside diameter is not a delivery width. Some configurations arrive with parts separate; others need a larger assembled envelope. Confirm this rather than assuming that a flue, cladding or heater can be detached on arrival.
When ordinary access is unsuitable, discuss a professional lifting plan before confirming a delivery date. The lifting contractor must assess the actual site and responsibilities. A crane charge, parking arrangement or temporary access requirement belongs in the project budget, not in a last-minute conversation with the driver outside the house.
The catalogue includes different sizes, materials and heat sources because garden use does not belong to one product type. A compact oval vessel, a larger round timber tub and a square lined model can all be relevant, but their access, support and equipment requirements differ. Compare the complete selected configuration rather than ranking them by shell width alone.
Nordic Duo, Duo Wood and Oval Duo offer two-person routes where a smaller bathing brief suits the household. Their elongated plan can work differently beside a path or terrace edge, but the external heater and steps still need space. Compare the round hot-tub range for continuous bench layouts and the square hot-tub range where a more angular plan is preferred.
Core, Rojal and External Comfort provide lined round configurations with different heater and equipment arrangements. Family Electric offers selectable fibreglass forms with electric or heat-pump choices. These differences affect the installation around the vessel: a separate stove needs an operating area, while powered equipment needs its specified supply and service access.
Traditional timber families, Deluxe and Flex offer further size and material choices. Use the current technical drawing for the exact diameter and bench arrangement. The compact snorkel models have protected internal heater space to account for. Larger Square and Elite Square options need an agreed seating plan and complete operating specification, not an assumption that all sizes share one footprint or weight.
InGround Comfort belongs in a designed supporting installation, with the chosen shell and surrounding works coordinated. Mobile brings a trailer and its own movement, setup and support requirements. Both remain available in the broad garden comparison, but neither should be treated as a standard freestanding tub that can be placed on any spare patch of ground.
Give the person designing the support the actual vessel weight, working water volume, intended occupancy and equipment arrangement. Ask the supplier to identify the required bearing footprint and support details. The visible outside edge does not necessarily show where the load is transferred, and a general product-family description is not a foundation drawing.
Water is a major part of the operating load. Current Core specifications, for example, distinguish approximately 1,300 litres for its smaller configuration from approximately 1,500 litres for the larger one. Those figures describe water volume; the vessel, equipment and users must also be considered. They cannot establish that an existing deck or terrace is adequate.
Have the site’s ground, existing construction and proposed support assessed for that complete requirement. Concrete, paving and timber platforms need different detailing, and their appearance says little about the structure underneath. A patio that looks level or a deck that feels firm underfoot has not thereby been checked for a filled hot tub.
Coordinate the level support surface with drainage around it. The tub should meet its own level and bearing requirements while surrounding rainwater has a planned route. Do not tilt the vessel to solve a puddle problem or use improvised packing to compensate for an unsuitable base. Resolve the surface and support detail with the relevant supplier and contractor.
Plan how the tub will be filled without leaving a hose across the main walking route throughout preparation. Locate the required connection and check the filling arrangement specified for the system. If the garden has several levels or the water point is distant, show this on the plan rather than expecting the delivery team to find a workable route.
Water removal is a separate design question. Identify the intended discharge route, capacity and any applicable local requirements with the installer and relevant authority or water provider. Do not assume that treated bathing water can be emptied into a surface-water drain, a pond or a neighbour-facing slope. Rainwater drainage around the installation does not automatically solve disposal of the tub’s contents.
For electrical equipment, give a qualified electrician the final heater, pumps, controls, lighting and accessory specification. Let that determine the installation and protective arrangements. A garden hot tub is not automatically compatible with an ordinary socket, and a wood-fired model can still contain electrically powered jets, filtration or other accessories.
Agree the routes before paving or decking is closed. Connections and isolation points need to remain accessible in the positions required by the installation design. Record what has been installed and where it runs, so that a later garden change or service visit does not depend on guesswork.
Choose a wood-fired hot tub with the stove position and fuel routine in mind. An internal heater takes space inside the vessel; an external heater needs an operating area beside it; an integrated unit has its own service and loading arrangement. Keep the adult operator’s route clear while other people use the steps or handle the cover.
Show the proposed flue position, nearby planting, fences, roof edges and any shelter to the supplier and installer. Obtain the actual required clearances and flue arrangement for that equipment and site. There is no single boundary distance that can be copied across all models, and a customer’s garden photograph does not verify an installation detail.
Think about smoke and neighbouring windows when comparing locations. Fuel storage and ash handling also belong in the layout. Avoid adding a roof or screen after the heater position has been agreed without having the changed arrangement reviewed. A decorative enclosure can introduce a new obstruction or ventilation issue.
Electric and heat-pump choices use the garden differently. Allow the specified equipment space, airflow and maintenance access, and discuss sound and operating position with the installer. Hybrid systems need the relevant provisions for both heating methods; they do not eliminate the planning associated with either one.
Start privacy planning with the views that actually need screening. A carefully positioned panel or planting area may be enough, whereas a full enclosure changes light, airflow and the garden’s sense of space. Check how the proposal looks from the seated position, not just when standing beside an empty base.
Keep screening clear of the access and service zones on the equipment plan. Consider how plants will grow and how they can be maintained without leaning over the tub or obstructing its heater. Leaves and loose garden material also add cleaning work, so a sheltered-looking corner beneath dense branches may need a more demanding routine.
Discuss likely use times and equipment sound before placing the installation close to neighbouring living areas. Conversation, pumps and an open cover can affect the experience on both sides of a boundary. Orientating equipment or changing the proposed position may be easier now than attempting to solve a problem after all the surrounding work is complete.
If a shelter, raised platform or other building work is proposed, check the whole project with the relevant local authority. The Planning Portal’s outbuilding guidance explains that allowances have limits and exceptions and is explicitly guidance for England. Use the appropriate national and local process elsewhere. A hot-tub product page cannot provide blanket planning permission for the garden works around it.
Draw the cover in its fully open or stored position, using the selected cover and lifting arrangement. Check that it does not block the gate, obscure necessary sightlines or occupy the heater’s operating space. Ask who will handle it and whether the specified procedure is practical in the planned position.
Lighting should help people see the path, changes in level and entry point without shining unnecessarily into nearby windows. Have any electrical lighting designed for its intended environment. Include somewhere practical for towels and footwear, keeping loose items away from the steps and service panels.
For a recessed installation, plan removable access and a way to reach components that may eventually need replacement. A narrow hatch that allows a valve to be seen may not allow a pump to be removed. The sunken and in-ground hot-tub guide covers that project in more detail.
If an outdoor shower is part of the area, include its own supply, drainage and standing space in the plan. Keep that work coordinated with the bathing installation instead of treating it as a later accessory that can be added wherever a gap remains.
Use a marked sketch and current photographs to connect the product order with the site preparation. The following handover makes the main decisions visible. Ask each supplier or contractor to confirm their part before booking work that depends on it.
| Part of the project | Show on the plan | Obtain before work starts |
|---|---|---|
| Delivery | Gate, turns, levels and overhead restrictions | Agreed packed size and unloading method |
| Support | Final position and bearing footprint | Complete operating load and support design |
| Services | Water, discharge and electrical routes | Selected equipment and installation responsibilities |
| Daily access | Steps, cover position and walking route | Cover handling and entry arrangement |
| Aftercare | Panels, valves and component removal space | Maintenance instructions and handover contacts |
Separate delivery, unloading, final positioning, connections and commissioning in the written quotation. Confirm who removes packaging and who demonstrates the operating and care instructions. A coordinated order makes those responsibilities clear before the tub reaches the gate.
Only after the complete operating load and required support have been checked against that deck’s construction and condition. Its appearance or performance under ordinary foot traffic is not enough.
No. Obtain the packed dimensions, weight and permitted handling arrangement, then survey gates, turns, slopes and overhead restrictions with the delivery team.
Review the proposal first. It can change planning considerations, heater clearances, airflow, cover handling and service access, even if the tub itself stays in the same position.