
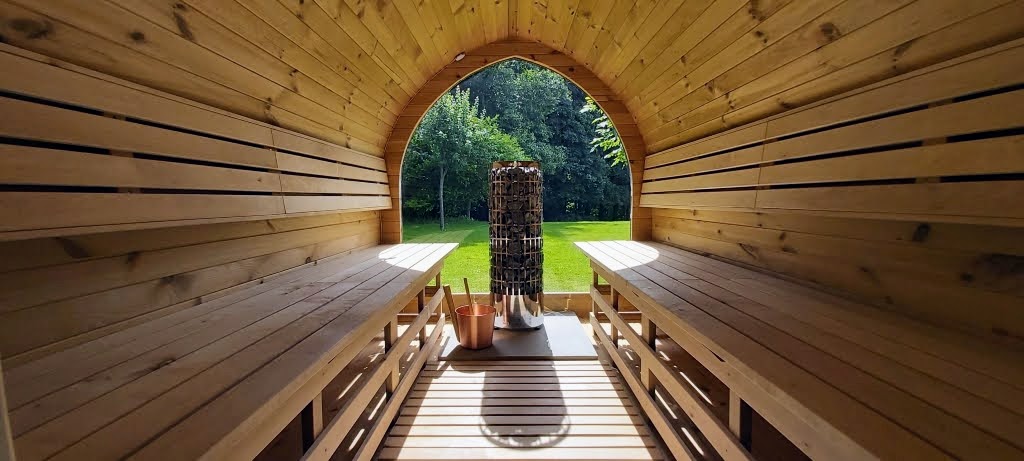
Electric Outdoor Saunas: UK Heater and Installation Guide

An electric outdoor sauna offers controlled heating without logs, ash or a chimney. It still needs a heater correctly sized for the room, a suitable electrical supply, a planned cable route, compatible controls and an installation that accounts for the outdoor building and hot-room environment.

This guide explains how to compare current models, what affects heater output and warm-up, which information an electrician needs, how to estimate energy use and what belongs in the quotation before delivery.

Electrical-planning rule: choose the exact sauna and heater first, then have the complete load and installation route assessed. Do not design the supply from an approximate person count or a photograph.

How an electric outdoor sauna works

The heater converts electrical energy into heat and warms a basket or chamber of sauna stones. The stones moderate and release heat into the room. Where the heater permits it, small amounts of water can be applied to the hot stones to create a brief rise in perceived humidity.

Controls may be integrated into the heater or mounted separately. Sensors, timers, lighting and remote-control functions vary by package. The final order should name every component and identify who can operate it.

Current electric outdoor sauna models

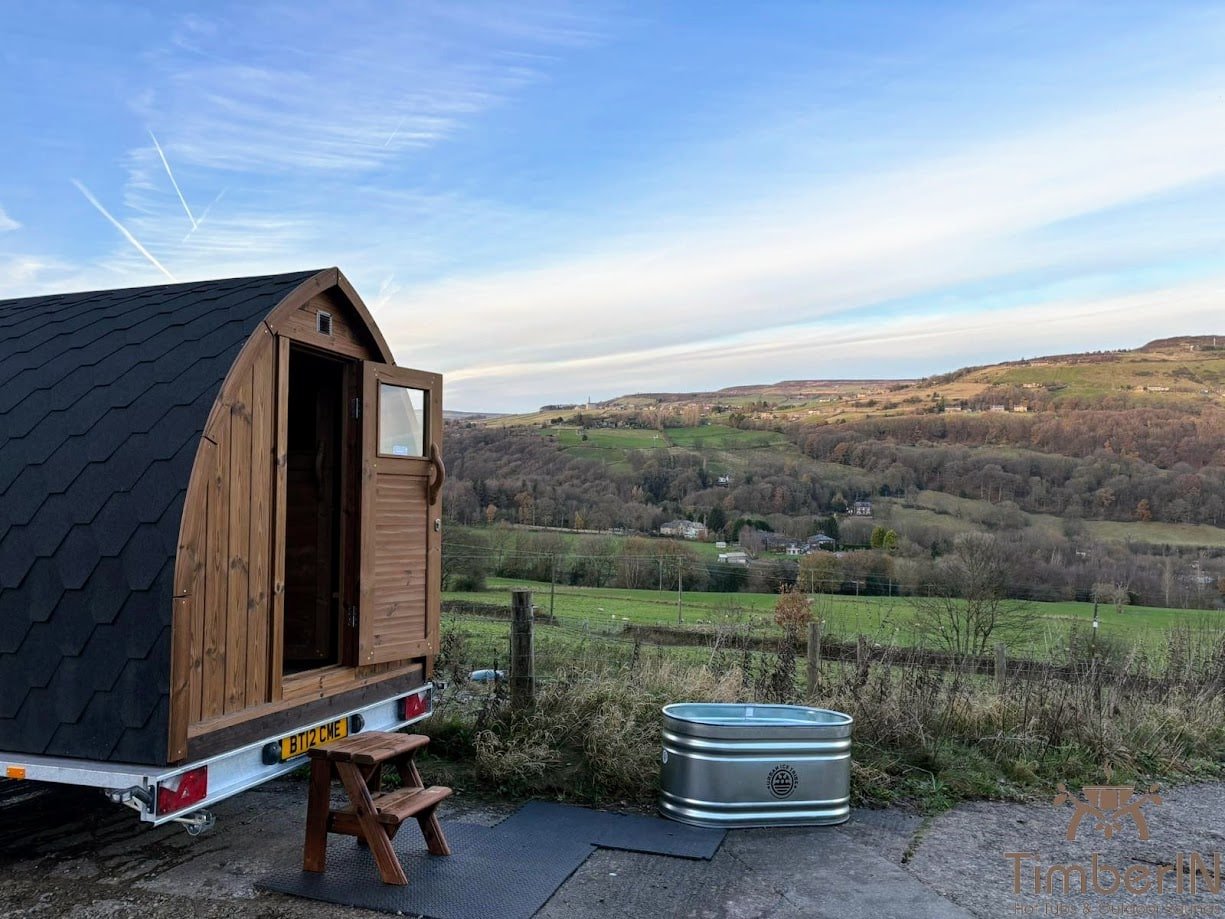
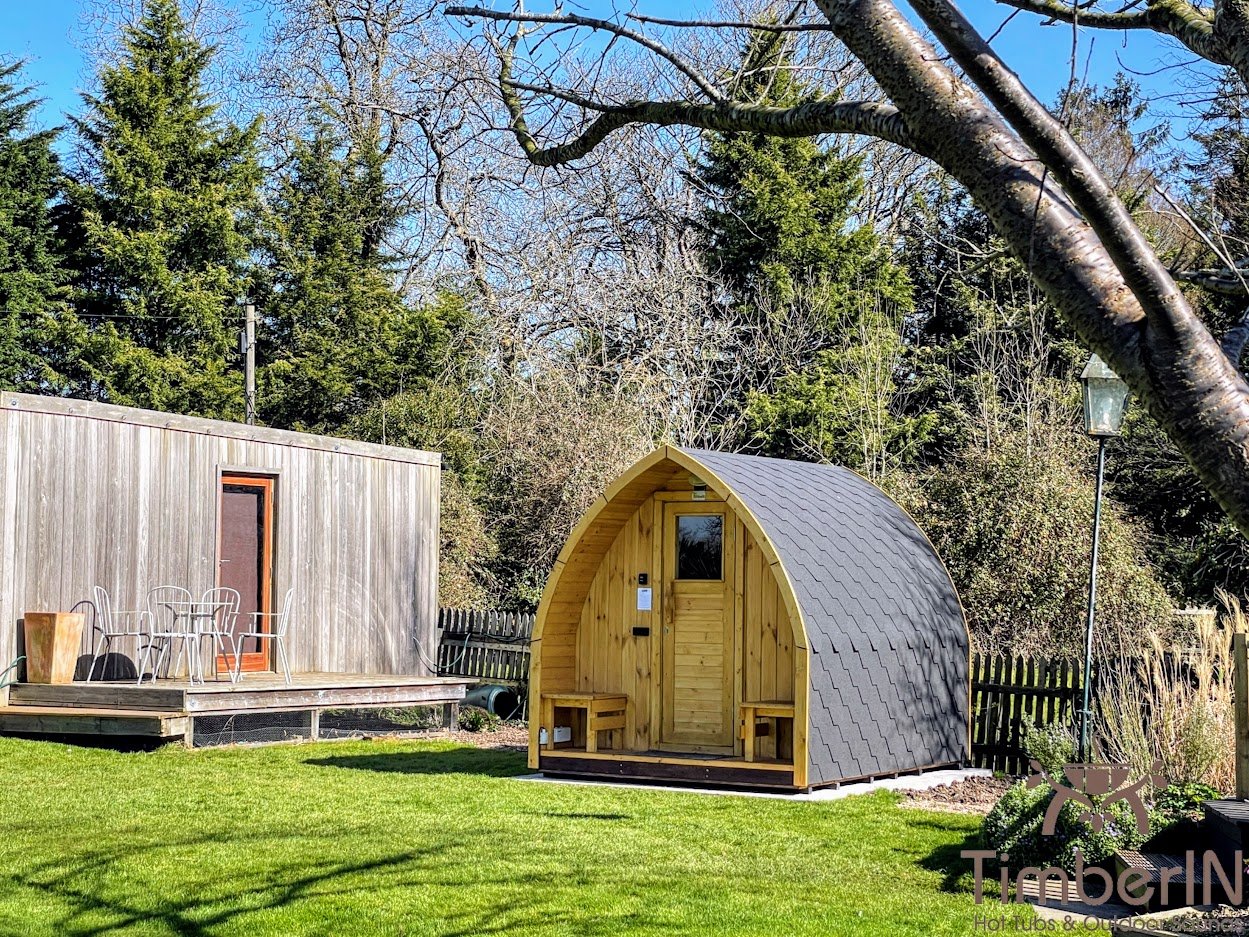
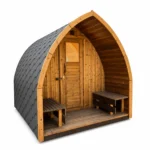
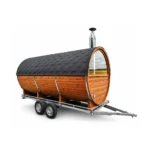
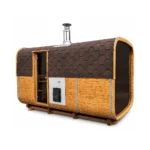
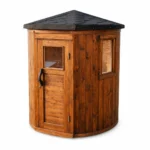
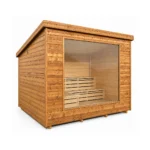
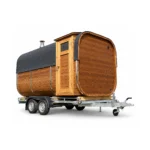
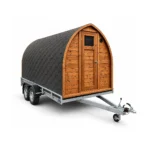
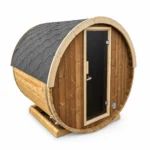
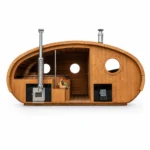
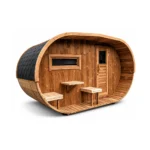
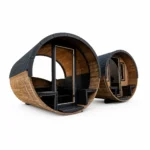
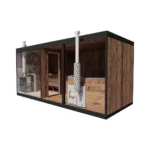
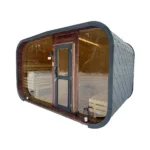
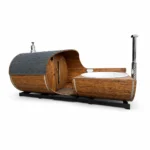
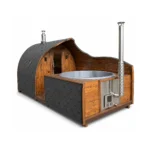
The four current models below are loaded directly from WooCommerce. Open a product to review dimensions and configuration choices, then confirm the exact heater, controls and electrical requirements for the selected room.

Heater sizing starts with effective room volume

Heater output is not selected from person count alone. The manufacturer’s method uses internal volume and accounts for construction features such as glass, masonry or less-insulated surfaces. A panoramic cube and a compact barrel with the same advertised capacity may therefore need different heaters.

Request the internal length, width and height, total glass area, insulation specification and proposed heater range. Do not automatically oversize: the heater and controls must be approved for the room and installed with their documented clearances and sensor positions.

Supply capacity and cable route

The electrician needs the heater’s rated input, voltage and connection requirements plus every other fixed load, including lighting, controllers and accessories. The assessment should include the existing supply, consumer equipment, protective measures, cable type and length, outdoor route and isolation arrangements.

Some heater sizes and control packages can need a different supply arrangement from smaller models. Do not assume that a normal socket, an existing garden circuit or a cable chosen for another appliance is suitable. Keep the heater data sheet with the quotation so every contractor prices the same system.

Building and electrical requirements across the UK

Electrical and building-control systems differ across England, Wales, Scotland and Northern Ireland. In England, Approved Document P explains electrical-safety requirements for dwellings, including design, installation, inspection, testing and information. Wales publishes its own Approved Document P, while Scotland uses its building-standards technical handbooks.

Ask the local authority and the electrician which notification, certification and standards apply to the actual property and work. Use appropriately competent people and retain design, test and commissioning documents. A supplier can provide product data but cannot certify an unseen local installation.

“Plug-and-play” claims

A small heater may be described as plug-connected, but that phrase does not prove the existing socket or circuit is suitable for continuous high demand in this location. Confirm the plug and connector, rated load, circuit protection, cable route, outdoor conditions and any restriction in the manufacturer’s instructions.

Larger heaters are commonly connected as fixed equipment. Treat every model individually and do not use extension leads or improvised adapters unless the technical documentation explicitly permits the arrangement and the installer confirms it.

Controls, timers and remote operation

Integrated controls are convenient when users can reach the heater safely. Separate panels can offer clearer display, scheduling or remote functions. Confirm the allowed mounting location, sensor positions, temperature limits and whether the control package is included.

Remote starting deserves an operating plan. The room must be in a safe condition before heating, with no objects on or near the heater. Decide who can enable remote functions, what alerts are provided and how the system behaves after lost connectivity or a power interruption.

Warm-up time and temperature stability

No single warm-up time applies to every electric sauna. Heater output, room volume, stone mass, outdoor temperature, glazing, insulation, ventilation and target conditions all matter. Ask for an estimate tied to the chosen model and record actual performance after installation.

Repeatedly opening the door or blocking airflow can create uneven conditions. Bench height also affects the user’s temperature zone. Use the room and heater as designed rather than trying to force a faster result by changing sensor positions or ventilation.

Electricity use and running cost

A simple upper-bound estimate multiplies rated kilowatts by hours and the electricity tariff, but a controlled heater may cycle rather than draw full output continuously. Warm-up, session length, outdoor conditions and heat loss change the actual result.

Use your own tariff and measure several normal sessions. Avoidable energy use is reduced by selecting the right room size, keeping the door closed, maintaining the designed ventilation and following the intended preheat schedule. Do not sacrifice ventilation or safe controls merely to reduce consumption.

Room construction, glazing and weather protection

Outdoor performance depends on the sauna envelope. Ask for wall, floor, roof and insulation details, the extent of glazing and the weatherproof exterior finish. A larger glass area can improve views but increases heat demand and cleaning.

The electrical components, cable entries and controls must be suited to their intended environment and installed in approved locations. Keep drainage away from the base and prevent landscaping from blocking ventilation or service access.

Ventilation, stones and maintenance

Ventilation supports users, heater operation and post-session drying. Follow the model and heater instructions for inlet, outlet and sensor positions. Do not close vents to increase temperature; that can undermine the designed air path.

Use the approved type and amount of sauna stone and arrange it as instructed. Inspect stones for breakdown or settling, keep the heater clear of objects and follow its maintenance schedule. Clean and dry the timber with methods suitable for the supplied materials.

Home, holiday-let and commercial operation

An electric heater can simplify repeated use, but paying guests should not automatically receive full control. A managed site needs clear instructions, staff checks, cleaning and drying records, fault isolation and a responsible person for remote or timed operation.

Tell the supplier and electrician about the intended frequency and user group. Check the installation and operation with the insurer, local authority and relevant advisers; a domestic configuration does not automatically meet every commercial need.

Commissioning and handover

Before normal use, verify the installed heater, controller, sensors and stones against the order and technical documents. The electrical work should be inspected and tested as required, and the owner should receive the relevant certificates, manuals and warranty information.

Run a complete warm-up and controlled shutdown with the responsible user present. Confirm timer limits, permitted remote functions, ventilation, abnormal-condition response and isolation. Record the starting settings rather than changing parameters immediately, and keep service contact details with the installation documents.

Electrical brief and quotation checklist

Information Confirm before installation
Sauna room Internal volume, glazing, insulation and bench plan
Heater Model, input, voltage, clearances, stones and sensor locations
Controls Integrated or separate panel, timer, remote functions and permissions
Other loads Lighting, ventilation, accessories and total connected demand
Site Supply capacity, cable route, isolation, outdoor conditions and base
Handover Inspection, testing, certification, manuals and warranty boundary

Electric versus wood-fired sauna

Priority Electric heater Wood-fired stove
Operation Direct controls and repeatable scheduling Manual fire preparation and monitoring
Site requirement Adequate electrical supply and cable route Fuel storage, shielding and chimney
Routine care Stones, heater checks and electrical servicing Stones, ash, stove and chimney maintenance
Best fit Homes and managed sites wanting convenient control Fire-led sessions and suitable rural or lower-power sites

For the alternative system, read the wood-fired outdoor sauna guide.

Frequently asked questions

Can an outdoor sauna use a normal household socket?

Do not assume so. Connection depends on the exact heater and existing installation. Give the technical data to an appropriately qualified electrician and follow the manufacturer’s requirements.

How much electricity does an outdoor sauna use?

It depends on rated output, warm-up, cycling, session length, weather, room construction and tariff. Measure normal sessions after installation for a reliable cost.

Can an electric sauna be started remotely?

Some control systems support it. Confirm compatibility, safe-enable conditions, connectivity, permissions and what happens after a fault or power cut.

Does a panoramic sauna need a larger heater?

Glazing affects the sizing calculation. Use the manufacturer’s method for the exact room, glass area and construction rather than choosing by person count.

Who should connect an electric sauna heater?

Use people with the appropriate competence for the location and work. Confirm local notification and certification requirements and retain the installation documents.

Match the heater, room and supply

Share the model, internal dimensions, glazing, heater preference, postcode and proposed cable route with your supplier and electrician. That allows the product and local installation to be planned from the same technical information.

GET A QUOTE FAST!
close slider

TIMBERIN ON INSTAGRAM

Claim 4% summer discount

Follow @timberinhottubs and send us a direct message. We’ll reply with your discount code.

Open Instagram profile