
From the first log to the final check

Wood-fired outdoor saunas — stove, stones and chimney as one system

A wood-fired sauna suits a hands-on routine: preparing fuel, tending the stove and allowing time for the room and stones to warm. Choose the room and heating package together, with a workable plan for the chimney, airflow and the people who will use it.

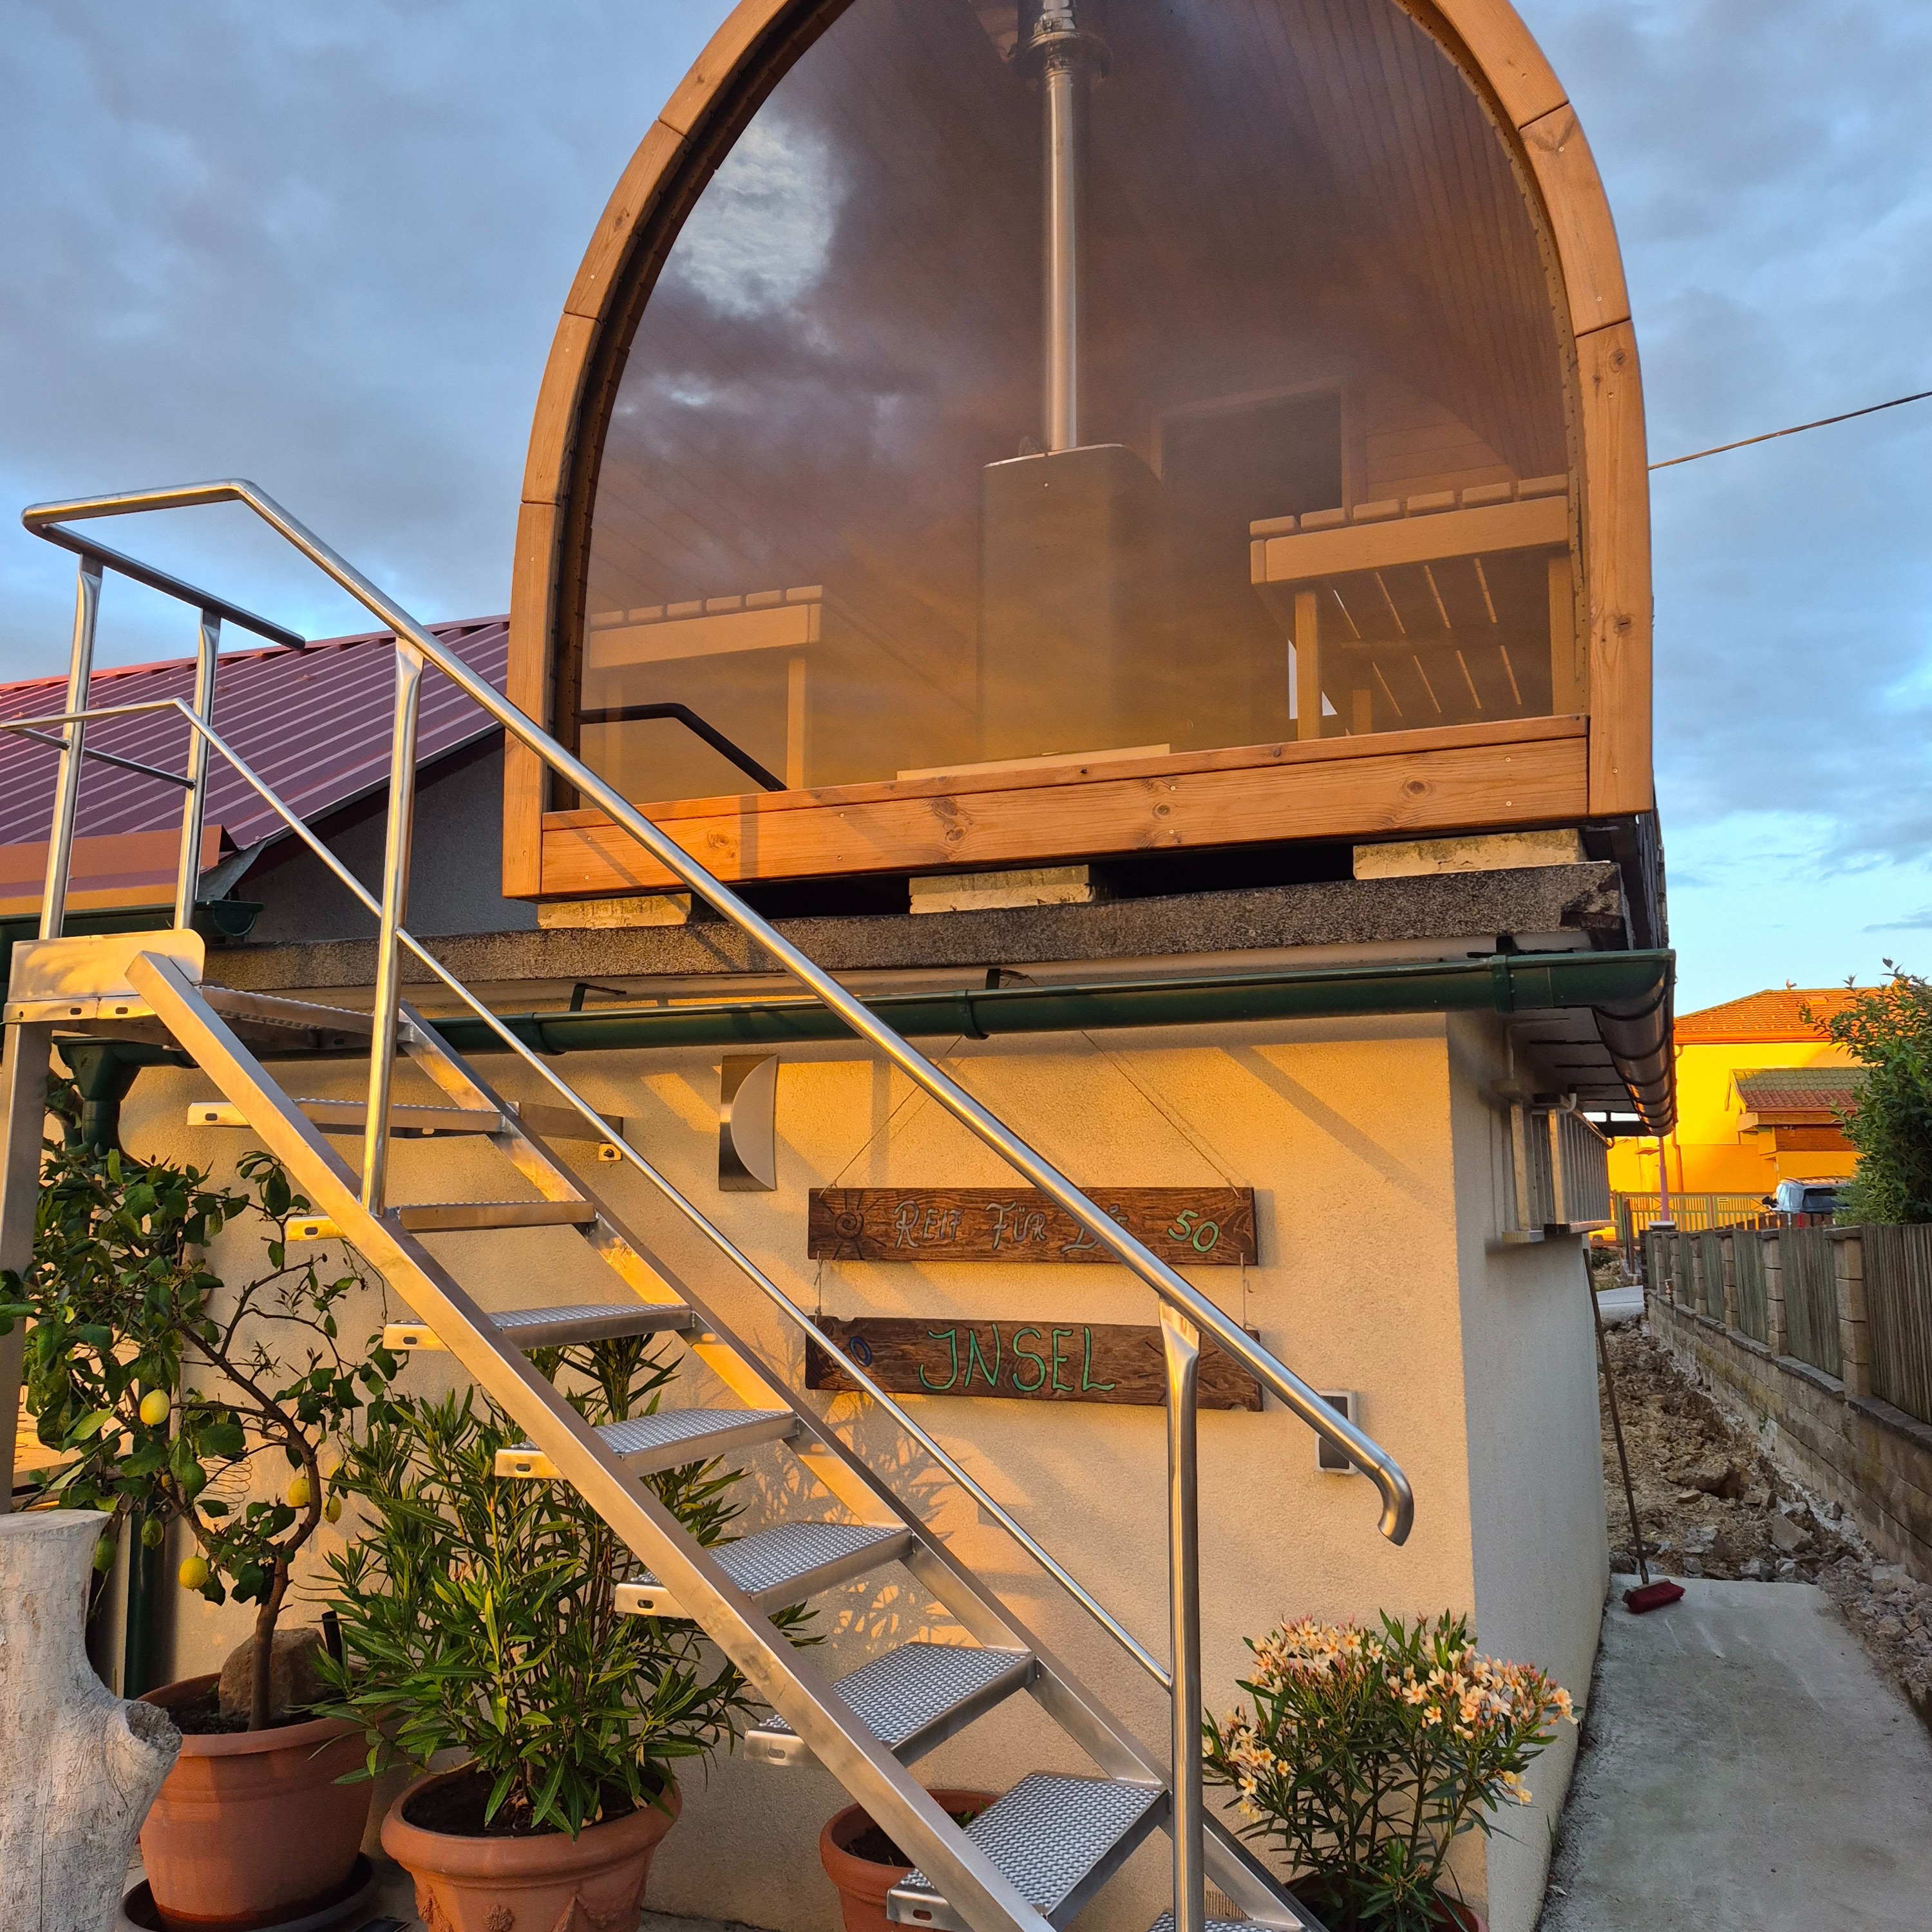
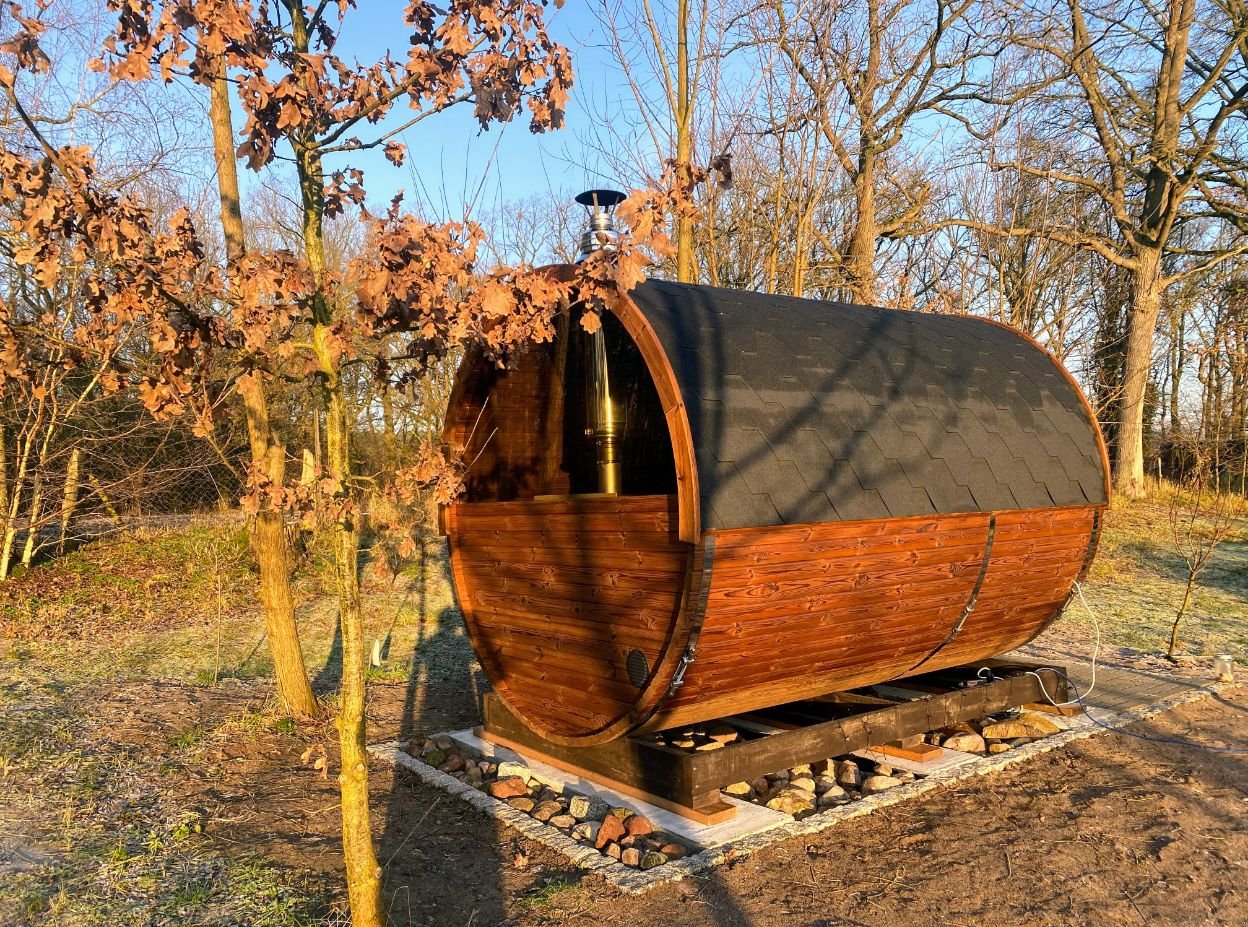
Timber barrel sauna with a visible chimney in a wooded garden
A garden sauna with a visible chimney. The selected stove, roof detail and site arrangement need their own specification.

Three decisions to begin with

The room: which layout, glazing and usable bench space will serve your regular sessions?

The fire: who will light and supervise it, and from which side will the stove be loaded?

The site: can the chosen address accommodate the appliance, chimney, fuel store and required services?

Browse documented wood-fired options below, or explore the full outdoor sauna collection while deciding on the heating method.

From our customers

These products at our customers’ homes

Customer projects matched to the products listed on this page. Earlier specifications and selected options may differ.

Customer projects from United Kingdom.

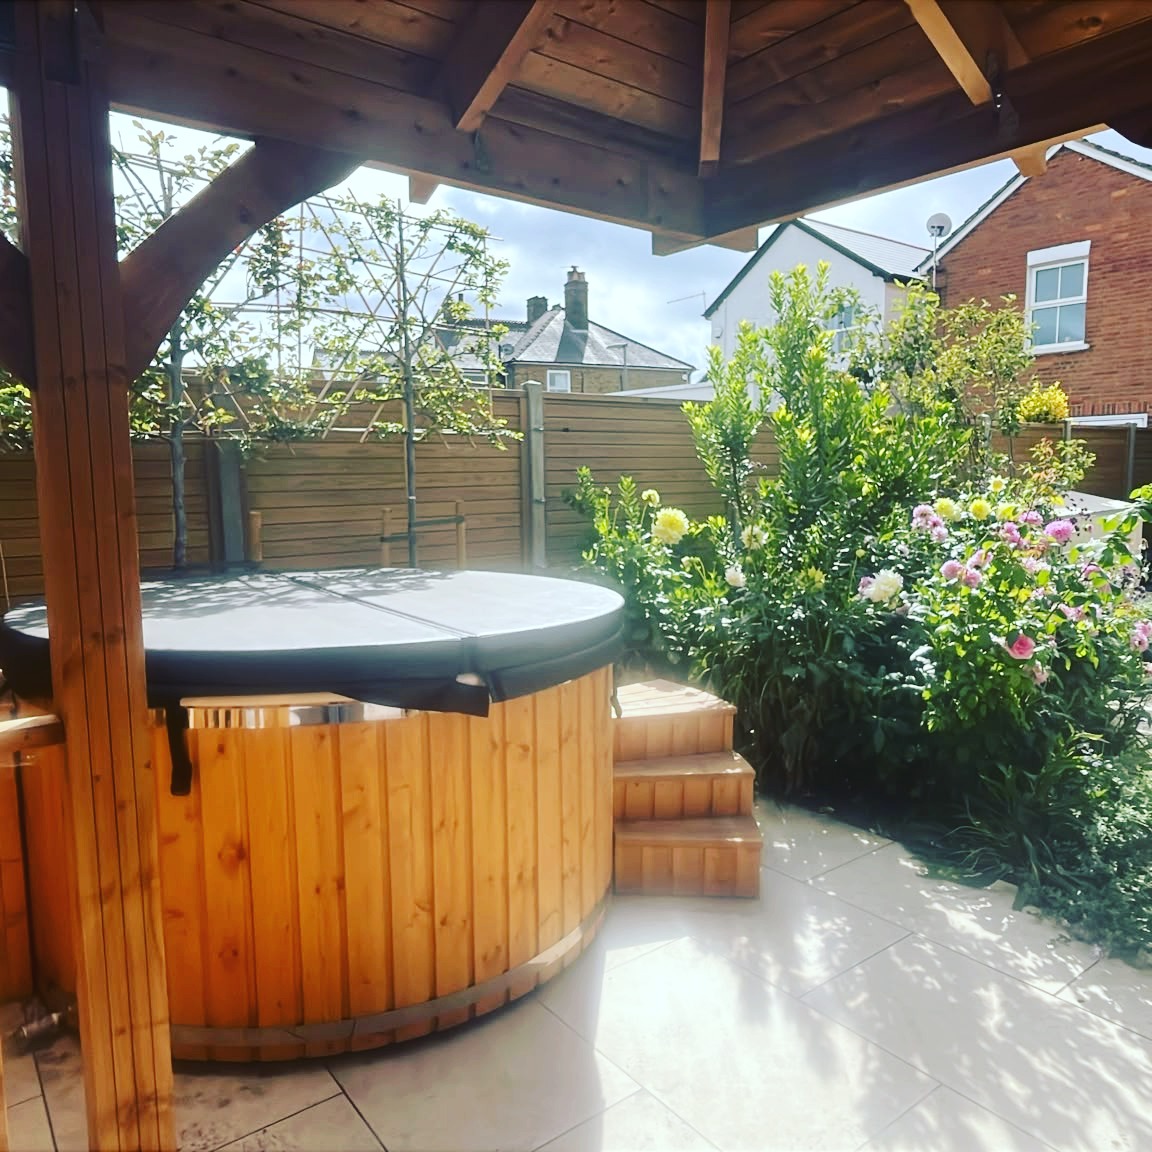
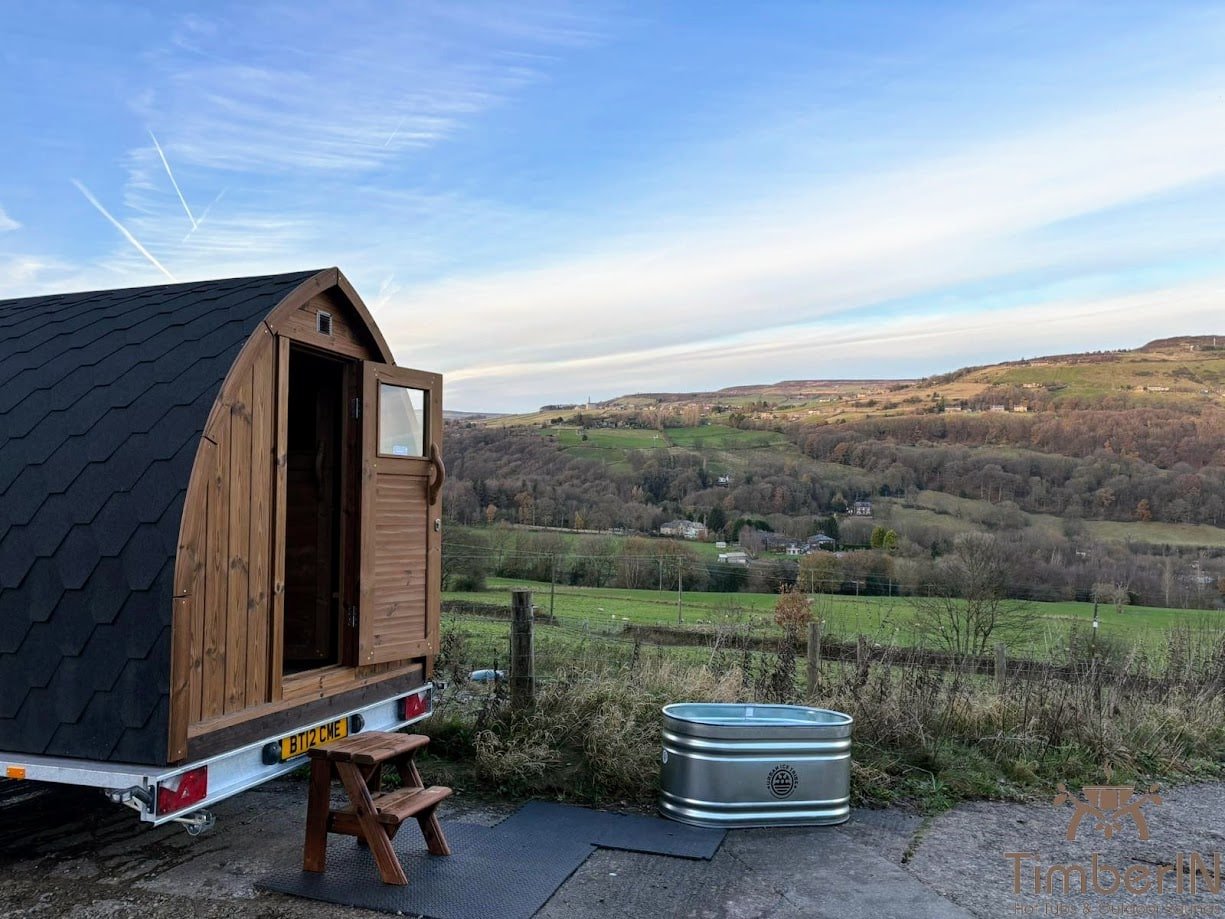
Customer project: Lukas — Bridport, United Kingdom

Lukas — Bridport, United Kingdom

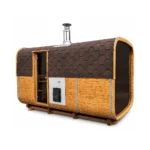
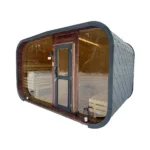
TimberIN Nordic Square Mobile Sauna™

We chose TimeberIN to build a custom sauna for a new business venture. Our customers have fed back that the sauna is one of the best ones they've been too. The process was relatively smooth and the end product was high q…

Read full review

We chose TimeberIN to build a custom sauna for a new business venture. Our customers have fed back that the sauna is one of the best ones they've been too. The process was relatively smooth and the end product was high quality with no defects. We were concerned around shipping due to having ordered from the UK and having the sauna imported. This part was surprisingly very smooth with support for import and speedy delivery with good communication and updates. Due to location (seaside) we've made some modifications to help protect it from harsh weather.
Review and installation photos →
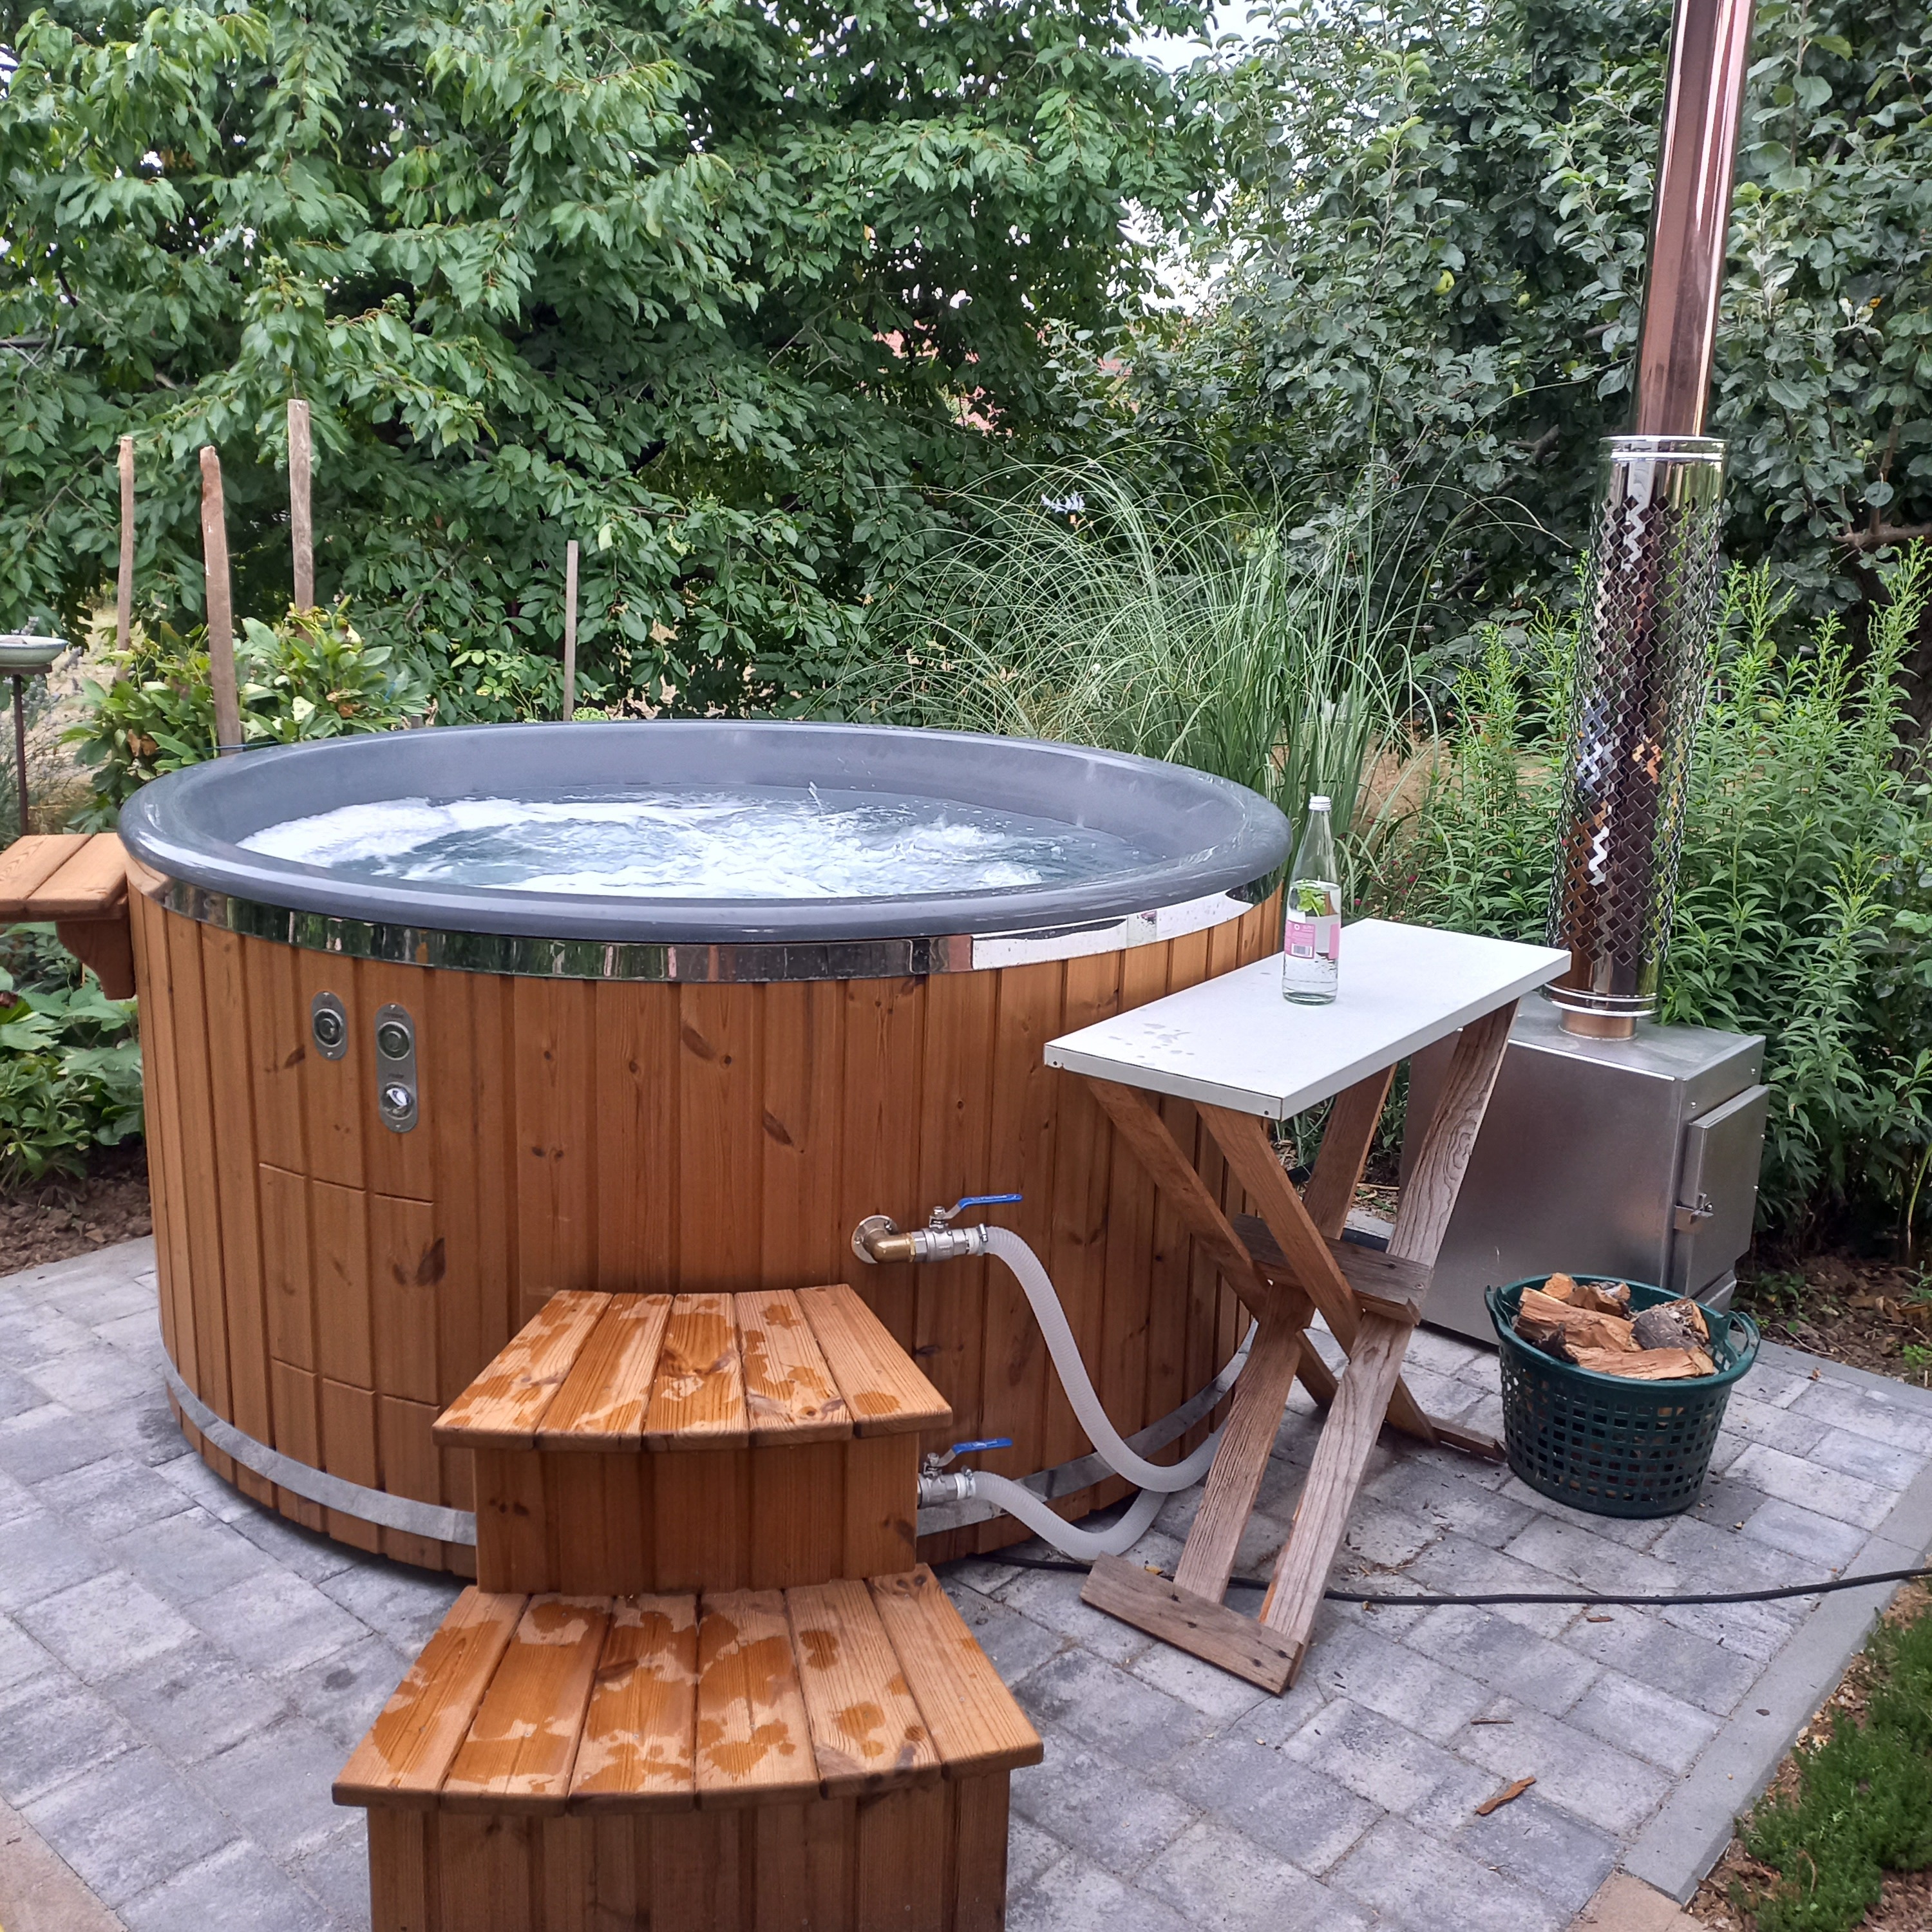
Customer project: Sam — Manchester, United Kingdom

Sam — Manchester, United Kingdom

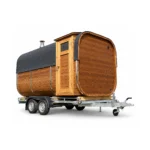
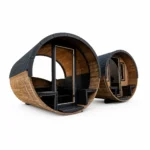
TimberIN Nordic Mobile Sauna Pod™

Hi Deimanté, Happy New Year! I love the sauna, and everyone who uses it comments on how nice it is to have the window to view out of and that the sauna looks very professional! I am going to email you about a quote for a…

Read full review

Hi Deimanté, Happy New Year! I love the sauna, and everyone who uses it comments on how nice it is to have the window to view out of and that the sauna looks very professional! I am going to email you about a quote for a second sauna on a trailer. Thank you Sam

Review and installation photos →
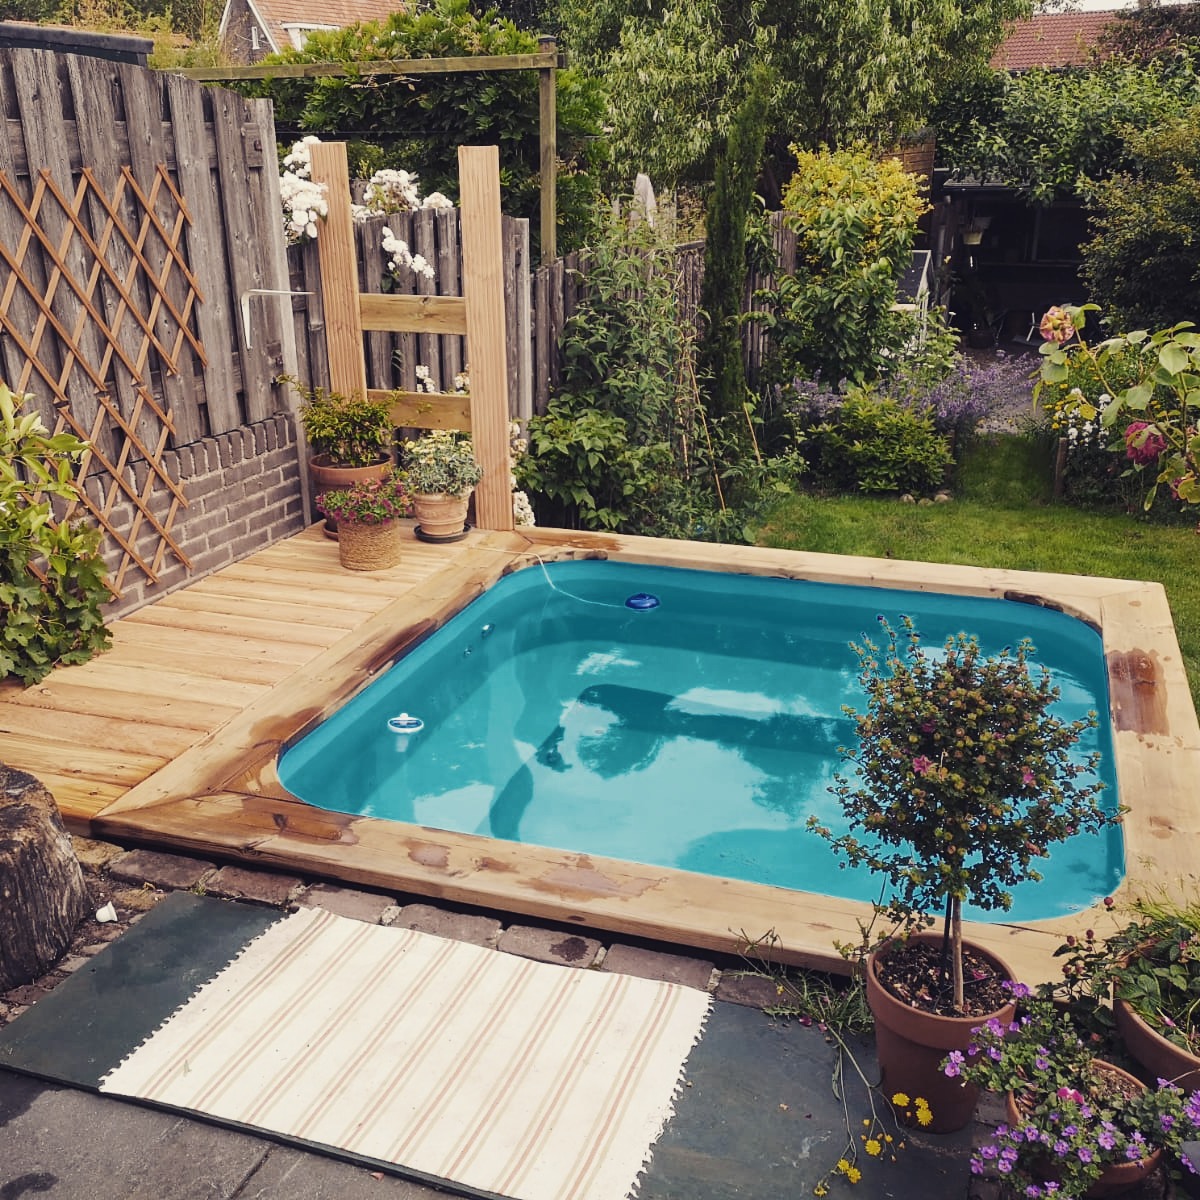
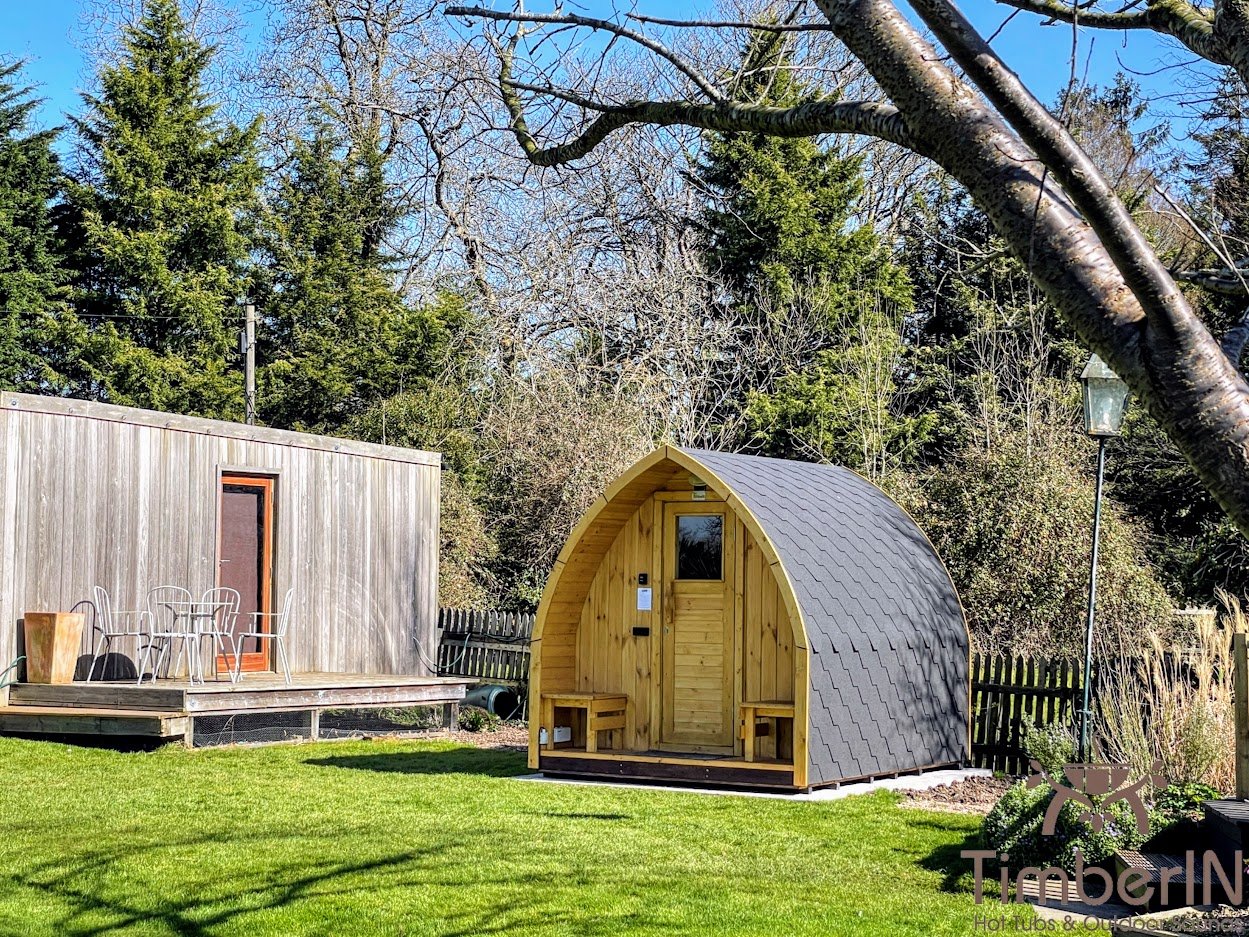
Customer project: David — Birlingham, United Kingdom

David — Birlingham, United Kingdom

TimberIN Nordic Pod™ Porch

Hello Albertas, I promised to send some pictures of the sauna, see attached. We were so impressed with every aspect of working with your company, I wish all the suppliers we have dealt with were this good. very best Davi…

Read full review

Hello Albertas, I promised to send some pictures of the sauna, see attached. We were so impressed with every aspect of working with your company, I wish all the suppliers we have dealt with were this good. very best David

Review and installation photos →

Browse the full customer review library →

Current TimberIN models

Saunas with a documented wood-fired option

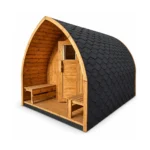
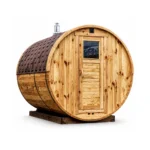
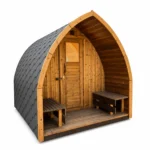
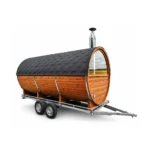
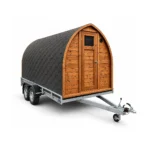
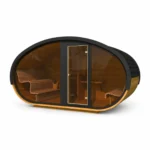
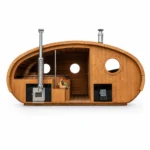
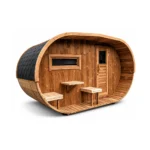
These models currently document a wood-fired sauna heater option. They include stationary, mobile, modular and combined sauna-and-tub formats. Choose the sauna configuration and confirm its stove package; the availability of an option does not mean every version uses wood heat.

Within each group, models follow recorded UK store sales, with a stable order for ties. Open a model for its current price, selectable options and included equipment. Confirm delivery, site work and installation separately where required.

Electric and further sauna alternatives

Terrace 160 Electric uses an electric heater. Barrel Duo, Pod Duo and the two mobile sauna-and-hot-tub combinations below need their sauna heating specification confirmed before being considered for wood heat. They remain available for comparing the overall project, without an assumed wood-fired match.

01

Before choosing a stove

Size the heated room, then fit the equipment around people

A wood-fired outdoor sauna pairs a sauna room with a stove, stones, combustion air and a chimney. The useful starting point is the room that will actually be heated. Overall building length includes walls and may include a porch or changing area. A person-count label describes intended occupancy; it does not establish the stove’s required output.

Ask the supplier to identify internal heated volume on the selected drawing, including the room’s shape. Record glazing, insulation and other exposed surfaces alongside it. The stove manufacturer’s sizing method then determines the effective volume to use. A panoramic window can change the assessment even where the exterior footprint stays the same. Keep that calculation with the quotation so a later glass or partition change triggers a fresh check.

The UK Nordic Pod Custom and Barrel Classic pages currently document Harvia M3 and M3 SL options, with 20-series choices also listed. Their length-based labels help with initial browsing, but the final room and exact stove manual control the match. Avoid treating one model’s recommendation as a rule for every barrel, pod or cabin of the same external length.

Once a stove is proposed, draw its protected space into the floor plan. Include the firebox door when open, the specified guarding, the approach to the bench and the exit. A stove that meets a volume range can still be awkward in a particular layout. Resolve that conflict through the room arrangement and approved equipment combination before the building is made.

Harvia’s wood-burning heater selection guide explains the relationship between capacity, installation and model-specific safety distances. Use it to prepare questions, then obtain the instructions for the exact item being supplied.

02

Draw the working route

Decide where logs enter and where the chimney leaves

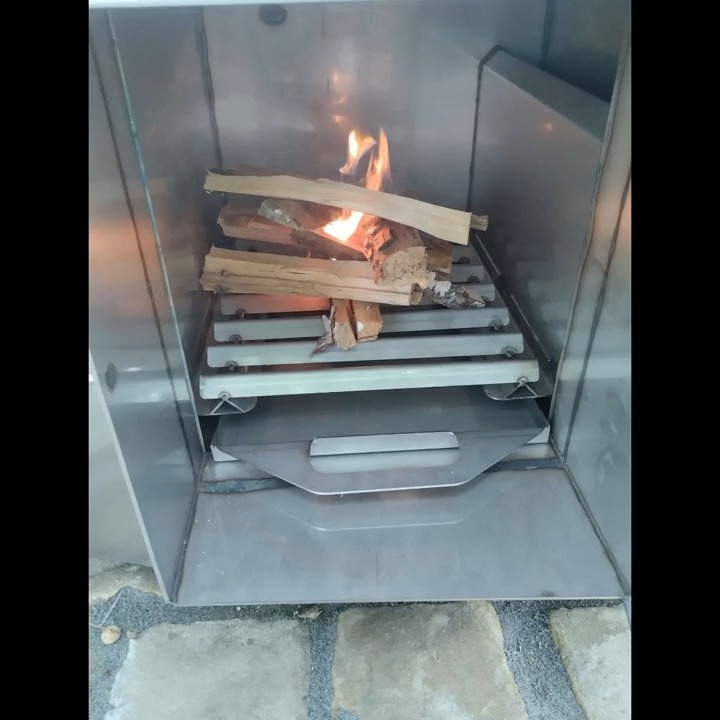
Inside loading puts the firebox within the sauna room. That can suit an owner who wants to tend the fire from indoors, provided the approach remains clear and the specified clearances are maintained. Consider who will move between the door and bench while someone handles fuel. A basket placed conveniently beside the stove is still combustible storage and needs an appropriate separate position.

Outside loading changes that journey. Harvia describes the M3 SL as a through-wall model that can be heated from another room or outside the building. The wall passage and loading area are therefore part of the installation design. An outside firebox needs a usable approach in rain and darkness, with space to open the door, handle fuel and remove cold ash. It does not remove the need for supervision.

Compare the working space around the firebox
Loading arrangementRoute to planConfirm before ordering
Inside the saunaDoor to firebox, then an unobstructed route to the bench and exit.Door swing, fuel-handling space, guard and all required distances.
Through a wallSauna-side protection plus access to the loading face outside the hot room.Exact through-wall stove, wall construction, weather exposure and clearances on both sides.

Trace the flue from the stove connection through the building to its terminal. Ask the installer to coordinate the chimney system, supports, roof penetration, weather sealing and access for inspection. The drawing should identify which components are supplied and who fits them. A photograph of a chimney above a sauna does not establish the construction hidden at the roof or prove that the same arrangement suits another site.

Clearances belong to the named stove and chimney system. A decorative guard, tile finish or generic heat shield does not by itself authorise a reduced distance. Request the manufacturer’s permitted arrangement and the installer’s specification, including protection for the floor and nearby timber. Keep the roof and stove instructions together so neither part is considered in isolation.

In a round room, the roof curves towards the upper stove and flue area. The barrel sauna guide helps relate that geometry to the seated space. For the wider relationship between benches, stones and bathing, compare traditional outdoor sauna layouts.

03

Make the site workable

Check smoke, airflow and the services still needed

Check the proposed address and appliance with the local authority before committing to wood heat. GOV.UK’s smoke control guidance distinguishes open outdoor appliances from appliances using a chimney on a building’s roof. Do not assume a garden sauna shares a barbecue exemption, or that a stove sold for saunas is an exempt appliance. Establish the rules for the exact location, stove and fuel.

Also consider the ordinary relationship with neighbouring buildings, seating areas and opening windows. Give the installer a site plan that includes these features, the sauna position and the intended chimney route. Planning, building and environmental requirements are questions for the relevant local authority and competent installer; the product’s availability does not settle them. If wood heat cannot be accommodated, the electric outdoor sauna guide offers another route.

Ventilation needs its own design. Harvia publishes different arrangements for wood-burning saunas with gravity and mechanical ventilation, so there is no single vent layout to copy into every cabin. Ask which system the proposed room uses and how it supplies combustion air, supports bathing and dries the room afterwards. The manufacturer’s ventilation guidance should be read with the supplied stove and sauna instructions.

Agree how ventilation openings remain accessible for checking and cleaning. Include any proposed fan or extraction elsewhere in the building when discussing airflow with the installer. Do not close vents simply to chase a higher temperature, or improvise a fan as a cure for smoke entering the room. A persistent smoke problem requires the installation to be assessed.

A stove can produce heat without an electric sauna heater, but the complete project may still need power. Current TimberIN options include lighting, and some combined products include equipment for a separate hot tub. Identify each selected accessory and its supply requirements. Arrange an appropriate electrical design where needed; avoid describing the whole installation as off-grid merely because the main sauna heater burns logs.

Finally, check the base, unloading method and route to the garden against the chosen building and equipment. Leave space for servicing the stove and chimney after delivery. A path that admits the sauna but later becomes blocked by landscaping can make routine inspection unnecessarily difficult.

04

Plan the whole session

Give fuel, supervision and cooling their own place

Think through an ordinary evening from fetching logs to leaving the sauna safely after use. Put the dry fuel store where it is convenient without obstructing the entrance or placing stored combustibles inside required clearances. Allow a separate route for ash removal. These practical decisions are easier while planning the garden than after a stove has been squeezed into a finished room.

Before lighting

Use the fuel type and log dimensions permitted by the supplied stove instructions. Store suitable dry wood under cover with ventilation, off the ground. Treated or painted timber, glued board and rubbish are not appropriate sauna fuel. Keep lighting materials and cleaning products away from hot equipment, and establish who is responsible for preparing and tending the fire.

Ask for a commissioning demonstration covering the actual stove: first-use preparation, permitted lighting method, air controls, loading and shutdown. The demonstration should also cover the stone arrangement, maintenance access and signs that require the stove to be taken out of use. A general online guide cannot provide the operating sequence for every heater offered with these saunas.

During heating and bathing

Allow the responsible adult enough time to tend the fire and monitor the room. Discuss supervision for children, visitors and anyone unfamiliar with the stove. Hot metal and stones remain part of the room even when a guard marks their position. Keep the route to the door free of loose fuel, towels and equipment throughout the session.

Heat-up time varies with the room, stove, stone load, starting temperature, weather and fuel. Treat the first properly commissioned sessions as a way to learn the supplied system, following its instructions. Do not force a promised deadline by overloading the fire or changing approved airflow. Arrange guest arrival around a workable operating routine, with room for cold-weather variation.

After the last bather

Follow the stove’s shutdown and the sauna’s drying instructions. Allow ash to cool completely before removal, using an appropriate metal container. Plan where that container is kept and how cold ash is ultimately disposed of without blocking access. A room that feels cooler does not establish that the firebox, stones or ash are cold.

Build checks of the stove, stones and chimney into the maintenance schedule appropriate to actual use and manufacturer guidance. Harvia’s wood-burning heater maintenance advice explains why these need attention. If smoke enters the room or damage is suspected, stop use and obtain competent assessment before restarting.

For a mobile sauna, cooling and the specified travel preparation add another stage before departure. Confirm how the chimney and loose equipment are secured, and how the installation is checked after positioning at the next site. A documented wood-stove option does not establish road suitability or permission to operate at every destination.

05

Agree responsibilities

Specify private use or guest operation before the quotation

A household may have one experienced person who lights and maintains the sauna. Guest accommodation introduces different users, turnover and responsibility between sessions. Decide whether guests may tend the stove at all, who inspects the room and who controls access while equipment is cooling. These choices affect the operating arrangement as much as the number of benches.

For a business or hosted setting, request written confirmation that the proposed sauna and stove are suitable for the intended use, including the applicable warranty terms. Coordinate the operating plan with the installer, insurer and other relevant advisers. The commercial outdoor sauna guide covers that project route. A larger domestic model does not automatically resolve a commercial specification.

Compare quotations on the same basis. Name the sauna configuration, internal room and glazing; identify the stove and loading side; list stones, guarding, floor protection and chimney components. Separate factory work, site installation, electrical work where required, delivery and commissioning. For combined sauna-and-tub products, identify the sauna heating package independently of the water-heating system.

Keep a handover record with the final drawings, appliance instructions, installer details and agreed maintenance responsibilities. If an item is described as included, make sure the quotation identifies the actual component and the work covered. Clear decisions at this stage let the garden layout, delivery and first session follow the same agreed specification.

Start with your room and operating plan

Send TimberIN the preferred model, postcode, available footprint, intended users and whether you prefer inside or outside loading. Include a site sketch showing access and nearby buildings. Ask for the room, stove, chimney and installation responsibilities to be confirmed together.

Discuss a wood-fired sauna specification

Questions before choosing wood heat

Can every outdoor sauna take a wood stove?

No. The first group above has current documentation for a wood-fired sauna heater option. The alternatives need a different heating choice or further specification. Even within a documented family, the selected room, glazing, stove and installation must be matched.

Does a chimney shown in a product photo come with every configuration?

Use the selected product options and written quotation to establish the supplied package. Confirm the exact chimney components and site work. A photograph may illustrate another configuration and cannot define hidden roof details or installation responsibilities.

Can I promise guests a fixed warm-up time?

Build the schedule around the commissioned system and actual operating conditions. Weather, starting temperature, room construction, fuel and the specified stove all affect heating. Leave time for responsible preparation and supervision instead of relying on a universal minute count.

GET A QUOTE FAST!
close slider

TIMBERIN ON INSTAGRAM

Claim 4% discount

Follow @timberinhottubs and send us a direct message. We’ll reply with your discount code.

Open this TimberIN project on InstagramOpen this TimberIN project on InstagramOpen this TimberIN project on InstagramOpen this TimberIN project on InstagramOpen this TimberIN project on InstagramOpen this TimberIN project on Instagram

Open Instagram profile