

Wendy — Grimsby, United Kingdom
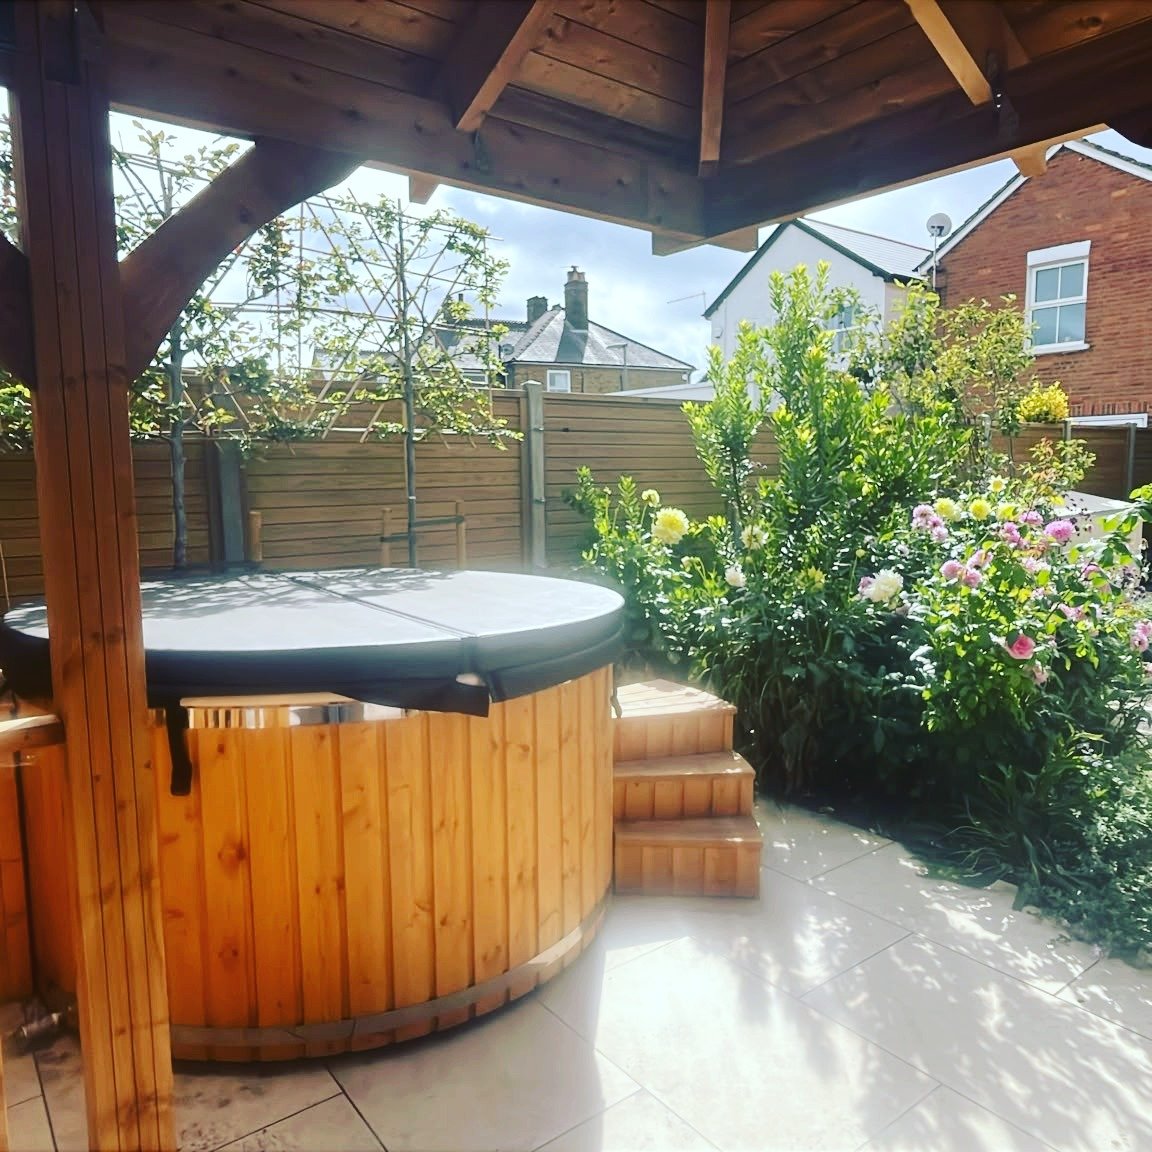
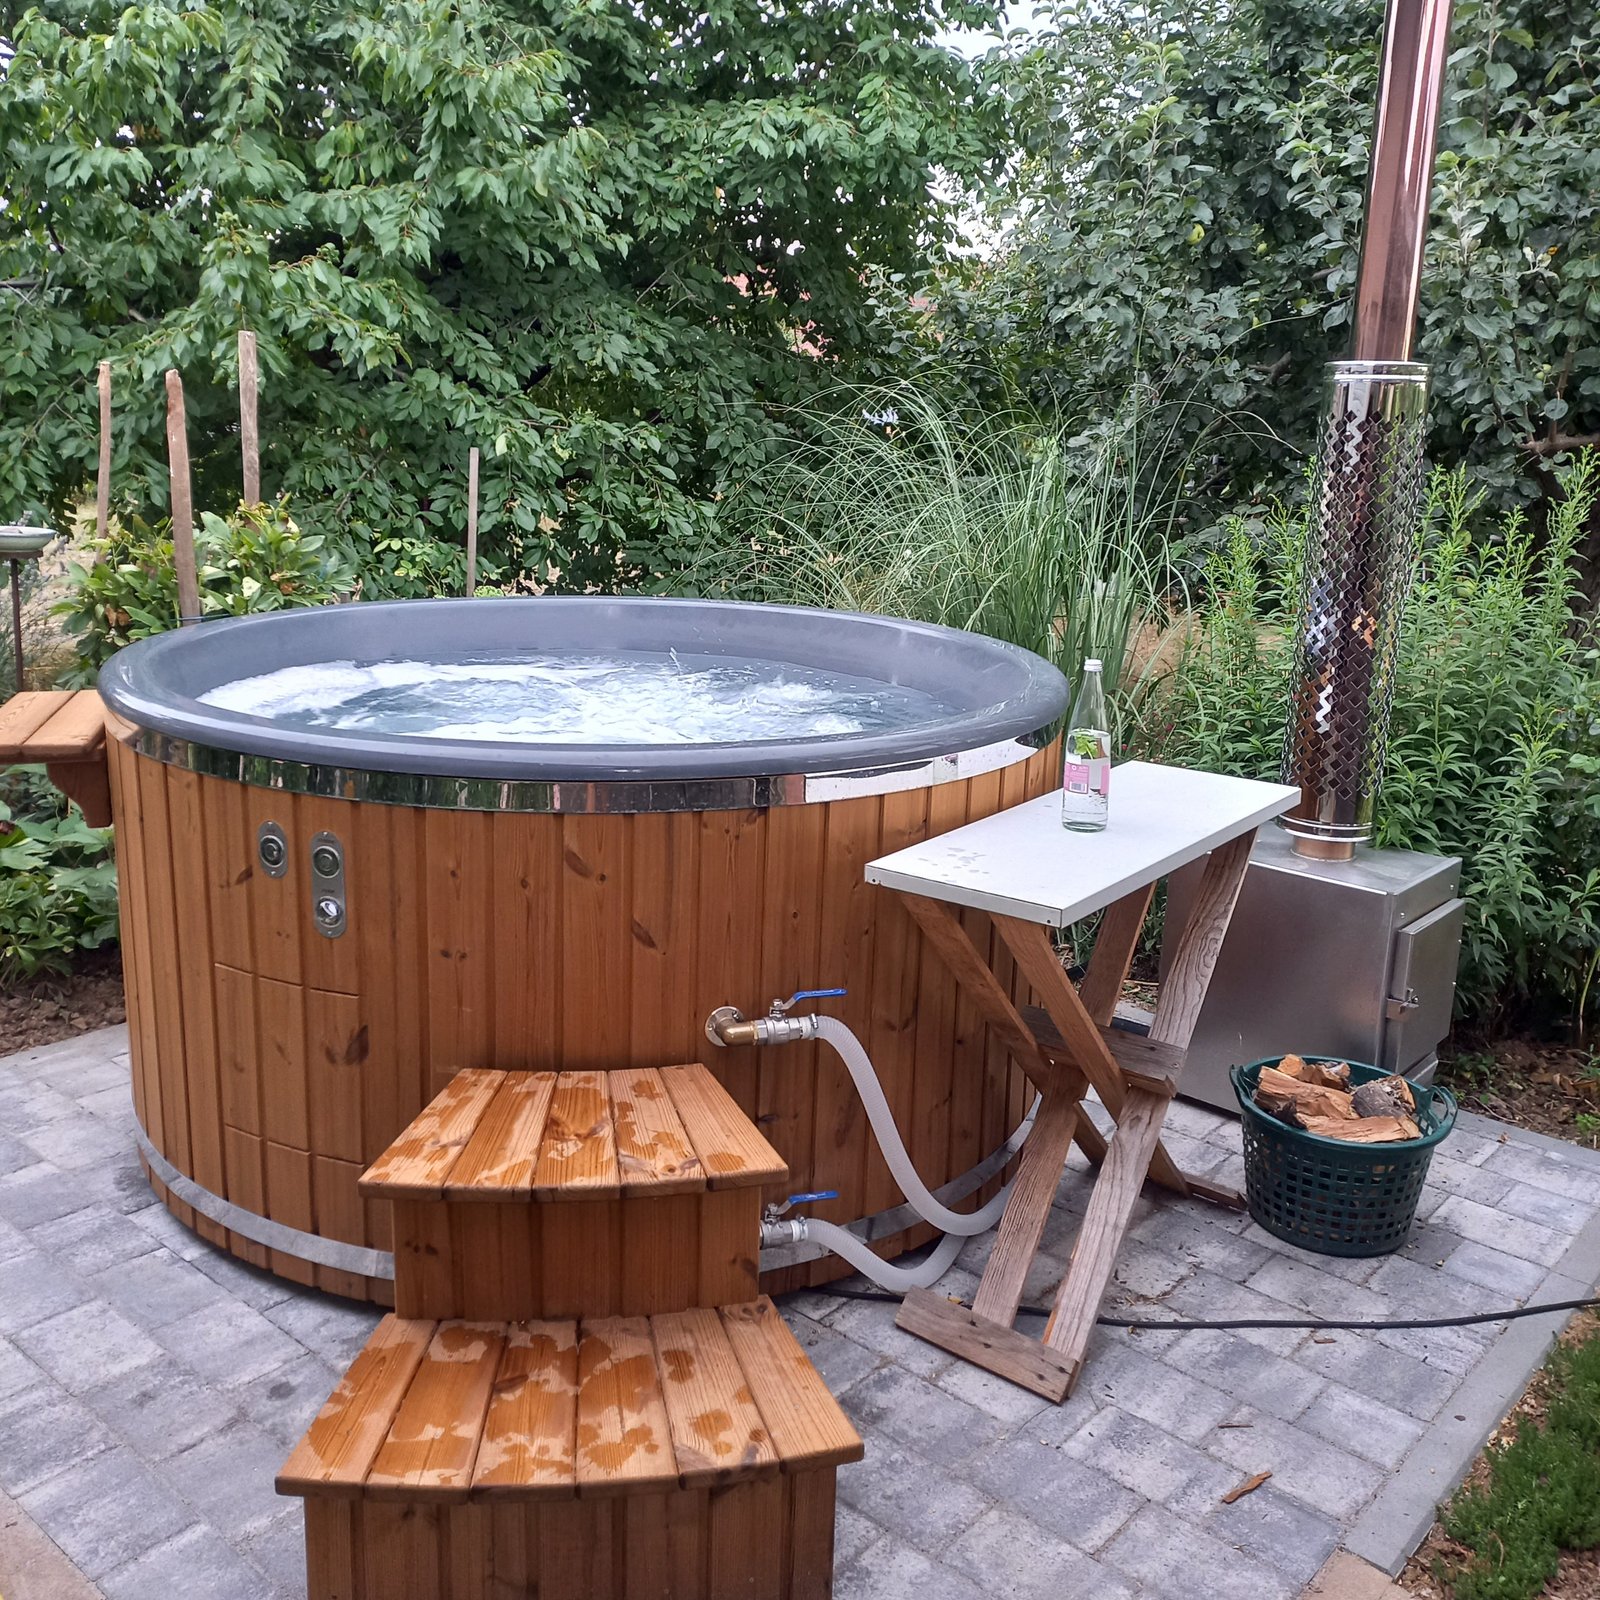
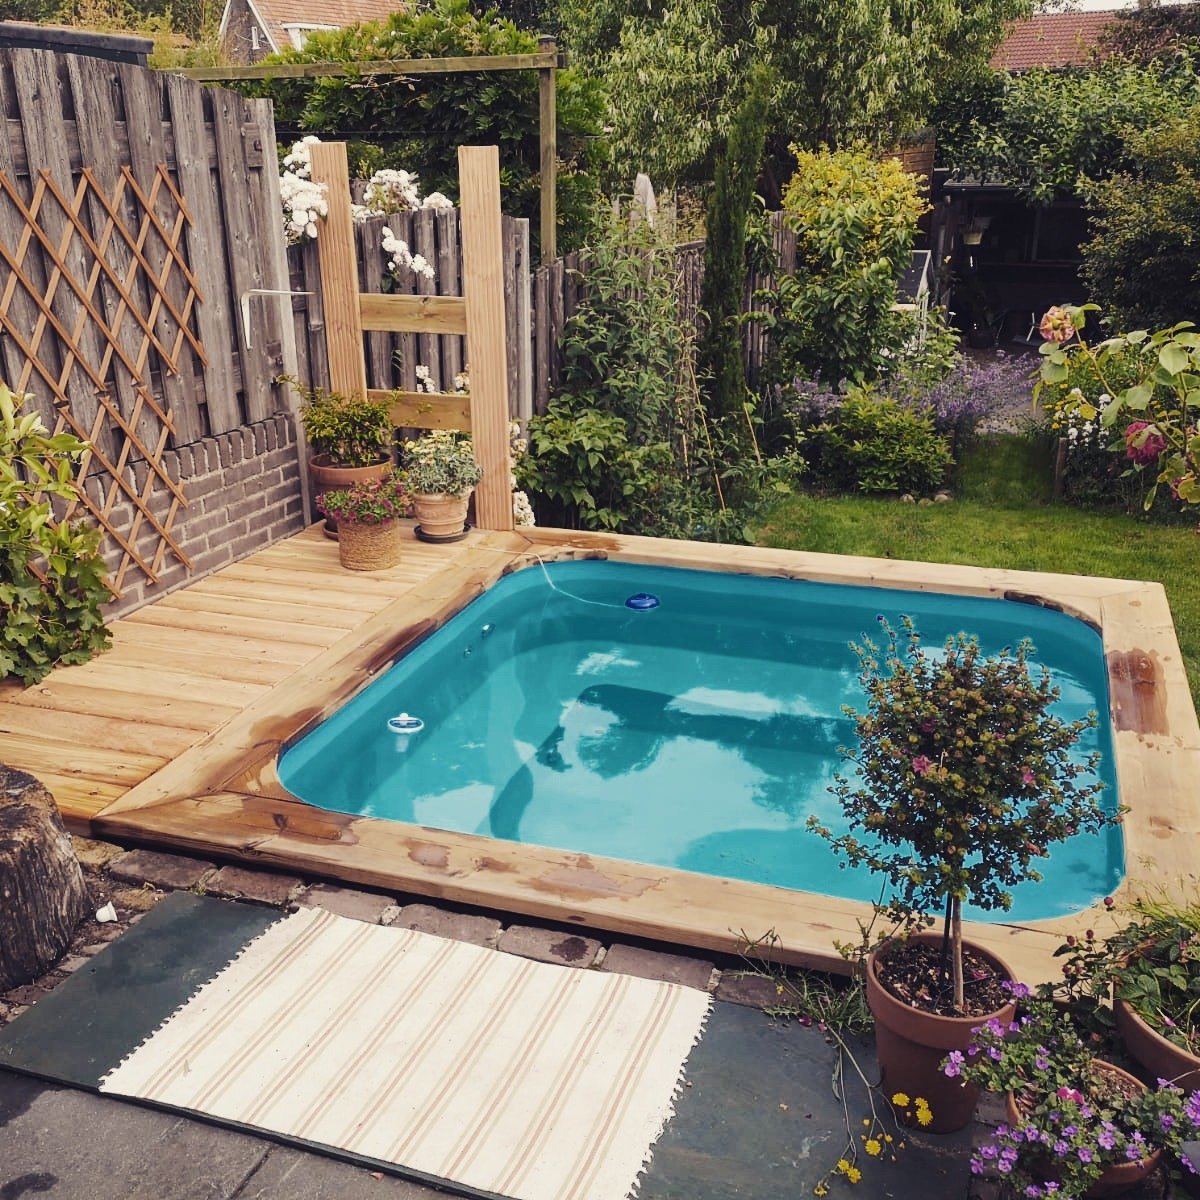
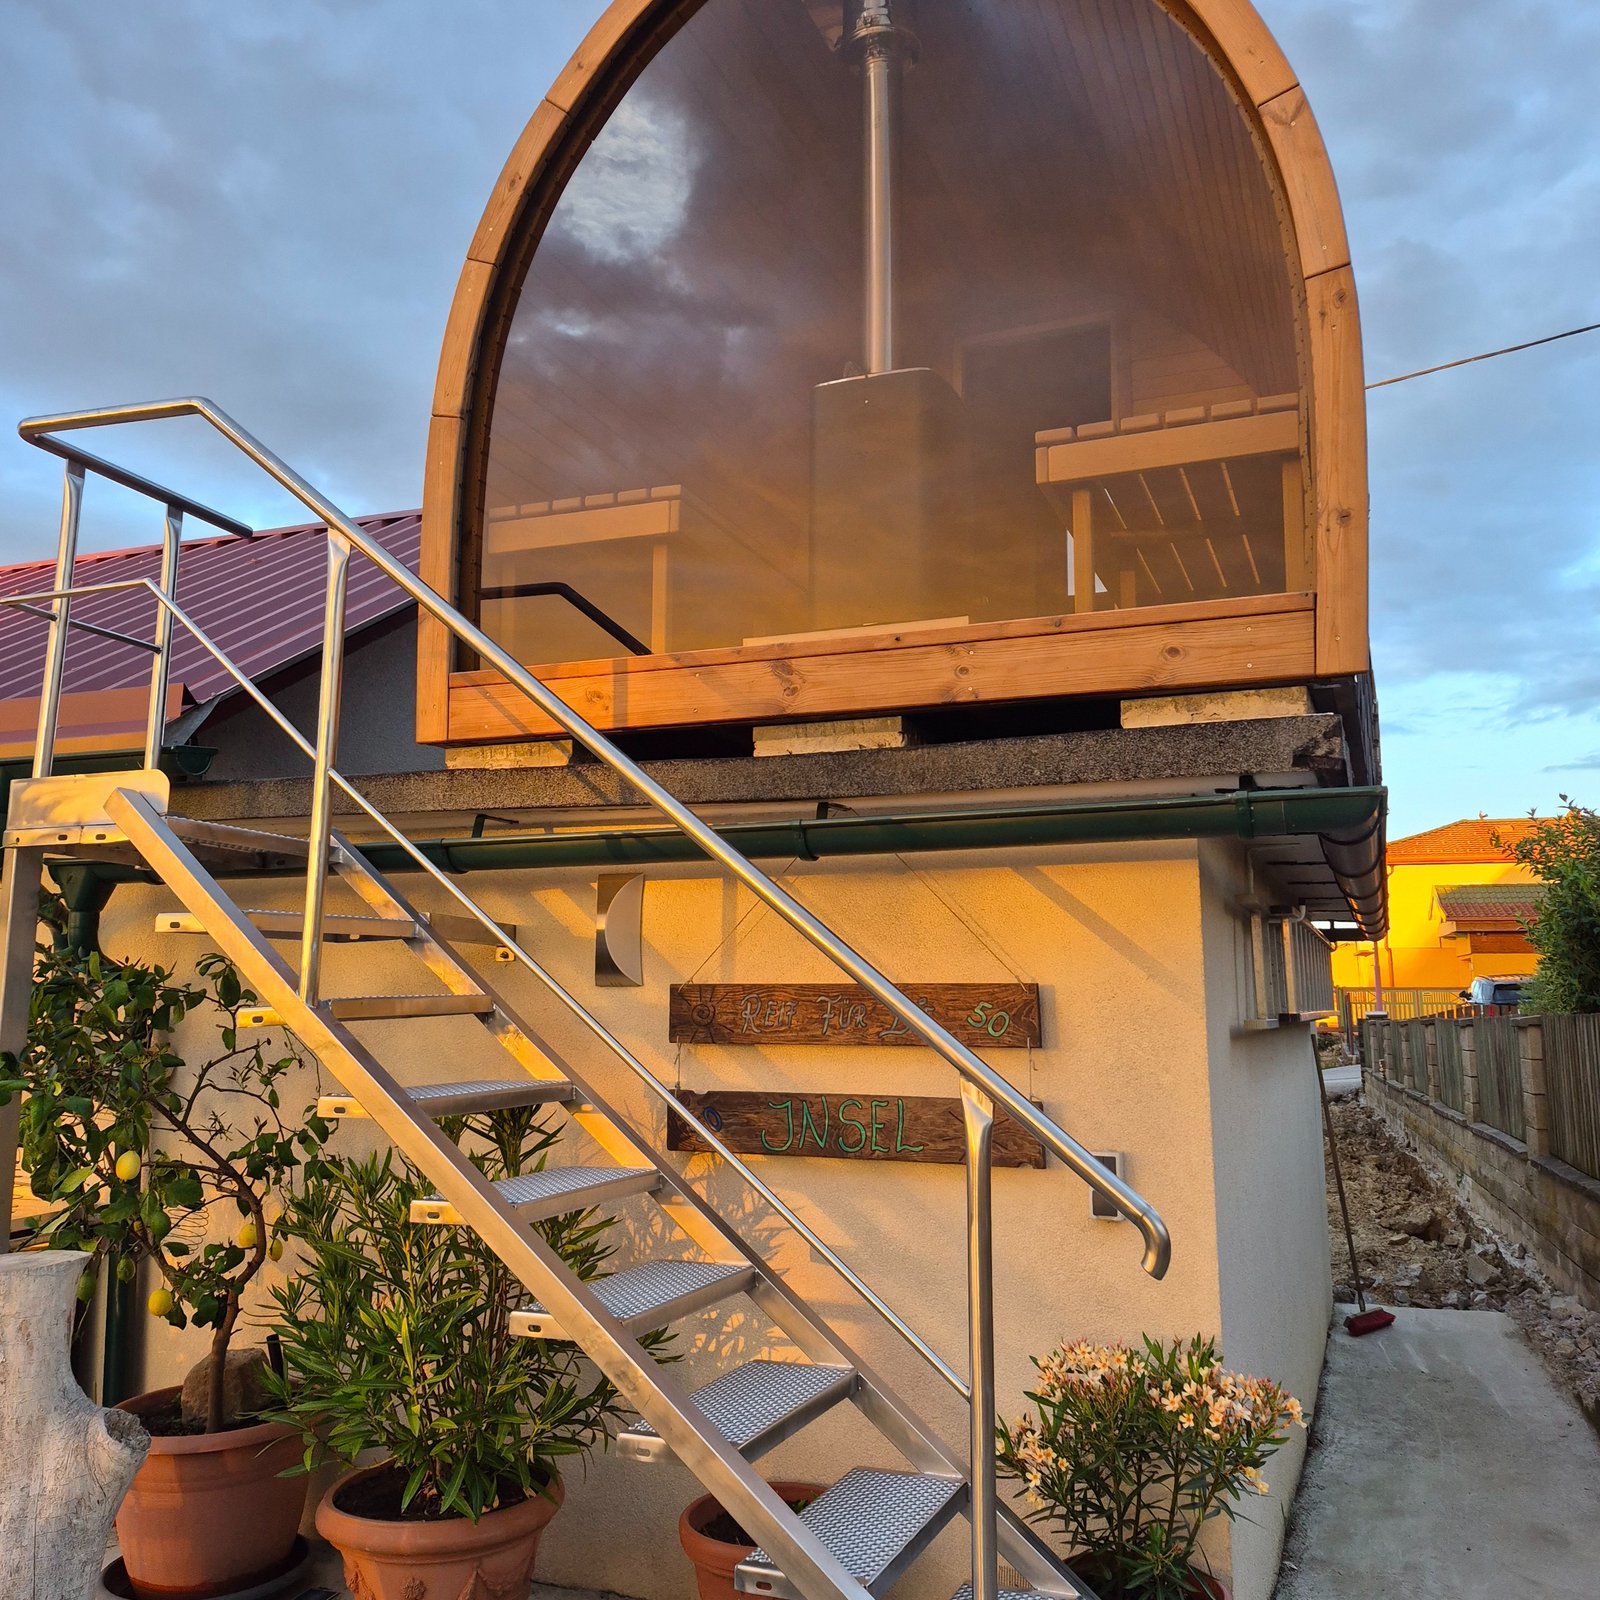
Review and installation photos →Hi, we have finally moved into our house & hot tub is amazing! Attached photo (feel free to use!)
Straight sides, considered surroundings
A square hot tub gives a garden a clear outline. Choosing one means looking inside that outline for comfortable seating, then looking beyond it for the stove, steps, cover and room to move.
Explore the verified square families first, followed by other hot-tub shapes for comparison. Use the selected model’s internal and external dimensions separately when planning the terrace.
From our customers
Customer projects matched to the products listed on this page. Earlier specifications and selected options may differ.
Customer projects from United Kingdom.
Review and installation photos →Hi, we have finally moved into our house & hot tub is amazing! Attached photo (feel free to use!)
These families have a documented square shell. Compare the specific size, interior and heater arrangement on each product page; live starting prices cover the family, not every possible configuration.
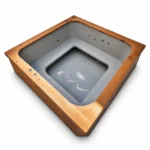
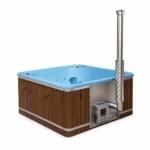
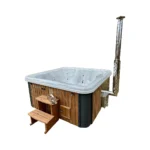
The rest of the current hot-tub range is shown here as alternatives. These models are not being described as square. Compare the full seating plan and installation area before deciding which shape suits your garden.
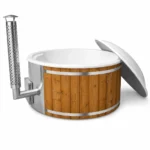
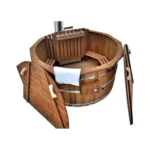
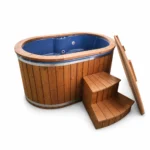
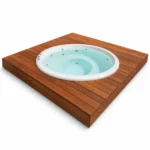
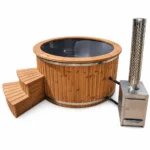
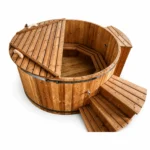
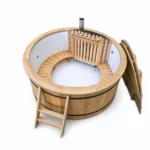
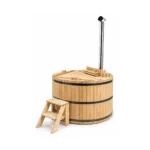
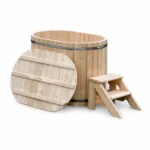
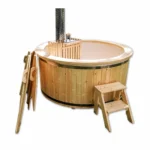
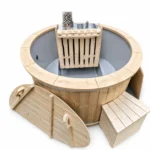
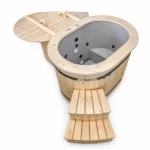
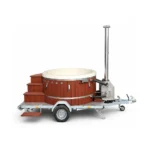
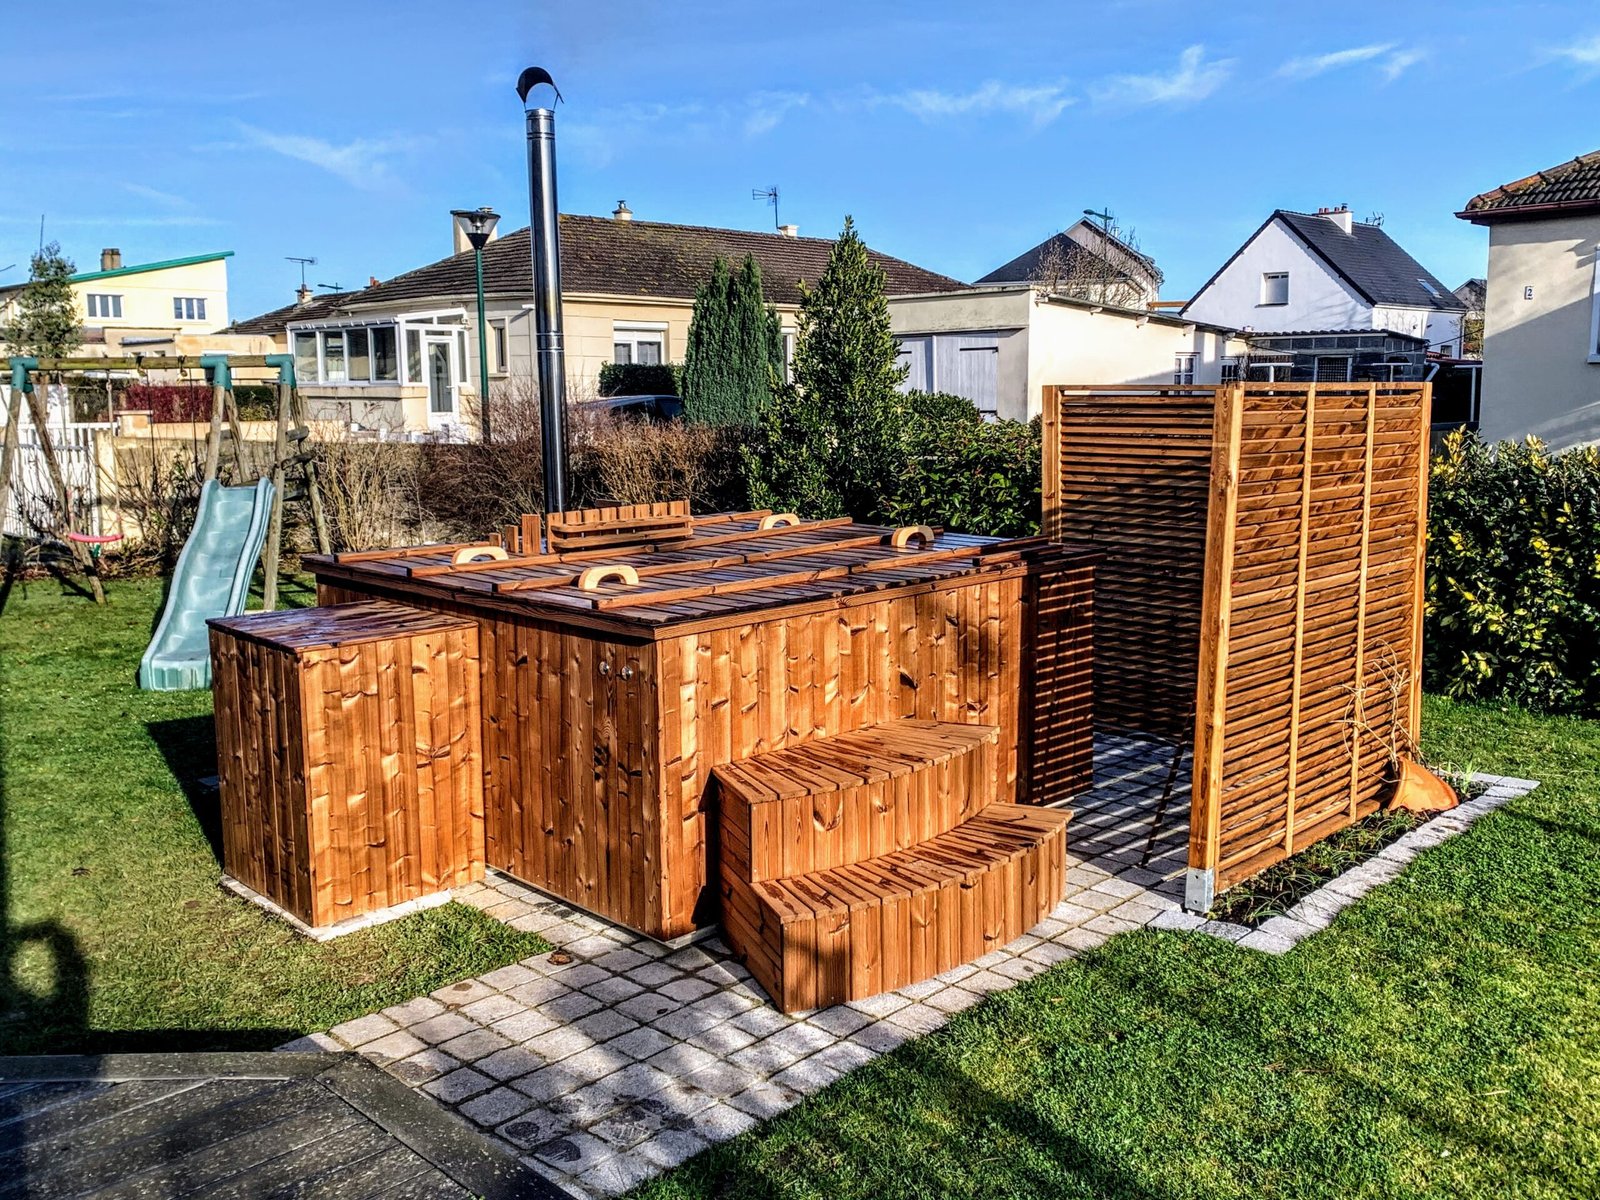
A square hot tub can look at home beside a straight terrace edge, a garden room or a run of paving. The practical question is what happens around all four sides once people start using it. The steps need a comfortable approach, the cover needs somewhere to go, and the equipment must remain accessible. A shell that fits between two lines on a plan may still leave an awkward installation.
Draw the proposed tub in its closed, unused state first. Then add the things that move: the cover as it folds or lifts, anyone standing at the stove, the person stepping out, and any removable service panel. These are different spaces, and they may overlap at inconvenient times. A path that works while the cover is on can disappear once the cover is stored beside it.
For a patio beside the kitchen, imagine someone carrying towels towards the steps while another person tends the heater. If both routes squeeze through the same narrow gap, rotate the installation or move the steps before choosing the final finish. The square outline helps you compare orientations, but it does not decide which orientation will work best.
Keep the proposed arrangement separate from the final construction drawing. A sketch is useful for a quotation; it is not a specification for support, clearances or a deck opening. Those details depend on the chosen shell, heater and equipment. Photograph the access route as well as the destination so delivery constraints are considered before the garden work is committed.
Internal dimensions describe the bathing vessel. They help you compare the distance between seats and the space occupied by the benches and heater. They do not describe the outside of the cladding. A model labelled 2,000 × 2,000 mm internally therefore needs a larger installation area than a two-metre square marked on the patio.
External dimensions describe the finished tub, with the specified rim and exterior. Check whether a quoted measurement includes protruding fittings, an integrated heater face or other projections. Timber decoration and insulation can change the finished outline. A drawing for one configuration should not be assumed to cover every version sold under the same family name.
Operating space includes the area needed to approach, use and service the complete installation. Steps, an external stove, filter housing and cover storage may all sit outside the shell outline. Required heater clearances must come from the supplied instructions for the chosen equipment; there is no universal gap that can safely be applied to every square tub.
Write length and width separately. A 2,000 × 2,000 mm internal vessel is square. A 2,000 × 1,600 mm vessel is rectangular. Both have straight sides, but the shorter span changes seating and legroom. Rounded corners or shaped seats do not remove the need for a dimensioned plan.
Record height too, especially where the surrounding deck is raised or the tub will sit beside a window. The step arrangement, rim height and view from the seated position influence how the corner feels. If insulation or a support detail changes the total height, update the steps and access plan together rather than treating them as separate purchases.
Corner seating can give each person an obvious place to settle, while straight bench runs offer different positions along a side. Neither arrangement guarantees a particular level of comfort. Seat depth, back angle, water depth and the space shared by feet all matter. A generous rim-to-rim measurement can disguise a much smaller central footwell.
Ask for a view of the interior with the chosen benches and heater fitted. Mark where the regular bathers would sit and which way their legs would point. Two adults using opposite corners may have a very different experience from a group occupying every side. A moulded seat also fixes a position more firmly than a continuous flat bench, which some buyers prefer and others find less adaptable.
An internal stove or protective guard needs to be shown in that same plan. It can interrupt a bench or occupy a corner, changing how the group distributes itself. An external heater moves the fire equipment outside the vessel, but the existing seating still determines usable places. It does not automatically turn every shell into a larger-capacity model.
Choose around normal attendance before occasional gatherings. If the usual group is six, use the six-person configuration guide alongside the shape comparison. For a larger regular group, the eight-person range gives a separate starting point. Shape and occupancy answer different questions, so keep both on the shortlist.
The current square selection contains different interiors and configuration routes. Nordic Square offers a series of internal sizes and several heating choices. Elite Square has a stated two-metre internal format and an eight-person use case. Square Acrylic has a formed acrylic interior and a choice between external and integrated wood-stove arrangements. Their shared outline should not obscure these differences.
| Model family | Verified selection detail | Resolve before installation |
|---|---|---|
| Nordic Square | Internal sizes of 1,600, 1,800, 2,000 or 2,200 mm on each side; polypropylene bench choices | Outside dimensions, chosen benches, actual occupancy, water volume and heater arrangement |
| Nordic Elite Square | 2,000 × 2,000 mm internal size; marketed for up to eight people | Comfort for the group, complete external outline, water volume and filled weight |
| Nordic Square Acrylic | Marble-effect acrylic interior; Model 1 external or Model 2 integrated wood stove | Selected model drawing, dimensions, litres, included equipment and service access |
Nordic Square’s linked family information covers a broad size range. Its family-level occupancy and water figures should not be assigned to the smallest selectable shell, or to a different bench arrangement, without confirmation. Use the live product configurator to identify the proposed combination, then request the figures that apply to that combination.
For the acrylic family, the visible selection is deliberately more limited: the two stove layouts are the key choices shown. Do not infer a complete massage, lighting or filtration package from the photograph. Ask what the quoted version includes. The formed interior may suit someone who wants defined seating, while a simpler bench layout may better suit people who like changing position during a soak.
The cards above keep their current product prices and specifications. A starting price belongs to the model family or its base selection; it is not a promise that every size, timber finish and heater arrangement costs the same. Open the product you are considering before comparing complete quotations.
With an external wood stove, reserve a place for the heater, its connections and the person who operates it. Check which side the firebox faces and how fuel reaches it. Putting the stove in a visually discreet gap is unhelpful if the operator must squeeze behind a privacy screen or cross the wet entrance route to load it.
An integrated heater brings the equipment into the tub’s overall structure. That may simplify the visible outline, but the loading and service faces still need access. An internal or snorkel arrangement brings different constraints inside the bathing area. Use the exact supplier drawing to distinguish these systems; the words “built in” are too vague to determine seating or installation requirements.
Electric and hybrid options are available on some square families, subject to the live configuration. They bring electrical supply, controls and circulation requirements into the project. Ask for the selected equipment specification before an electrician plans the connection. A heater offered on one model should not be assumed compatible with another shell simply because both are square.
Heating time depends on the actual water volume, heater and operating conditions. The outline alone cannot tell you how quickly the tub will warm. A larger square can hold a substantial volume, while bench construction changes how much water is displaced. For a broader comparison of fire-led options, see the main wood-fired hot tub range.
The cover is part of everyday use, not just the final item in a quotation. Establish whether it lifts as one piece, divides into sections or folds, and where it rests during bathing. The storage position should leave the steps and service route available. Confirm that the supplied cover fits the chosen rim profile and that the people using the tub can handle it as intended.
Picture cleaning the furthest corner. A tub pushed tightly against two boundaries may be harder to reach around than it first appears. Plan how the rim and interior will be cleaned, and how removable components will come out. Decorative screens can provide privacy while still allowing maintenance, provided their placement is coordinated with the tub’s access requirements.
Follow the drain route on the drawing all the way to an appropriate discharge point. A valve hidden behind permanent decking is inconvenient even when the tub works perfectly. Include any hose connection in the access plan and agree suitable disposal for the water and treatment used. The garden surface should manage surrounding rain and splashes without making the tub’s supporting base uneven.
Finally, consider a future service visit with the garden finished. A pump, filter or heater connection that is reachable during installation can become inaccessible after cladding, planters or built-in seating are added. Removable panels need enough space to be removed, not merely a visible seam. Keep a copy of the final equipment layout for whoever maintains the tub later.
A freestanding square tub makes much of its exterior available for inspection, provided surrounding features leave the necessary access. A recessed installation can create a lower visual profile, but conceals more of the structure and equipment. Decide which result you want early: the supporting arrangement, ventilation, access and drainage need to be planned around it.
Do not support a vessel from its decorative rim unless the manufacturer explicitly specifies that method. Obtain the support requirements for the selected shell and the complete loaded weight, including water, equipment and users. An existing deck that feels firm underfoot is not proof that it can support the installation. Have the intended structure assessed for the actual load before ordering garden alterations.
The delivery route can be the deciding factor. Measure constrictions, turns and overhead obstacles, then confirm the delivery condition and unloading method with TimberIN. A square shell cannot be treated like a flexible package, and the useful dimensions for transport may differ from the dimensions used to describe the bathing area. Agree any lifting arrangements before the delivery date.
If a flush deck is central to the design, compare the dedicated sunken hot tub guidance. It addresses the installation approach in more detail. Here, the choice remains about whether the square geometry and selected interior suit the garden and the people using it.
No. Straight sides can align neatly with paving or a building, but the complete installation includes steps, equipment, cover storage and access. Compare two fully drawn layouts in the available space. A round hot tub can work better where movement around it matters more than alignment with a straight edge.
No. The square selection includes different shell and seating constructions. Nordic Square has polypropylene bench choices, while Square Acrylic specifically identifies an acrylic interior. Confirm the water-contact material, bench construction and exterior separately; timber cladding does not tell you what the inside is made from.
Not necessarily. A longer and narrower vessel changes the distance between opposing seats and the shape of the footwell. Compare both internal dimensions and the actual seating plan. A rectangular alternative should be described by its real proportions rather than treated as an interchangeable square version.
A useful square-tub enquiry combines a simple garden plan with your preferred seating and heating arrangement. Include the available length and width, access photographs, the usual number of bathers and whether the tub will stand above the surface or be recessed. Show where you expect the steps, cover and equipment to sit.
TimberIN can then discuss a specific model and configuration against that plan. Before production, bring the external drawing, included equipment, support requirements, delivery method and service access into one agreed specification. That gives the straight lines a practical purpose: a tub that fits the way the garden will actually be used.
A square hot tub should be chosen from its usable internal space, not its outside width alone. Straight sides make it easier to plan corner seating and align the tub with decking, but wall thickness, insulation, access panels and the heater arrangement all reduce the space available to bathers. Start with the number of people who will use it normally, then check the actual internal dimensions and water volume of the selected configuration.
| Decision | Why it matters | Confirm before ordering |
|---|---|---|
| Size and occupancy | Nominal capacity does not guarantee comfortable shoulder and leg room. | Internal dimensions, seat layout, water depth and normal number of users. |
| Heater position | An external stove preserves bathing space; an integrated system creates a compact installation. | Clearances, circulation connections, chimney route and safe access for firing. |
| Shell and exterior | The water-retaining shell and visible timber finish have different maintenance needs. | Shell material, colour, cladding species and treatment instructions. |
| Jets and filtration | Pumps, pipework and filters add electrical demand and need service access. | Jet type, controls, filtration, winter drainage and component access. |
| Foundation | A filled square tub creates a substantial, concentrated load. | Wet weight, support points, level tolerance, drainage and local ground conditions. |
A square layout is useful where the tub must line up with a terrace, wall or pergola. It can provide defined corners and a more architectural appearance. A round tub encourages a social, face-to-face seating arrangement and often uses circulation space efficiently. Rectangular or longer formats may suit reclining positions or narrow plots. There is no universally better shape: compare the real seating plan, access route and equipment layout for the exact model.
Wood-fired square hot tubs can use external or integrated heaters, depending on the model. The heater must be matched to the actual water volume and installed with the required clearances and circulation arrangement. Heat-up time varies with starting water temperature, useful heater output, fuel quality, weather, insulation and cover use; a single guaranteed time should not be assumed for every installation.
If hydro massage, air bubbles, LED lighting or filtration are selected, plan the electrical supply and protected component location before the base and deck are built. Pumps and pipework must remain reachable for inspection, cleaning and winter drainage. A decorative surround should never permanently seal in equipment that may need servicing.
Planning note: TimberIN products are configurable. Dimensions, weights, water volumes, included equipment and prices depend on the selected model and options. Use the current product page and written quotation as the final specification.